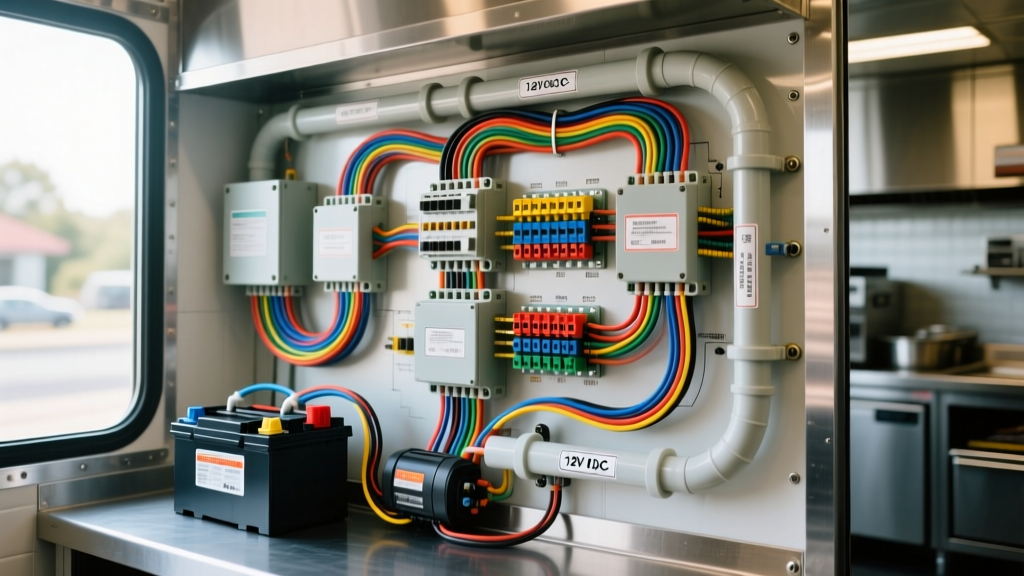
The Hidden Dangers in Food Truck Electrical Wiring Diagrams
Designing or modifying a mobile kitchen requires merging two entirely distinct electrical ecosystems: the 12V/24V DC automotive chassis and the 120V/240V AC commercial kitchen grid. Whether you are working with a Chevy P30 step van, a Ford E-450 cutaway, or a Freightliner MT45, relying on a generic food truck electrical wiring diagram without understanding mobile-specific safety protocols is a recipe for catastrophic failure. The vibration, thermal cycling, and high-current demands of a mobile food business push standard residential wiring to its breaking point.
As an automotive electrical specialist, I frequently troubleshoot mobile units that have suffered melted harnesses, inverter fires, and chassis electrification due to fundamental schematic misinterpretations. Below, we break down the most dangerous mistakes found in amateur and even some professional food truck wiring builds, providing the technical corrections required to keep your rig safe and operational.
Mistake 1: Undersizing Inverter Feed Cables and Ignoring Voltage Drop
The most common failure point in a food truck DC system is the cable run between the battery bank and the main power inverter. Many builders look at a basic wiring diagram and select wire gauge based solely on the inverter's continuous wattage rating, ignoring peak surge loads and voltage drop over distance.
A 3000W pure sine wave inverter operating at 12V DC will pull roughly 250 amps continuously, but surge loads from commercial compressor fridges or microwave transformers can spike this draw past 400 amps for several seconds. If your schematic specifies 2 AWG wire for a 6-foot run, the voltage drop will exceed 3%, causing the inverter to trigger low-voltage alarms and the wire insulation to soften and melt.
DC Inverter Cable Sizing & Torque Specification Chart
Always size your DC feed cables based on the maximum surge current and the exact physical length of the wire run, including the return path to the busbar. The following specifications assume a 12V DC system with a maximum allowable voltage drop of 2%.
| Inverter Rating | Peak DC Surge Draw | Min AWG (Up to 5ft) | Min AWG (Up to 10ft) | Busbar Terminal Torque |
|---|---|---|---|---|
| 1000W | 150A | 2 AWG | 1/0 AWG | 120 in-lbs |
| 2000W | 300A | 1/0 AWG | 2/0 AWG | 180 in-lbs |
| 3000W | 450A | 2/0 AWG | 3/0 AWG | 250 in-lbs |
Pro Tip: Use a calibrated torque wrench on all high-current DC lugs. A loose 2/0 AWG ring terminal on a copper busbar will create micro-arcing under heavy load, generating enough heat to ignite nearby insulation.
Mistake 2: Bonding AC Neutral to the DC Chassis Ground
In a stationary home, the AC Neutral and Earth Ground are bonded at the main service panel. In a food truck, creating a Neutral-Ground bond inside the inverter or sub-panel while simultaneously using the vehicle chassis as a DC return path creates a severe electrocution hazard. This is known as a 'floating neutral' violation in mobile applications.
If your food truck electrical wiring diagram shows the AC sub-panel neutral busbar tied to the steel chassis of a Ford E-450, you are energizing the entire truck body with return AC current. If the truck is parked on damp ground and a staff member touches the stainless steel prep counter and the exterior door handle simultaneously, they complete the circuit.
The Correct Mobile Grounding Topology
- DC Grounding: All 12V DC negative returns must terminate at a dedicated, isolated copper DC busbar, which is then tied to the vehicle chassis via a single, heavy-gauge ground strap (minimum 1/0 AWG) bolted directly to the frame rail.
- AC Grounding: The AC Earth Ground (green wire) must be bonded to the AC sub-panel ground busbar. The AC Neutral (white wire) must remain strictly isolated from the ground busbar inside the sub-panel.
- Transfer Switches: When wiring a generator transfer switch, ensure the switching mechanism breaks both the AC Hot and AC Neutral lines to prevent back-feeding the generator neutral bond into the inverter circuit.
Mistake 3: Using Residential THHN Wire in High-Vibration, High-Heat Zones
Many budget builds utilize standard residential THHN or Romex cable for AC routing inside the truck cavity. This is a critical violation of mobile electrical codes. THHN wire is solid core or coarse-strand, designed to be pulled through rigid PVC conduit in stationary walls. In a food truck, the constant vibration from the diesel engine and road travel will cause solid core wire to work-harden, snap, and short out against the metal chassis.
Furthermore, routing standard PVC-jacketed wire near commercial flat-top griddles or deep fryers will result in insulation failure. The ambient temperature behind a stainless steel wall where a griddle is mounted can easily exceed 140°F (60°C).
Automotive & Marine Wire Specifications for Mobile Kitchens
For all DC and low-voltage routing, you must adhere to SAE J1128 standards for low-tension primary cable. Avoid standard GXL wire near heat sources.
- TXL (Thin-Wall Cross-Linked): Rated up to 125°C. Excellent for general 12V DC lighting and control circuits routed through the cab and chassis.
- SXL (Specialty Cross-Linked): Rated up to 125°C but features a much thicker insulation jacket. Mandatory for routing DC wires near exhaust manifolds, engine bays, or the rear of high-BTU cooking equipment.
- AC Wiring Alternative: If you must use AC wiring, use heavily stranded, marine-rated THWN-2 enclosed in flexible, non-metallic liquid-tight conduit to protect against vibration abrasion and grease infiltration.
Mistake 4: Overloading the Chassis Alternator with Parasitic DC Loads
A standard Chevy P30 step van alternator is rated for roughly 105 to 130 amps. Its primary job is to run the engine ECU, headlights, and HVAC blower motor. A common mistake in food truck schematics is wiring 12V DC compressor fridges, water pumps, and POS systems directly to the chassis starter battery without calculating the parasitic draw.
If your DC appliances draw 60 amps continuously while the truck is idling at a rally, the alternator cannot keep up, especially at low RPMs. This leads to deep-cycling the starting battery, sulfation, and eventual failure to crank the engine at the end of the shift.
The Dual-Alternator and B2B Solution
Professional food truck diagrams isolate the 'house' DC loads from the 'chassis' DC loads. If your power budget exceeds 80 amps of continuous DC draw, the schematic must include either:
- A Secondary High-Output Alternator: Mounted via a custom bracket on the engine block, dedicated solely to charging a lithium-iron-phosphate (LiFePO4) house battery bank.
- A DC-to-DC (B2B) Charger: If using a single alternator, a B2B charger (e.g., Victron Orion or Renogy DCC) must be installed between the starter battery and the house battery. This limits the draw on the chassis alternator to a safe threshold (e.g., 40A) while providing the correct multi-stage charging profile for the house batteries.
Mistake 5: Using Residential AC Breakers for Mobile Vibration
Standard residential DIN-rail AC breakers rely on internal mechanical springs and copper contacts that are not rated for the harmonic vibration of a diesel truck chassis. Over time, the internal mechanisms can loosen, causing the breaker to fail to trip during a short circuit, or worse, arc internally and catch fire.
According to guidelines referenced by mobile power experts and the Blue Sea Systems Circuit Wizard, mobile AC and DC overcurrent protection must utilize vibration-tested, marine or RV-rated breakers. For DC circuits, always use Class T fuses or ANL fuses for main battery protection (capable of interrupting 10,000+ amps), and marine-rated blade or MRBF (Marine Rated Battery Fuses) for branch circuits. Never use standard automotive glass fuses for circuits exceeding 20 amps, as the glass can shatter under thermal stress, sustaining an arc.
Pre-Deployment Safety Verification Checklist
Before energizing your food truck electrical system, run through this diagnostic checklist to verify your wiring diagram was executed correctly:
- Megger Test: Perform an insulation resistance test on all AC lines before connecting them to the inverter or generator to ensure no hidden wire chafes exist against the steel walls.
- Continuity Check: Verify that the AC Neutral busbar has absolute zero continuity to the vehicle steel chassis.
- Thermal Imaging: Run the truck at full electrical load (all fryers, AC units, and lights on) for 30 minutes. Scan all busbars, inverter terminals, and breaker panels with an infrared thermal camera. Any connection showing a temperature delta greater than 20°F above ambient requires immediate re-torquing and cleaning.
- GFCI Verification: Test all 120V AC receptacles within 6 feet of the sink or prep areas with a dedicated GFCI tester to ensure the ground fault protection trips within the required millisecond threshold.
For further reading on mobile electrical safety standards, consult the NFPA 1192 Standard on Recreational Vehicles, which provides the foundational code requirements for mobile AC/DC integration that apply heavily to commercial food truck builds. Never compromise on wire gauge, terminal crimping, or grounding topology; the safety of your crew and the survival of your business depend on it.