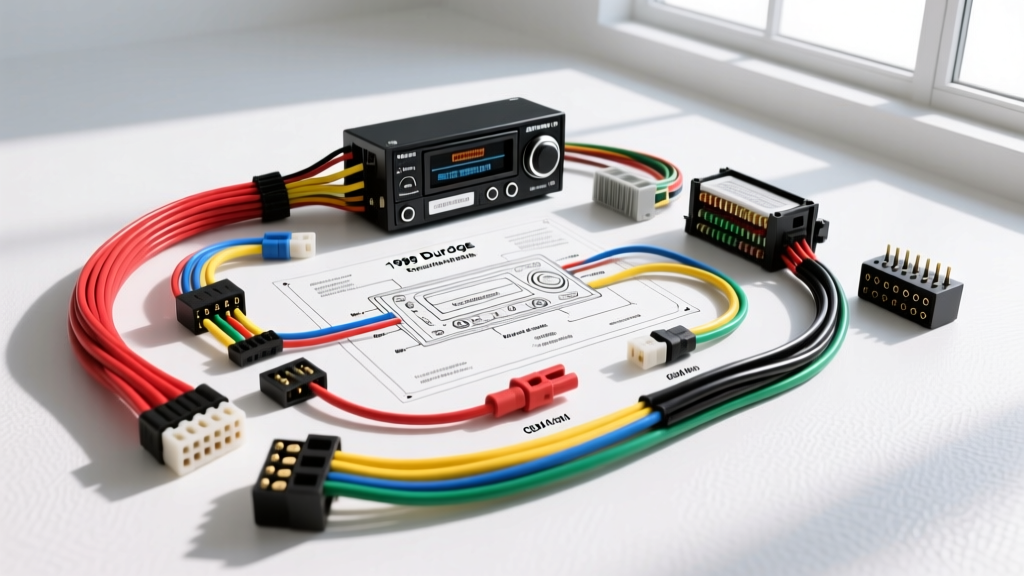
Understanding the 1999 Dodge Durango Audio Architecture
Upgrading the head unit in a 1st-generation DN-platform SUV requires more than just plugging in a universal harness. The 99 dodge durango stereo wiring diagram is heavily dependent on whether your vehicle was equipped with the base Chrysler audio system or the premium Infinity Gold amplifier package. Misidentifying your system can lead to blown output channels, thermal protection triggers, or severe alternator whine. This practical installation guide provides the exact OEM wire color codes, AWG specifications, and the critical Infinity bypass procedures necessary for a flawless aftermarket stereo installation.
99 Dodge Durango Stereo Wiring Diagram & Pinout Chart
For models equipped with the standard (non-Infinity) factory radio, the wiring is routed through a standard Chrysler 7-pin power connector and a 10-pin speaker connector. Below is the definitive pinout reference based on OEM Chrysler service manuals and verified aftermarket testing.
| Function | OEM Wire Color | AWG Size | Connector / Pin |
|---|---|---|---|
| Constant 12V+ (Battery) | Pink | 18 AWG | 7-Pin / Pin 6 |
| Switched 12V+ (Ignition) | Red / White Stripe | 18 AWG | 7-Pin / Pin 1 |
| Chassis Ground | Black | 18 AWG | 7-Pin / Pin 7 |
| Illumination / Dimmer | Orange | 20 AWG | 7-Pin / Pin 5 |
| Front Left Speaker (+) | Dark Green | 20 AWG | 10-Pin / Pin 1 |
| Front Left Speaker (-) | Dark Green / Red | 20 AWG | 10-Pin / Pin 2 |
| Front Right Speaker (+) | Purple | 20 AWG | 10-Pin / Pin 3 |
| Front Right Speaker (-) | Purple / Red | 20 AWG | 10-Pin / Pin 4 |
| Rear Left Speaker (+) | Brown | 20 AWG | 10-Pin / Pin 5 |
| Rear Left Speaker (-) | Brown / Red | 20 AWG | 10-Pin / Pin 6 |
| Rear Right Speaker (+) | Dark Blue | 20 AWG | 10-Pin / Pin 7 |
| Rear Right Speaker (-) | Dark Blue / Red | 20 AWG | 10-Pin / Pin 8 |
The Infinity Gold System Dilemma: Bypass vs. Retain
If your 1999 Durango features the Infinity Gold badge on the head unit, your audio system utilizes an external amplifier (typically mounted under the passenger seat or behind the rear quarter panel). This creates two major electrical hurdles that standard wiring harnesses cannot solve on their own.
Hurdle 1: Line-Level vs. High-Level Signals
The factory Infinity head unit outputs low-level (line-level) RCA-style signals to the external amplifier, not high-level amplified speaker signals. If you wire a standard aftermarket speaker harness directly into the Infinity amplifier's input, the amp will clip immediately, and you risk destroying the amplifier's input stage. To retain the factory amp, you must use a specialized line-level output adapter or run new 16 AWG speaker wires from the new head unit directly to the doors, completely bypassing the factory amp.
Hurdle 2: The 2-Ohm Impedance Trap
This is where most DIY installers fail. The factory Infinity door speakers in the 1999 Durango are rated at 2 ohms to extract maximum power from the weak factory amplifier. Modern aftermarket head units are only stable down to 4 ohms per channel. If you bypass the Infinity amp and wire your new head unit directly to the factory 2-ohm speakers, the head unit's internal amplifier will overheat and trigger its thermal protection circuit within minutes, resulting in intermittent audio cutouts. Expert Recommendation: Always replace the factory Infinity door speakers with standard 4-ohm aftermarket 6.5-inch components when bypassing the amplifier. Refer to the Crutchfield Vehicle Fit Database for verified 4-ohm speaker depths that clear the Durango's window tracks.
Step-by-Step Dash Disassembly & Harness Routing
Accessing the factory radio in the '99 Durango requires careful removal of the dashboard bezel to avoid snapping the aging 25-year-old plastic retaining clips.
- Remove the Top Defroster Grille: Use a plastic trim pry tool to gently lift the speaker/defroster grille at the top center of the dash. Disconnect the tweeter harness if equipped.
- Ashtray and Cup Holder: Open the lower ashtray/cup holder assembly. Remove the two 7mm hex-head screws hidden inside the upper lip of the storage bin.
- Bezel Removal: Once the top and bottom fasteners are removed, pull the main dash bezel outward. There are metal tension clips along the sides. Tilt the bezel forward and disconnect the headlight switch and 4WD selector harnesses.
- Radio Extraction: Remove the four 7mm bolts securing the factory radio to the steel sub-dash bracket. Slide the unit out and disconnect the 7-pin power, 10-pin speaker, and Motorola antenna cables.
- Mount the Dash Kit: Transfer the factory mounting brackets to your new ISO/DIN dash kit (such as the Metra Electronics 99-6500) using the supplied machine screws.
Professional Wiring Termination Standards
Automotive environments subject wiring to extreme thermal cycling and high-frequency vibration. Twisting wires together and wrapping them in electrical tape is a guaranteed path to failure and potential electrical fires. According to SAE J1171 automotive electrical standards, all marine and automotive low-voltage connections must be sealed against moisture and oxidation.
- Solder and Heat Shrink: The gold standard. Strip 1/4 inch of insulation, twist the copper strands, apply rosin-core solder, and seal with 3:1 shrink ratio adhesive-lined marine heat shrink tubing.
- Automotive Crimp Caps: If soldering is not possible, use nylon-insulated copper crimp caps (AWG 18-22 rated). Use a ratcheting crimper to ensure a cold-weld connection. Never use cheap vinyl electrical tape as a primary insulator, as the adhesive melts in summer cabin heat.
- Grounding: Do not rely on the factory Black ground wire if your new head unit features a high-current amplifier or large LCD screen. Run a dedicated 14 AWG ground wire from the back of the dash kit to a clean, unpainted steel cross-brace under the dash to prevent voltage sag and screen dimming.
Troubleshooting Post-Installation Gremlins
Even with the correct 99 dodge durango stereo wiring diagram, you may encounter specific electrical anomalies. Use this diagnostic tree to resolve them:
- Symptom: Stereo loses memory (presets/clock) every time the ignition is turned off.
Cause: The Constant 12V (Pink) and Switched 12V (Red/White) wires are swapped at the harness. Fix: Re-pin the harness adapter or swap the connections using a multimeter to verify which OEM wire has 12V with the key completely removed. - Symptom: Severe alternator whine that pitches up and down with engine RPM.
Cause: Ground loop. The head unit is grounded to a painted surface, or the RCA cables are routed parallel to the factory power harness. Fix: Sand the grounding point to bare metal and ensure RCA signal cables are routed strictly down the center console, away from the kick-panel power wiring. - Symptom: Dash illumination does not dim the aftermarket screen when headlights are turned on.
Cause: The Orange illumination wire is unconnected, or the aftermarket stereo requires a negative trigger rather than a positive 12V trigger. Fix: Consult your head unit's manual. If it requires a ground trigger for dimming, you will need to install a simple 12V SPDT relay triggered by the Orange wire to switch the head unit's dimmer input to ground.
By adhering to these OEM specifications, respecting the Infinity impedance requirements, and utilizing proper termination techniques, your 1999 Dodge Durango will feature a reliable, high-fidelity audio system free from the electrical gremlins that plague amateur installations.