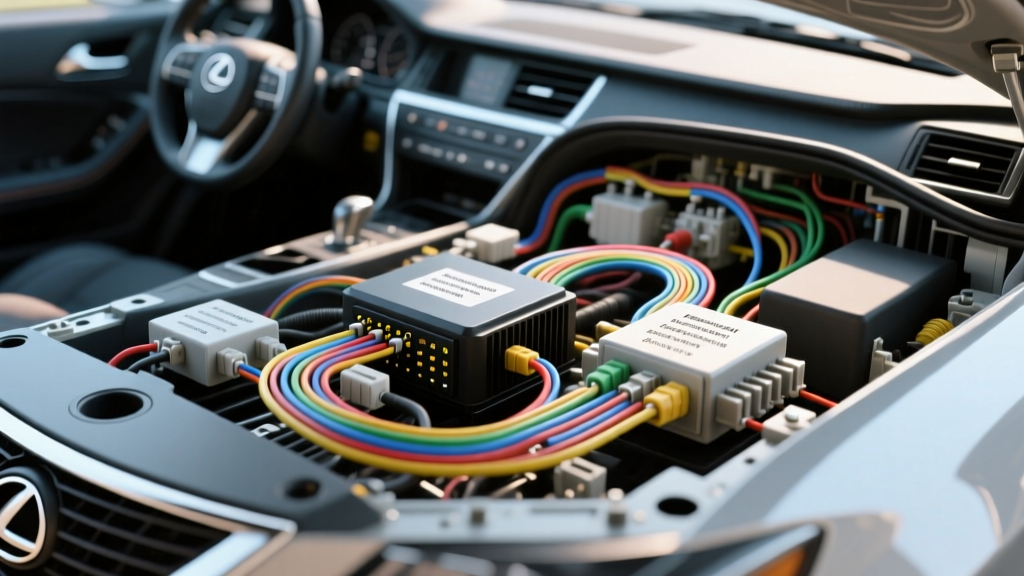
The Challenge: Bypassing the Factory Mark Levinson Amplifier
Upgrading the audio system in a Lexus IS (XE20 and XE30 platforms) requires far more than simply splicing into speaker wires. When interpreting a wiring diagram Lexus engineers designed for these vehicles, it becomes immediately apparent that the factory Mark Levinson and premium Pioneer audio systems utilize complex digital data buses (AVC-LAN and CAN-bus) and balanced differential analog signals. Attempting to tap into standard speaker outputs at the head unit will yield severe audio distortion, trigger factory diagnostic trouble codes (DTCs), or push the OEM amplifier into a protective thermal shutdown.
For a successful aftermarket amplifier and Digital Signal Processor (DSP) integration project, you must bypass the factory amplifier entirely or intercept the high-level differential signals directly at the OEM amp harness. This guide provides the exact pinouts, AWG specifications, and integration steps required to execute a flawless audio upgrade without compromising the vehicle's multiplex communication network.
Decoding the Lexus Wiring Diagram: IS Series 24-Pin Harness
The factory amplifier in the Lexus IS250 and IS350 is typically located beneath the front passenger seat or behind the glovebox assembly, depending on the exact model year. The primary harness connecting the head unit, data bus, and speaker outputs is a 24-pin TE Connectivity / Yazaki connector. According to the Toyota Technical Information System (TIS), the speaker signals transmitted from the head unit to the factory amplifier are balanced differential pairs, not standard single-ended ground-referenced signals.
Primary 24-Pin Connector (L24) Reference Chart
| Pin | Function | Wire Color | AWG / Terminal | Notes |
|---|---|---|---|---|
| 1 | +B (Constant 12V) | White | 12 AWG / 2.8mm | Main power feed from battery fusible link. |
| 2 | GND (Chassis Ground) | Brown | 12 AWG / 2.8mm | Must be grounded to chassis within 18 inches. |
| 3 | FL+ (Front Left Pos) | Pink | 18 AWG / 0.64mm | Balanced differential signal. |
| 4 | FL- (Front Left Neg) | Purple | 18 AWG / 0.64mm | Do not ground to chassis. |
| 5 | FR+ (Front Right Pos) | Light Green | 18 AWG / 0.64mm | Balanced differential signal. |
| 6 | FR- (Front Right Neg) | Blue | 18 AWG / 0.64mm | Do not ground to chassis. |
| 11 | ACC (Ignition Sense) | Gray | 20 AWG / 0.64mm | Switched 12V reference (if present at amp). |
| 12 | CAN-H (Data Bus High) | Green | 22 AWG / 0.64mm | Multiplex communication. Do not tap directly. |
| 13 | CAN-L (Data Bus Low) | White/Black | 22 AWG / 0.64mm | Multiplex communication. Do not tap directly. |
Note: Wire colors may vary slightly between left-hand drive (LHD) and right-hand drive (RHD) models, or between the XE20 (2006-2013) and XE30 (2014+) generations. Always verify with a digital multimeter (DMM) before cutting.
Step-by-Step Integration Project
1. Power and Ground Routing (AWG & SAE Specs)
When adding an aftermarket Class-D amplifier and a DSP, calculating the correct wire gauge is critical to prevent voltage drop and thermal events. According to the SAE J1128 Low Tension Primary Cable Standard, Oxygen-Free Copper (OFC) wire must be used for high-current automotive applications to ensure accurate ampacity ratings. Avoid Copper-Clad Aluminum (CCA) wire, which suffers from a 30% higher resistance rate and increased risk of oxidation at crimp points.
- Main Power Feed: For a system drawing up to 1500W RMS, run a continuous length of 4 AWG OFC wire from the battery's positive terminal to the trunk. Install an ANL fuse holder within 8 inches of the battery positive post, equipped with a fuse rated 10% higher than your total inline fuse sum (typically 150A-200A).
- DSP Power Feed: Use 10 AWG or 12 AWG OFC wire tapped into the main 4 AWG line via a fused distribution block (15A fuse) to power the DSP, ensuring clean voltage delivery.
- Grounding Protocol: The Lexus floor pan is coated with a thick, non-conductive E-coat paint. Use a brass wire brush attached to a rotary tool to strip away a 1-inch circle of paint down to bare, shiny steel. Secure the 4 AWG ground ring terminal using an M8 factory ground bolt, torqued to 12-15 Nm. Apply a liberal coating of dielectric grease over the connection to prevent galvanic corrosion.
2. Tapping High-Level Differential Signals
Because the Lexus head unit outputs balanced differential signals, wiring a standard Line Output Converter (LOC) that expects single-ended, ground-referenced inputs will result in a massive 6dB signal loss and severe common-mode noise (alternator whine).
The Solution: Utilize a high-end DSP (such as the Helix DSP.3 or AudioControl DM-810) equipped with native balanced differential high-level inputs. These DSPs accept the floating positive and negative speaker wires (e.g., Pin 3 and Pin 4 for Front Left) without requiring a chassis ground reference. Splice into the 18 AWG speaker wires at the factory amplifier harness using TE Connectivity 0.64mm terminal piggyback connectors or high-quality MIL-Spec solder-seal heat shrink. Do not use T-taps, which crush the delicate 18 AWG stranded wire and cause intermittent high-frequency signal loss.
3. CAN-Bus and Accessory Wake-Up (Remote Turn-On)
A major hurdle in Lexus audio modifications is the absence of a standard 12V remote turn-on wire at the amplifier. The factory amp is woken up via the AVC-LAN or CAN-bus data network. If you attempt to wire a standard relay directly to the CAN-H or CAN-L wires to extract a turn-on signal, the impedance mismatch will crash the vehicle's data bus, throw a Check Engine Light (CEL), and prevent the ECU from entering sleep mode, resulting in a dead battery within 48 hours.
Proper Integration Methods:
- Digital Interface Module: Use a vehicle-specific CAN-bus decoder (e.g., PAC AFD-65 or a TechnicPNP harness). These modules read the data bus via high-impedance opto-isolators and output a clean 12V, 250mA remote turn-on signal for your aftermarket DSP and amplifiers.
- Audio-Sensing Turn-On: If a CAN-bus module is unavailable, configure the DSP's internal processor to use "Audio Signal Sense" (DC Offset detection). The DSP will detect the voltage bias on the differential speaker wires when the OEM head unit powers up and trigger the aftermarket system's relays automatically.
Troubleshooting Common Modification Failures
Symptom: High-Pitched Alternator Whine
Cause: Ground loop induced by improper DSP grounding or tapping into single-ended RCA outputs from a cheap LOC.
Fix: Ensure the DSP and all aftermarket amplifiers share a single, common ground point on the chassis. Verify the bare-metal contact. If using RCA cables from an OEM integration module, ensure the RCA shields are only grounded at the source (DSP) and not at the amplifier end to prevent a secondary ground path.
Symptom: Parasitic Battery Drain (Vehicle Won't Start After 2 Days)
Cause: The aftermarket DSP or amplifier is keeping the Lexus CAN-bus awake, or the remote turn-on wire was spliced into a constant 12V circuit instead of an ACC circuit.
Fix: Use a multimeter to measure parasitic draw at the battery negative terminal after the vehicle has been asleep for 30 minutes. A healthy Lexus IS should draw less than 35mA in sleep mode. If the draw exceeds 150mA, disconnect the aftermarket fuse. If the draw drops, rewire the remote turn-on circuit using a proper CAN-bus interface or an Add-A-Circuit tapped into the CIG (Cigarette Lighter) or ECU-IG fuse in the interior junction block, which powers down when the driver's door opens post-ignition.
Symptom: DSP Fails to Output Subwoofer Signal
Cause: Factory Mark Levinson systems employ an active 2-way crossover at the head unit, meaning the door speaker wires only receive mid-bass frequencies (80Hz - 400Hz). The subwoofer signal is handled on a separate channel or digital bus.
Fix: Consult the Crutchfield Vehicle Research Database for your specific sub-model. You may need to sum the Front Left, Front Right, and factory subwoofer channels inside the DSP's mixing matrix to reconstruct a full-range signal before applying your aftermarket low-pass crossover.
Final Verification and System Calibration
Before reassembling the interior trim panels, perform a comprehensive continuity and voltage test. Verify 12.4V at the amplifier's main power terminal with the engine off, and 13.8V to 14.4V with the engine running. Use a phase tester to ensure all differential speaker pairs are wired in correct absolute polarity. Finally, utilize a Real-Time Analyzer (RTA) microphone to calibrate the DSP's 31-band parametric EQ, compensating for the acoustic reflections inherent in the Lexus IS cabin geometry. Proper interpretation of the factory schematics combined with meticulous execution ensures a reference-grade audio system that retains full OEM functionality.