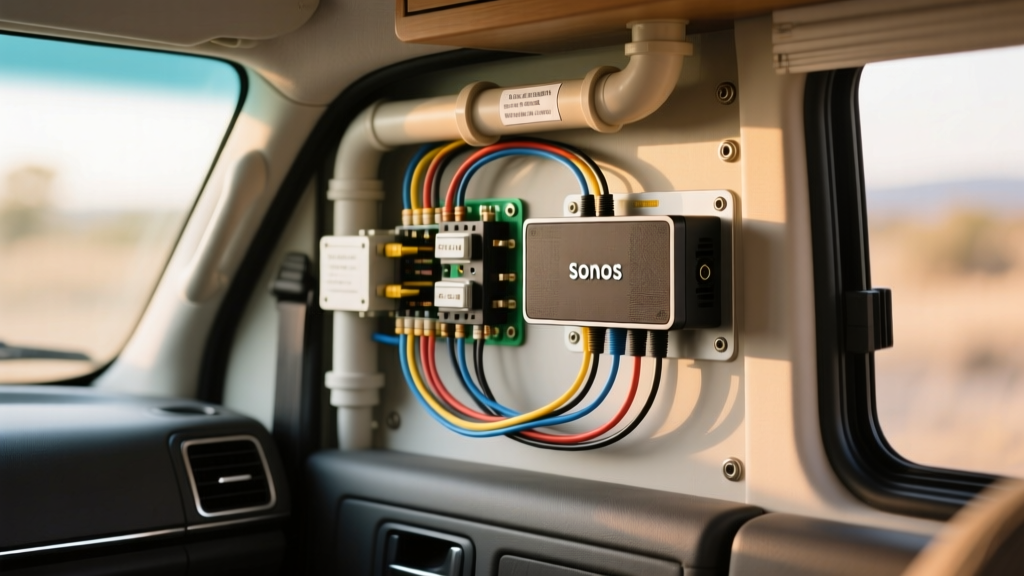
The Reality of Installing a Sonos Amp in 12V/24V Mobile Environments
Integrating high-fidelity home audio into mobile platforms like Sprinter van conversions, luxury RVs, and marine yachts is a growing trend. Because of its robust 125-watt per channel output, network streaming capabilities, and compact form factor, the Sonos Amp has become a top-tier choice for overland and marine builders. However, searching for a reliable sonos amp wiring diagram often leads DIYers and even some professional upfitters into dangerous territory. The Sonos Amp is fundamentally a 100-240V AC device (or requires specialized 48V DC-DC PoE++ injection), meaning it does not natively plug into a 12V or 24V DC vehicle architecture.
When adapting AC-powered audio equipment to a DC house battery bank, the margin for error is razor-thin. A flawed wiring topology will not only introduce severe audio artifacts like alternator whine and clipping, but it can also lead to catastrophic thermal events, melted insulation, and lithium battery fires. In this guide, we dissect the most common and dangerous wiring mistakes made when installing a Sonos Amp in mobile environments, referencing ABYC E-11 Standards and SAE J553 Circuit Protectors to ensure your build is both audiophile-grade and electrically safe.
Critical Mistake 1: Using Modified Sine Wave (MSW) Inverters
The most frequent point of failure in mobile Sonos installations is the power source. To run the AC power supply of the Sonos Amp, builders often tap into the RV's existing inverter. If that inverter is a Modified Sine Wave (MSW) unit, you are actively damaging the amplifier's internal switched-mode power supply (SMPS) and digital-to-analog converters (DAC).
MSW inverters produce a stepped, square-wave approximation of AC power. This waveform introduces massive Total Harmonic Distortion (THD), often exceeding 30%. The Sonos Amp's SMPS relies on clean zero-crossings to efficiently step down voltage. Feeding it an MSW waveform causes the internal capacitors and rectifier diodes to overheat, drastically reducing the lifespan of the unit and introducing a harsh, high-frequency hiss into your speaker outputs. The Fix: You must use a Pure Sine Wave (PSW) inverter with a THD of less than 3%. Furthermore, the PSW inverter must be oversized; while the Sonos Amp draws roughly 220W continuously, audio transients can cause instantaneous spikes. A dedicated 500W to 1000W PSW inverter is recommended to handle dynamic bass peaks without clipping the sine wave.
Critical Mistake 2: Undersized DC Feed Wiring (The Fire Hazard)
Because the Sonos Amp itself only uses a standard IEC C7 'figure-8' AC power cable, installers often neglect the DC wiring that feeds the inverter powering the amp. A 1000W PSW inverter operating on a 12V nominal system will draw upwards of 85 amps continuously, and over 100 amps during peak transient loads or low-voltage states (e.g., when the battery bank drops to 11.5V). Using standard 4 AWG or 6 AWG automotive wire for this run is a severe fire hazard.
According to Sonos Amp Specifications and standard electrical codes, voltage drop must be kept below 3% for sensitive electronics. To calculate the correct wire gauge, you must account for the total round-trip length of the cable (positive and negative) and the maximum amperage.
Inverter DC Feed Sizing Chart (12V Nominal System)
| Inverter Size | Max Continuous Draw | Peak Surge Draw | Recommended AWG (Up to 5ft Run) | Recommended AWG (5ft - 10ft Run) | Required ANL Fuse |
|---|---|---|---|---|---|
| 500W PSW | 45A | 60A | 4 AWG OFC | 2 AWG OFC | 70A ANL |
| 1000W PSW | 90A | 120A | 2 AWG OFC | 1/0 AWG OFC | 150A ANL |
| 2000W PSW | 180A | 250A | 1/0 AWG OFC | 2/0 AWG OFC | 250A ANL |
Note: Always use stranded, marine-grade UL 1426 tinned copper wire. Standard CCA (Copper Clad Aluminum) wire has higher resistance and is strictly prohibited in mobile high-current environments due to oxidation and galvanic corrosion risks.
Critical Mistake 3: Chassis Grounding and Alternator Whine
In traditional car audio installations involving 12V DC amplifiers, the standard practice is to ground the amplifier to the bare metal chassis of the vehicle within 18 inches of the unit. Do not do this with an inverter-powered Sonos Amp in an RV or Overland build.
The vehicle chassis is a noisy, high-current return path shared by the alternator, ECU, fuel pumps, and LED lighting. If you ground your inverter (and subsequently the Sonos Amp) to the chassis, and then route RCA line-level cables or Ethernet cables to a pre-amp or network switch grounded to a different potential, you will create a massive ground loop. This manifests as a high-pitched alternator whine that scales with engine RPM, completely ruining the audio experience.
The Star Ground Topology Solution
To eliminate ground loops, you must implement a dedicated 'House' ground system. Run a heavy-gauge negative cable (matching the size of your positive inverter feed, e.g., 2 AWG) directly from the negative terminal of your house battery bank to a dedicated, insulated negative bus bar. All audio-related grounds—including the inverter negative, the Sonos Amp network switch negative, and any DC-DC converters for audio DSPs—must terminate at this single bus bar. This 'star grounding' technique ensures that all audio components share the exact same reference voltage, eliminating the potential difference that causes alternator whine.
Critical Mistake 4: Impedance Mismatch and Thermal Shutdown
The Sonos Amp is highly configurable, capable of driving standard 8-ohm home speakers or 4-ohm architectural and marine speakers. However, a common mistake in mobile builds is wiring multiple outdoor or marine speakers in parallel to achieve higher volume, inadvertently dropping the impedance below the amplifier's safe operating threshold.
The Sonos Amp is rated for 125W per channel at 8 ohms, and 250W per channel at 4 ohms. If you wire two 4-ohm marine speakers in parallel per channel, the load drops to 2 ohms. The Sonos Amp's internal protection circuitry will detect this severe over-current condition, trigger a thermal shutdown, and flash a red LED error code. Repeatedly forcing the amp into protection can permanently damage the output transistors.
- Single Speaker per Channel: Must be 4 ohms or 8 ohms.
- Two Speakers per Channel (Parallel): Must be 8 ohms each (resulting in a 4-ohm total load).
- Sonos Port / Line-Out: If using the Sonos Amp to drive an external subwoofer amplifier via the RCA sub-out, ensure the subwoofer amp's ground is tied to the same star-ground bus bar to prevent low-frequency hum.
Pre-Commissioning Safety Audit Checklist
Before energizing the system for the first time, perform this mandatory audit to prevent component destruction and ensure adherence to mobile electrical safety standards:
- Fuse Placement: Verify that the main ANL or Class-T fuse for the inverter is located within 7 inches of the positive battery terminal. This protects the entire cable run in the event of a dead short.
- Crimp Integrity: Inspect all high-current lugs. They must be compressed using a closed-die hex crimper, not a hammer or indent crimper. A poor crimp increases resistance, generating localized heat that melts insulation.
- Torque Specifications: Use a calibrated torque wrench on all bus bar and inverter terminal nuts. For standard M8 copper lugs, torque to 4.5 - 5.5 Nm. Under-torquing causes arcing; over-torquing shears the stud.
- Polarity Verification: Use a multimeter to verify DC polarity at the inverter input terminals before connecting the AC power cable to the Sonos Amp. Reverse polarity will instantly destroy the inverter's internal MOSFETs.
- Voltage Drop Test: With the Sonos Amp playing bass-heavy audio at 75% volume, measure the DC voltage at the battery and simultaneously at the inverter terminals. If the drop exceeds 0.5V on a 12V system, your wiring is undersized or your connections are corroded.
By respecting the fundamental differences between stationary residential AC power and dynamic mobile DC power, your Sonos Amp integration will deliver pristine, concert-hall audio to the wilderness without compromising the safety of your vehicle or vessel.