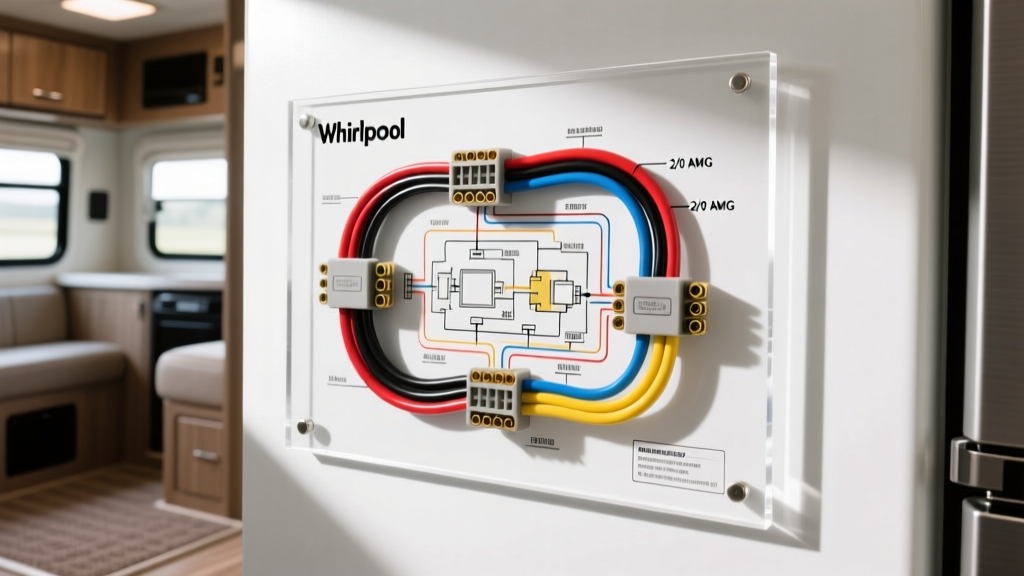
The RV Integration Challenge: Residential Refrigerators
Upgrading from a factory-installed 12V absorption RV fridge to a residential 120V AC compressor-driven unit is one of the most popular modifications in the overland and camper van community. When sourcing a wiring diagram for Whirlpool refrigerator integration, technicians quickly realize that residential appliances require a robust, high-amperage DC-to-AC inversion system to handle compressor startup surges. Unlike native 12V DC RV appliances, a standard 18 to 21 cubic foot Whirlpool residential refrigerator operates on 120V AC and requires a dedicated Pure Sine Wave inverter, heavy-gauge battery cabling, and specific AC overcurrent protection. This guide provides a comprehensive cost and tool requirements analysis for safely executing this conversion in accordance with NFPA 1192 Standard on Recreational Vehicles.
Cost Analysis: Budgeting the Whirlpool Fridge Conversion
Designing a safe electrical schematic for a residential fridge in a vehicle requires prioritizing continuous current delivery over peak wattage ratings. The Whirlpool compressor may draw only 3 to 5 Amps (360W - 600W) during normal operation, but the locked-rotor amperage (LRA) or startup surge can spike to 15 Amps (1800W) for a fraction of a second. If the inverter or DC wiring cannot supply this surge, the voltage will sag, triggering the inverter's low-voltage cutoff and potentially damaging the refrigerator's main PCB control board.
| Component | Specification | Est. Cost (USD) | Purpose |
|---|---|---|---|
| Pure Sine Wave Inverter | 2000W Continuous / 4000W Surge | $350 - $650 | Converts 12V DC to 120V AC. Pure sine wave is mandatory for compressor motors. |
| DC Positive Cable | 2/0 AWG Copper (Class K) | $120 - $160 | Handles up to 190A continuous. Red insulation per SAE J1171. |
| DC Negative Cable | 2/0 AWG Copper (Class K) | $120 - $160 | Completes the high-current circuit. Black insulation. |
| Primary DC Fuse | 250A ANL Fuse & Holder | $45 - $65 | Overcurrent protection within 18 inches of the battery bank. |
| AC Breaker Panel | 15A Square D QO Breaker | $25 - $40 | AC side overcurrent protection for the 14 AWG branch circuit. |
| AC Branch Wiring | 14/2 AWG Marine Duplex | $40 - $60 | Routes 120V AC from inverter to the refrigerator receptacle. |
| Lugs & Heat Shrink | 2/0 AWG Copper Tinned Lugs | $20 - $35 | Terminations for inverter and busbar connections. |
Total Estimated Component Cost: $720 - $1,270 (excluding the refrigerator and battery bank).
Essential Tools for High-Current RV Wiring
Working with 2/0 AWG welding cable and 120V AC branch circuits requires specialized automotive and marine electrical tools. Standard crimpers will not achieve the gas-tight seal required for high-amperage DC connections, leading to localized heating and potential fire hazards.
- Hydraulic Lug Crimper (6-8 Ton): Required for compressing 2/0 AWG copper lugs. A ratcheting die set (e.g., Titan 11400 or TEMCo) ensures uniform deformation of the copper barrel.
- Heavy-Duty Wire Strippers: A cable knife or specialized 2/0 AWG stripping tool to remove thick EPDM insulation without nicking the Class K copper stranding.
- Digital Clamp Multimeter (True RMS): Essential for measuring AC voltage output, verifying the pure sine wave integrity, and checking DC amperage draw during the compressor's startup surge. The Fluke 375 FC is an industry standard.
- Insulated Torque Wrench (Inch-Pounds): Inverter DC terminal bolts require precise torque (typically 8 to 12 Nm, or 70-106 in-lbs) to prevent loosening from vehicle vibration while avoiding stripped aluminum threads on the inverter busbars.
- Adhesive-Lined Heat Shrink Tubing (3:1 Ratio): Used over the 2/0 AWG crimps to prevent moisture ingress and corrosion, which is critical in varying RV climates.
Step-by-Step: Reading the Wiring Diagram for Whirlpool Refrigerator Setups
When interpreting the wiring diagram for Whirlpool refrigerator installations in an RV or camper van, the schematic is divided into two distinct zones: the High-Current DC Supply (Battery to Inverter) and the Low-Current AC Branch (Inverter to Appliance). Always reference the SAE J1171 Standard for marine and RV electrical color codes and routing practices.
Zone 1: DC Side (Battery Bank to Inverter)
The DC wiring must be kept as short as physically possible to minimize voltage drop. A 2000W inverter pulling 1800W from a 12V nominal battery bank (actual resting voltage ~12.8V) will draw approximately 140 Amps continuously, and up to 180 Amps during the compressor's start cycle.
- Battery Positive (+) → 250A ANL Fuse (mounted within 18 inches of the battery terminal) → 2/0 AWG Red Wire → Inverter Positive (+) Terminal.
- Battery Negative (-) → DC Busbar / Shunt → 2/0 AWG Black Wire → Inverter Negative (-) Terminal.
- Chassis Ground: The inverter chassis must be bonded to the vehicle chassis using a minimum 8 AWG green wire to ensure fault current can safely trip the internal protection mechanisms.
Zone 2: AC Side (Inverter to the Refrigerator)
The AC output of the inverter mimics residential shore power. However, because the vehicle is a floating ground system, the AC Neutral and Ground must be bonded at the inverter (if not done internally by the manufacturer) to ensure the Whirlpool fridge's internal fault sensors operate correctly.
- Inverter AC Output (Hot/L1) → 15A AC Circuit Breaker → 14 AWG Black Wire → Receptacle Hot Pin.
- Inverter AC Output (Neutral/N) → 14 AWG White Wire → Receptacle Neutral Pin.
- Inverter AC Output (Ground/G) → 14 AWG Green Wire → Receptacle Ground Pin.
Note: The Whirlpool refrigerator's OEM power cord should plug directly into a dedicated, GFCI-protected 15A or 20A receptacle mounted securely to the cabinetry. Do not hardwire the appliance directly, as this voids the manufacturer's warranty and prevents easy removal for service.
Troubleshooting & Real-World Failure Modes
Even with a perfectly executed wiring diagram for Whirlpool refrigerator integration, mobile environments introduce unique electrical failure modes. Below are the most common issues encountered by RV technicians:
1. Compressor Startup Voltage Sag
Symptom: The fridge clicks, the inverter alarms, and the system shuts down when the thermostat calls for cooling.
Cause: Undersized DC wiring or loose crimps on the 2/0 AWG lugs causing excessive voltage drop. If the voltage at the inverter's DC terminals drops below 10.5V during the 15A AC surge, the inverter's low-voltage protection triggers.
Fix: Measure voltage directly at the inverter lugs (not the battery) during compressor startup. If voltage drops below 11.5V, upgrade the battery bank's C-rating (e.g., switching from AGM to Lithium Iron Phosphate) or shorten the 2/0 AWG cable runs.
2. PCB Control Board Failure
Symptom: The refrigerator interior lights work, but the compressor never engages, and the digital display throws an error code.
Cause: Use of a Modified Sine Wave (MSW) inverter instead of a Pure Sine Wave (PSW) inverter. MSW inverters produce a choppy, square-wave harmonic distortion that causes the Whirlpool compressor's variable-frequency drive (VFD) and main logic board to overheat and fail.
Fix: Replace the MSW inverter with a high-quality PSW inverter (e.g., Victron Energy or Magnum Energy). Reference the Victron Energy Inverter Manual for proper THD (Total Harmonic Distortion) specifications, which should be less than 3%.
3. Nuisance GFCI Tripping
Symptom: The AC breaker or the GFCI outlet trips randomly while driving over rough terrain.
Cause: A loose neutral-to-ground bond or stray DC current leaking onto the AC ground wire due to improper cable routing (running 120V AC and 12V DC wires in the same conduit, causing inductive interference).
Fix: Separate AC and DC wiring routes by at least 2 inches. Verify that the Neutral-Ground bond is established at exactly one point in the system (usually internal to the inverter/charger) to prevent ground loops.
Final Safety and Inspection Protocols
Before energizing the system, perform a continuity test on the AC ground wire from the receptacle to the inverter chassis ground. Ensure all 2/0 AWG DC lugs have been pulled with a firm tug to verify the hydraulic crimp, and wrap them in 3:1 adhesive heat shrink. Finally, verify that the Whirlpool refrigerator's condenser coils have adequate ventilation; residential units require significantly more airflow than RV absorption fridges, and poor ventilation will cause the compressor to run continuously, rapidly draining the vehicle's battery bank.