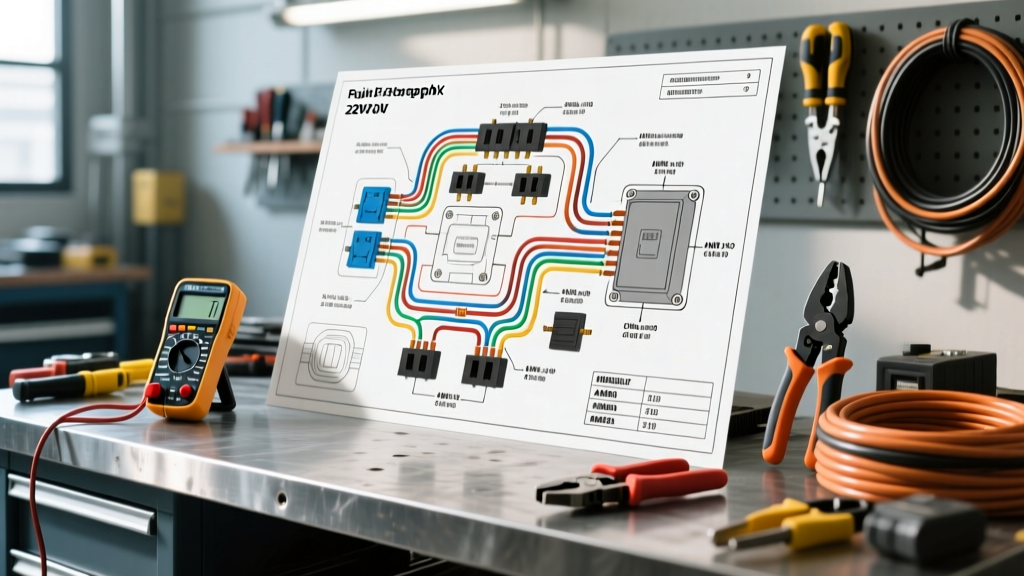
Introduction: The Critical Role of 220V Lift Wiring in Automotive Shops
For automotive technicians and shop owners, a reliable two-post or four-post car lift is the backbone of the workspace. Whether you are diagnosing complex vehicle wiring harnesses, performing exhaust fabrications, or swapping transmissions, the lift must operate flawlessly. However, the electrical infrastructure powering these machines is often misunderstood. Interpreting a 220v car lift wiring diagram requires a solid grasp of single-phase and three-phase motor circuits, magnetic contactors, and low-voltage control logic. More importantly, executing the installation demands specific tools and a clear understanding of material and labor costs.
This comprehensive guide breaks down the electrical schematic of a standard 220V hydraulic car lift, outlines the exact tools required for a code-compliant installation, and provides a detailed cost analysis to help you budget your shop upgrade accurately.
Decoding the 220v Car Lift Wiring Diagram
A standard 220V single-phase car lift (typically rated between 7,000 lbs and 10,000 lbs capacity) utilizes a 2HP to 3HP capacitor-start induction motor. The wiring diagram is generally divided into two distinct circuits: the high-voltage power circuit and the low-voltage control circuit.
1. The High-Voltage Power Circuit (220V AC)
The power circuit originates at the main electrical panel and terminates at the motor. According to NFPA 70: National Electrical Code (NEC) Article 430, motor circuits require specific overcurrent protection and disconnecting means.
- Main Disconnect & Breaker: A 30-Amp, 2-pole breaker is standard for a 2HP-3HP motor operating at 220V-240V.
- Wire Sizing: 10 AWG THHN copper wire is the minimum requirement for a 30A circuit, though 8 AWG is recommended for runs exceeding 75 feet to mitigate voltage drop.
- Color Coding: Black (L1 / Hot 1), Red (L2 / Hot 2), and Green or Bare Copper (Equipment Ground). Note that a neutral (White) wire is not required or used in a standard 220V lift motor circuit.
- Receptacle: NEMA 6-30R (30A, 250V, 3-prong grounding receptacle) or hardwired directly to a fused disconnect switch.
2. The Low-Voltage Control Circuit (24V AC)
To protect the operator from high-voltage shock at the push-button station, the lift control box utilizes a step-down transformer. The transformer converts the 220V input to a safe 24V AC output.
- Transformer Primary: Connected across L1 and L2 (220V).
- Transformer Secondary: Outputs 24V AC to the 'Up' and 'Down' push buttons.
- Magnetic Contactor Coil: When the 'Up' button (Normally Open) is pressed, 24V travels to the contactor coil (Terminals A1 and A2). This energizes the coil, pulling the main high-voltage contacts closed, which sends 220V to the motor.
- Limit Switches: Wired in series with the 'Up' button. Once the carriage hits the physical limit, the switch opens, breaking the 24V circuit and dropping the contactor.
Essential Tools for 220V Lift Installation
Wiring a 220V lift is not a standard household DIY project; it involves high-amperage inductive loads. Using the correct tools ensures secure terminations, preventing arc faults and thermal runaway. Referencing BendPak Installation Manuals, manufacturers strictly mandate proper torque and termination practices.
Diagnostic and Measurement Tools
- True-RMS Digital Multimeter (CAT III 600V Minimum): Essential for verifying the 220V supply across L1 and L2, and testing the 24V control circuit continuity. (Recommended: Fluke 117 or Klein Tools MM400).
- Non-Contact Voltage Tester: For initial safety verification before touching any terminal blocks.
- Clamp Meter: Used to measure the Locked Rotor Amps (LRA) and Full Load Amps (FLA) upon initial startup to ensure the motor is not drawing excessive current due to mechanical binding.
Termination and Mechanical Tools
- Wire Strippers (10-14 AWG): Precision strippers like the Klein Tools 11055 prevent nicking the copper conductor, which creates a weak point that can snap under vibration.
- Calibrated Torque Screwdriver: Critical. Terminal block screws on magnetic contactors typically require 1.7 to 2.3 Nm (15-20 in-lbs). Under-torquing causes arcing and melting; over-torquing strips the brass threads.
- Conduit Bender (3/4-inch EMT): For routing rigid metal conduit from the ceiling or wall to the lift power unit, protecting the wires from physical damage in a busy shop environment.
- Ferrule Crimper: If your lift's control box uses European-style terminal blocks, crimping wire ferrules onto the stranded THHN wires prevents stray strands from causing short circuits.
Cost Analysis: Materials and Labor Breakdown
Budgeting for a 220V car lift circuit requires accounting for the raw electrical materials, shop infrastructure modifications, and professional labor if you are not a licensed electrician. Below is a detailed cost analysis for a standard 50-foot run from a 200-Amp main panel to a NEMA 6-30R receptacle.
| Component Category | Specification / Details | Estimated Cost (USD) | Notes & Considerations |
|---|---|---|---|
| Circuit Breaker | 30A, 2-Pole, 240V (Square D / Eaton) | $15 - $25 | Must match the brand and bus bar type of your existing electrical panel. |
| Wire (THHN/THWN) | 10 AWG Copper (Black, Red, Green) | $60 - $85 | Based on $0.40-$0.55 per foot for 150 feet total (including ground and waste). |
| Conduit & Fittings | 3/4" EMT Conduit, connectors, straps | $45 - $70 | EMT is required by code in commercial shop environments to protect against impact. |
| Receptacle & Box | NEMA 6-30R, 30A 250V, Heavy-duty box | $30 - $50 | Do not use cheap residential-grade receptacles; shop for industrial spec-grade. |
| Fused Disconnect | 60A Non-Fused or 30A Fused (Optional) | $40 - $80 | Required by NEC if the lift is hardwired and out of sight of the breaker panel. |
| Miscellaneous | Wire nuts, terminal lugs, electrical tape | $15 - $25 | Ideal for pigtailing and securing ground wires to the lift chassis. |
| Total DIY Materials | Complete Hardware List | $205 - $335 | Excludes tools and permit fees. |
| Professional Labor | Licensed Electrician (2-4 Hours) | $400 - $1,200 | Varies heavily by region. Includes pulling wire, bending conduit, and panel termination. |
| Permits & Inspections | Local Municipal Electrical Permit | $50 - $150 | Mandatory for commercial shops and required for business insurance compliance. |
Hidden Costs: Panel Upgrades and Voltage Drop
If your shop's electrical panel lacks the physical space for a new 2-pole breaker, or if your service is already near capacity (e.g., running multiple welders, compressors, and lifts simultaneously), you may need a service upgrade. Upgrading from a 100A to a 200A or 400A commercial service can cost between $2,500 and $6,000. Additionally, for wire runs exceeding 100 feet, you must upsize to 8 AWG wire to keep the voltage drop below the NEC-recommended 3% threshold. Voltage drop on a 220V motor circuit leads to excessive heat, premature capacitor failure, and tripped thermal overloads.
Troubleshooting Common 220V Lift Electrical Failures
Even with a perfect installation, 220V lift circuits experience wear and tear. Use this symptom-cause-fix decision tree to diagnose electrical faults rapidly, minimizing shop downtime.
Symptom: Motor Hums but Does Not Turn (Lift Won't Raise)
- Cause 1: Failed Start Capacitor. The capacitor provides the phase shift needed to start the single-phase motor. If it bulges or leaks, the motor lacks starting torque.
Fix: Discharge the capacitor safely with a 20k-ohm resistor, test with a multimeter's capacitance setting, and replace with an identical microfarad (µF) rating. - Cause 2: Low Voltage at the Motor. A loose connection at the NEMA plug or breaker is causing severe voltage drop under load.
Fix: Check L1 and L2 voltage at the motor terminal block while pressing the 'Up' button. If it drops below 200V, tighten all upstream terminations to the specified torque.
Symptom: Contactor 'Chatters' or Clicks Rapidly
- Cause 1: Dirty or Pitted Contactor Contacts. High inductive loads cause arcing, which carbonizes the copper contact pads over time, preventing a solid electrical connection.
Fix: Inspect the main contactor pads. If they are blackened or pitted, replace the entire contactor block. Do not attempt to file them down, as this removes the protective silver alloy coating. - Cause 2: Failing 24V Control Transformer. If the transformer output drops below 20V AC under load, the magnetic coil cannot maintain a strong hold.
Fix: Measure secondary voltage while the button is depressed. Replace the transformer if voltage sags excessively.
Symptom: Motor Runs but Stops After a Few Seconds
- Cause 1: Tripped Thermal Overload Relay. The overload relay protects the motor from drawing too many amps. If the hydraulic fluid is too cold (high viscosity) or the carriage is binding, the motor draws high FLA, tripping the thermal element.
Fix: Allow the motor to cool for 10 minutes. Press the reset button on the thermal overload block. Check hydraulic fluid levels and inspect carriage sliders for proper lubrication. - Cause 2: Faulty Limit Switch. The overhead limit switch may be misaligned, vibrating open during operation.
Fix: Bypass the limit switch temporarily with a jumper wire to confirm the fault. Realign or replace the microswitch and adjust the physical carriage stopper.
Conclusion: Prioritizing Safety and Code Compliance
Understanding the intricacies of a 220v car lift wiring diagram is essential for any serious automotive facility. By investing in the proper diagnostic tools, adhering to strict torque specifications, and budgeting accurately for high-quality materials, you ensure that your lift operates safely and reliably for decades. Always consult local electrical codes and resources like Mike Holt Enterprises for NEC Motor Wiring guidelines to ensure your installation meets the highest standards of shop safety. Whether you are wiring a single 2-post lift for a home garage or outfitting a multi-bay commercial dealership, proper electrical planning is the foundation of automotive service excellence.