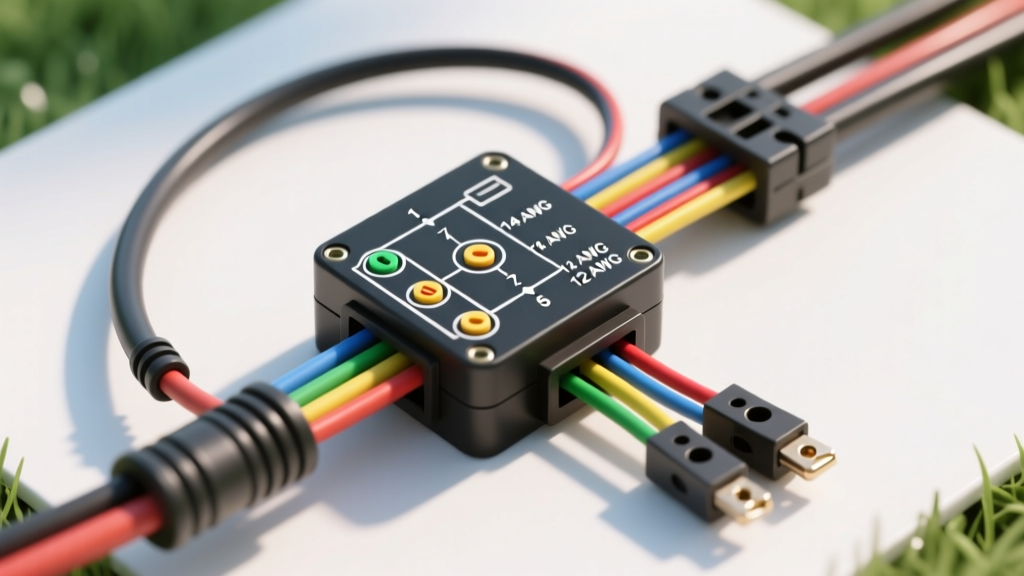
Integrating Mower Ignitions with Trailer Accessories: A Cost & Tool Analysis
Commercial landscaping and agricultural setups frequently blur the line between tow vehicle and implement. When pulling a motorized dump trailer, a trailer-mounted winch, or a hydraulic sprayer behind a heavy-duty zero-turn mower or utility tractor, integrating a 7 pin lawn mower ignition switch wiring diagram with a standard 7-way RV trailer connector is essential. This setup allows the operator to control trailer-mounted accessories directly from the mower's dash or key switch, utilizing the mower's stator and battery system to manage auxiliary loads.
However, outdoor power equipment operates in high-vibration, high-moisture environments that rapidly destroy standard automotive wiring. This comprehensive guide breaks down the exact costs, specialized tool requirements, and precise pinout mappings needed to safely route switched 12V power from your mower's universal ignition switch to your trailer's auxiliary circuits without inducing voltage drop or electrical fires.
Cost Breakdown: Budgeting Your 7-Pin Switch and Trailer Harness
Before cutting into your mower's main harness or your trailer's junction box, it is critical to source components rated for outdoor, high-vibration use. Standard hardware store electrical supplies will fail within a single mowing season due to UV degradation and water intrusion. Below is a realistic cost analysis for a professional-grade integration.
| Component | Specification | Estimated Cost |
|---|---|---|
| Universal 7-Pin Ignition Switch | Cole Hersee style, O-ring sealed, copper contacts | $22.00 - $35.00 |
| 7-Way RV Trailer Plug (Trailer Side) | Die-cast zinc or heavy-duty ABS with spring-loaded cover | $25.00 - $40.00 |
| Primary Wiring (50 ft spool) | 10 AWG & 14 AWG SAE J1128 GXL (Cross-linked, UV resistant) | $35.00 - $50.00 |
| Heavy-Duty Relays (Qty 2) | 30A/40A Bosch-style, sealed with mounting bracket | $14.00 - $20.00 |
| Terminals & Weatherproofing | Adhesive-lined marine heat shrink, ring terminals | $15.00 - $25.00 |
| Dielectric Grease & Loom | Nylon split loom, silicone-based grease | $12.00 |
Total Estimated Project Cost: $123.00 - $182.00. While this is roughly 40% more expensive than using standard PVC-jacketed wire and non-sealed relays, the adherence to SAE J1128 standards for GXL cross-linked polyethylene insulation ensures the wiring will withstand engine bay temperatures up to 125°C and resist cracking from constant chassis vibration.
Essential Tool Requirements for Heavy-Duty Outdoor Wiring
The most common cause of trailer electrical failure on commercial mowers is improper termination. Soldering is strictly prohibited in high-vibration mower applications; solder wicks into the wire strands, creating a rigid 'hard point' that inevitably snaps under the harmonic vibration of a commercial mower deck. You must use mechanical crimps. Required tools include:
- Ratcheting Crimpers (10-16 AWG): A ratcheting mechanism ensures the exact compression ratio is met every time, preventing cold joints that cause arcing and heat buildup.
- Precision Wire Strippers: To strip GXL wire without nicking the copper strands. A nicked 10 AWG wire loses up to 20% of its tensile strength and ampacity.
- Industrial Heat Gun: Required for shrinking dual-wall, adhesive-lined heat shrink tubing. The inner meltable adhesive wall creates a watertight seal that blocks capillary action from drawing moisture up the wire strands.
- Digital Multimeter (DMM): Essential for verifying voltage drop across the 7-pin connector and testing relay trigger circuits before applying full load.
- Terminal Extraction Tool: For safely removing and re-seating pins inside the molded 7-way trailer plug without breaking the retaining tangs.
The 7 Pin Lawn Mower Ignition Switch Wiring Diagram Explained
Universal 7-pin ignition switches (commonly manufactured by companies like Cole Hersee) use a standardized letter designation for their spade terminals. To integrate this with a standard 7-way RV trailer connector (detailed in the etrailer Wiring Guide), we must map the mower's switched circuits to the trailer's auxiliary pins using relays to protect the mower's delicate key switch contacts from high amp-draw trailer accessories.
Ignition Switch Terminal Definitions
- B (Battery): Constant 12V+ from the mower's main battery.
- S (Starter): 12V+ output only during the 'Start' position.
- I (Ignition): 12V+ output in 'Run' and 'Start' positions (powers EFI/coils).
- G (Ground): Chassis ground reference.
- L (Lights): 12V+ output when the light switch is pulled/turned.
- M (Magneto/PTO): Grounds out to kill the engine when in 'Off' position; open in 'Run'.
- R (Accessory): 12V+ output in 'Run' position (usually lower amperage).
Pinout Mapping: Mower Switch to 7-Way Trailer Connector
| Mower Switch Pin | Wire Color (AWG) | Relay Terminal | Trailer 7-Way Pin | Function / Application |
|---|---|---|---|---|
| B (Battery) | Red (10 AWG) | Relay 1: Pin 30 | N/A (Power Source) | Main high-current feed for trailer accessories. |
| R (Accessory) | Yellow (14 AWG) | Relay 1: Pin 86 | Triggers Relay 1 | Switched 12V trigger for Trailer Pin 6 (Aux 12V). |
| L (Lights) | Brown (14 AWG) | Direct Connect | Pin 2 (Tail/Running) | Powers trailer beacon lights and clearance lamps. |
| G (Ground) | Black (10 AWG) | Relay 1: Pin 85 | Pin 1 (Ground) | System ground; must be bonded to mower chassis and trailer frame. |
| M (Magneto) | White (14 AWG) | Relay 2: Pin 86 | Triggers Relay 2 | Used for PTO-interlocked trailer winch or hydraulic pump relay. |
| I (Ignition) | Pink (14 AWG) | Direct Connect | Pin 7 (Center Aux) | Trailer battery charging circuit (via 30A auto-reset breaker). |
Wire Gauge (AWG) and Weatherproofing Specifications
When executing this 7 pin lawn mower ignition switch wiring diagram, wire gauge selection is dictated by the amperage of the trailer accessory and the length of the wire run. For a typical commercial mower-to-trailer run of 10 to 15 feet:
- 10 AWG GXL Wire: Mandatory for the 'B' (Battery) feed and the main ground to Trailer Pin 1. A 10 AWG copper wire can safely handle 30 amps continuously with minimal voltage drop over short runs.
- 14 AWG GXL Wire: Used for all trigger circuits (Relay Pin 86) and lighting circuits (Trailer Pin 2). 14 AWG is rated for up to 15 amps, which is more than sufficient for LED beacon lights and relay coils.
- Heat Shrink Specification: You must use 3:1 shrink ratio, dual-wall polyolefin tubing with an inner layer of meltable EVA adhesive. When heated, the adhesive squeezes out the ends, completely sealing the crimp barrel from moisture and corrosive fertilizers.
Common Failure Modes and Troubleshooting
Even with a perfect diagram, outdoor wiring is subject to harsh conditions. Here is a diagnostic decision tree for common failures in this specific integration:
Symptom: Trailer Winch/Dump Motor Clicks but Will Not Engage
Cause: Voltage drop across the mower's key switch contacts. Universal 7-pin switches are typically rated for a maximum of 15 amps on the accessory posts. If you wire a trailer winch solenoid directly to the 'R' or 'I' post without a relay, the high inrush current will melt the internal copper wiper of the ignition switch.
Fix: Install a 30A Bosch-style relay. Use the ignition switch only to trigger the relay coil (Pin 86), which draws less than 0.2 amps. Route the heavy winch current directly from the battery through the relay contacts (Pins 30 and 87).
Symptom: Mower Stator Overheats or Battery Dies Mid-Shift
Cause: Parasitic draw from the trailer's breakaway battery or trailer-mounted accessories pulling current through the mower's charging circuit (Trailer Pin 7) when the mower is turned off.
Fix: Wire an automatic isolation solenoid (battery isolator) on the 'I' (Ignition) circuit. This ensures the trailer's battery charging circuit (Pin 7) only receives 12V power when the mower's engine is actively running and the stator is generating amperage.
Symptom: Intermittent Trailer Beacon Light Flickering
Cause: Micro-corrosion on the 7-way trailer plug pins due to pressure washing or exposure to liquid lawn chemicals.
Fix: Disconnect the 7-way plug. Use a fiberglass scratch pen to clean the brass pins. Apply a liberal coat of silicone-based dielectric grease to the pins before reconnecting. Never use petroleum jelly, as it degrades the ABS plastic housings of modern trailer plugs.
Final Safety and Compliance Notes
Always install a 30-amp marine-grade auto-reset circuit breaker within 18 inches of the mower battery's positive terminal on the 'B' circuit feed. This protects the entire harness from dead-shorting against the mower's steel chassis in the event of a torn wire loom. Furthermore, ensure that any PTO-interlocked trailer accessories (like a hydraulic pump) are wired with a secondary safety cutoff at the trailer tongue, preventing accidental engagement if the trailer becomes detached while the mower is still running.