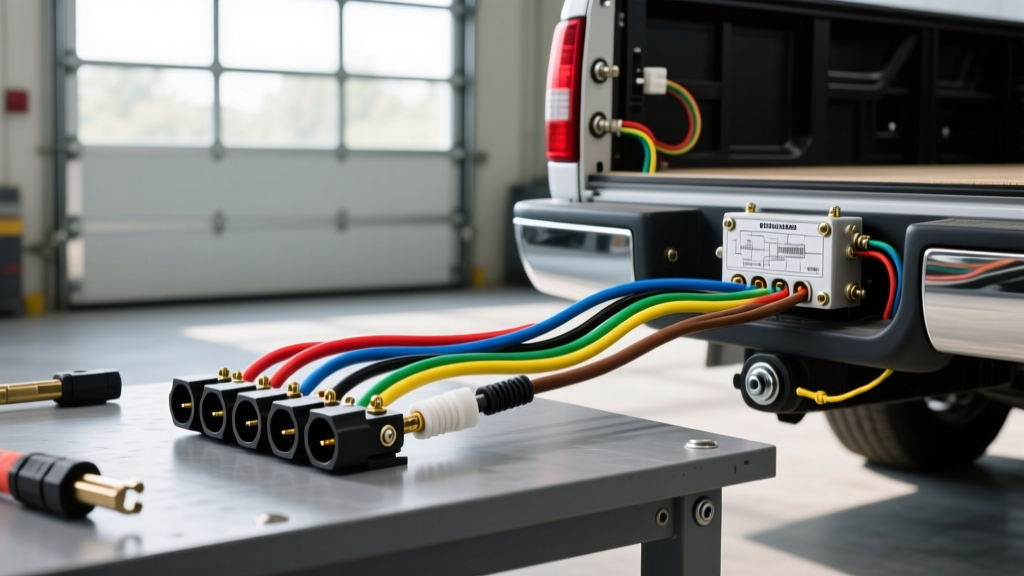
The GMT800 Towing Bottleneck: Why Upgrade?
The 2006 model year represents the final production run of General Motors' legendary GMT800 platform. While the 2006 Chevrolet Silverado remains a highly capable towing machine, its factory electrical architecture was designed for the trailer standards of the mid-2000s. When consulting the factory 2006 Silverado trailer wiring diagram, many owners discover that the wiring harness is optimized for basic utility trailers, not modern, high-draw car haulers or heavy-duty RVs with multiple electric brake axles.
Common failure points on the 2006 Silverado include corroded frame grounds, missing underhood relays for the brake controller, and voltage drop across the 12 AWG electric brake feed wire. This upgrade guide will walk you through modifying your 7-way RV blade connector, reinforcing the ground circuit, and populating the underhood bussed electrical center (UBEC) to ensure your trailer receives maximum voltage and reliable signal transmission.
Factory vs. Upgraded 7-Pin Wiring Reference Chart
Before cutting into the harness, it is critical to understand the SAE J2863 standard for 7-way connectors. The table below maps the standard 7-pin configuration to the GM factory wire colors found behind the rear bumper of the 2006 Silverado, alongside our recommended AWG upgrades for heavy-duty applications.
| Pin | Function | GM Factory Wire Color | Factory AWG | Recommended Upgrade AWG |
|---|---|---|---|---|
| 1 | Ground (White) | White | 12 AWG | 10 AWG or 8 AWG |
| 2 | Tail / Running Lights | Brown | 16 AWG | 14 AWG |
| 3 | Left Turn / Stop | Yellow | 16 AWG | 14 AWG |
| 4 | Right Turn / Stop | Dark Green | 16 AWG | 14 AWG |
| 5 | Electric Brakes | Light Blue | 12 AWG | 10 AWG |
| 6 | 12V Aux / Battery Charge | Red / Black | 12 AWG | 10 AWG |
| 7 | Reverse Lights / Aux | Purple | 16 AWG | 14 AWG |
Modification 1: Populating the Missing UBEC Relays
One of the most frustrating aspects of the GMT800 tow package is that GM pre-wired the harness from the factory but frequently omitted the relays in the Underhood Bussed Electrical Center (UBEC) to save manufacturing costs. If your 2006 Silverado has a factory 7-way plug but the electric brakes do not engage, or the 12V auxiliary pin is dead, you are likely missing relays.
Sourcing and Installing the Relays
- Locate the UBEC: Open the hood and remove the cover on the driver-side fuse block.
- Identify the Slots: Look for the square relay slots labeled TRAILER BCK/UP (Trailer Brake Controller) and AUX PWR (Auxiliary Power).
- Source the Relays: You will need two standard 4-pin 12V 30A micro relays. GM part number 15088073 is the OEM replacement, though any high-quality Bosch-style 4-pin relay will suffice.
- Install and Verify: Press the relays firmly into the slots. According to the GM Upfitter Body Builder Manuals, the TRAILER BCK/UP relay is triggered by the brake controller output, while the AUX PWR relay is often tied to the ignition or a dedicated dash switch, providing a switched 12V source to Pin 6 on your 7-way connector.
Modification 2: Fixing the Infamous GMT800 Tail Light Ground
If your trailer lights hyper-flash, dim when the brakes are applied, or behave erratically (e.g., brake lights flashing when the turn signal is engaged), you are experiencing voltage bleed due to a poor ground. The factory white ground wire on the 2006 Silverado terminates at a sheet-metal screw near the spare tire. Over years of exposure to road salt and moisture, this connection inevitably corrodes.
The Permanent Ground Upgrade
Do not simply clean the factory ground; bypass it entirely.
- Cut the factory white ground wire near the 7-way connector pigtail.
- Crimp on a new length of 10 AWG copper wire using an adhesive-lined marine heat shrink ring terminal.
- Route the new 10 AWG wire along the frame rail, securing it with zip ties away from the exhaust and moving suspension components.
- Terminate the wire at the negative battery terminal or a dedicated, bare-metal grounding stud on the engine block. If grounding to the frame, use a star washer to bite through the paint and coat the terminal with NO-OX-ID A-Special anti-corrosion paste.
Modification 3: Upgrading the Electric Brake Feed Wire
When towing a dual or triple-axle trailer, the electric brake magnets can draw upwards of 15-20 amps collectively. The factory 12 AWG light blue wire running from the UBEC to the rear bumper is approximately 18 feet long. Under heavy load, this results in a significant voltage drop, meaning your trailer brakes receive less current and provide weaker stopping power.
The Fix: Run a parallel 10 AWG blue wire from the brake controller output terminal directly to the Pin 5 terminal on the back of the 7-way receptacle. Solder the connection at the 7-way plug rather than relying solely on a crimp, and use a heat gun to shrink 3M MDT adhesive tubing over the joint to prevent moisture intrusion. This ensures your brake controller's maximum voltage reaches the trailer magnets without resistive losses.
GMT800 Trailer Wiring Troubleshooting Decision Tree
Even with upgrades, trailer wiring issues can arise from the trailer side or the vehicle's BCM (Body Control Module). Use this diagnostic tree to isolate faults.
Symptom: Turn Signals Hyper-Flash When Trailer is Connected
- Cause 1: The factory thermal flasher relay cannot handle the low-draw LED lights on a modern trailer, or it is overloading on high-draw incandescent bulbs.
- Fix: Replace the factory flasher module in the interior fuse panel with an LED-compatible electronic flasher (GM Part #15016745 or equivalent). Alternatively, install 6-ohm 50W load resistors on the trailer's turn signal circuits.
Symptom: Trailer Brakes Lock Up When Headlights are Turned On
- Cause 1: A short circuit inside the 7-way trailer plug where the Brown (Tail) and Blue (Brake) pins are bridging due to melted plastic or corrosion.
- Cause 2: The trailer's ground wire is compromised, forcing the running light current to back-feed through the brake magnets to find a ground.
- Fix: Inspect the male 7-way plug on the trailer and the female receptacle on the Silverado. Look for green corrosion or pushed-back pins. Clean with electrical contact cleaner and apply dielectric grease. If the ground is the issue, refer to Modification 2 above.
Symptom: No 12V Power at Pin 6 (Auxiliary)
- Cause 1: Missing AUX PWR relay in the UBEC (see Modification 1).
- Cause 2: Blown 40A J-Case fuse in the underhood fuse block labeled 'TRAILER AUX' or 'STUD #2'.
- Fix: Test the fuse with a multimeter for continuity. If the relay and fuse are present, verify that the red/black wire has continuity from the fuse block to the back of the 7-way connector. For comprehensive testing procedures, consult the eTrailer Wiring FAQ and GMT800 Guides.
Final Validation and Testing
After completing your wiring upgrades, do not rely solely on visual inspection. Use a digital multimeter to measure voltage at the rear 7-way connector. With the Silverado running, you should read between 13.8V and 14.4V at Pin 6 (Aux) and Pin 1 (Ground reference). Engage the manual override on your brake controller and verify that Pin 5 (Brakes) receives a proportional voltage increase up to 12V. Finally, apply a high-quality dielectric grease to the inside of the 7-way connector cap to protect your newly upgraded harness from the elements, ensuring your 2006 Silverado remains a reliable towing platform for years to come.