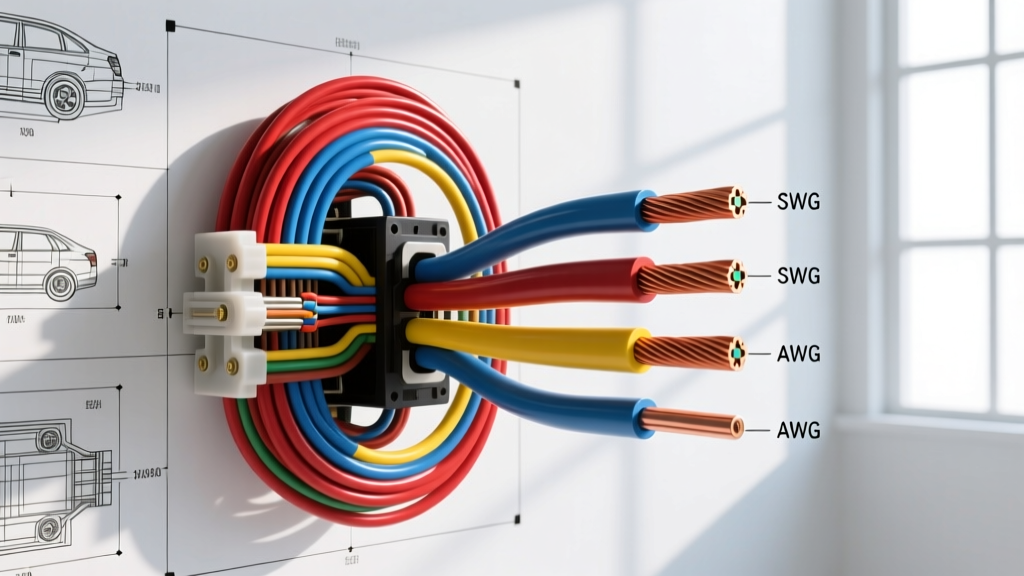
The Hidden Danger of S.W.G Wire Gauge Confusion
When restoring classic British vehicles or repairing imported European machinery, one of the most hazardous mistakes an automotive technician can make is confusing the s.w.g wire gauge (Standard Wire Gauge) with the North American AWG (American Wire Gauge) standard. Also known as Imperial Wire Gauge, SWG was the foundational metric for Lucas, Smiths, and British Leyland electrical systems from the 1940s through the 1980s. Today, the globalized automotive parts market means that a mechanic in the US might order '14 gauge' wire online, only to receive SWG wire from a UK supplier, or conversely, read a factory workshop manual specifying SWG and unknowingly substitute locally sourced AWG wire.
This substitution is not merely a matter of physical fitment; it is a severe fire and reliability hazard. Because the SWG and AWG scaling systems diverge significantly as the gauge numbers change, substituting AWG wire when an SWG specification is called for results in a drastically undersized conductor. In high-amperage automotive circuits like alternator feeds, headlamp relays, and starter solenoids, this undersizing leads to catastrophic voltage drop, insulation melting, and electrical fires.
S.W.G vs AWG: The Cross-Sectional Area Trap
The fundamental danger lies in the cross-sectional area of the copper conductor. In both systems, a higher gauge number indicates a thinner wire. However, the mathematical progression of the diameters differs. For classic car wiring, the most common sizes used in Lucas harnesses are 14, 18, and 22 gauge. If a 1969 MGB GT factory manual calls for 14 SWG wire for the horn relay circuit, and you install 14 AWG, you are installing a wire with roughly 35% less copper mass.
| Gauge Number | SWG Diameter (mm) | SWG Area (mm²) | AWG Diameter (mm) | AWG Area (mm²) | Resistance per 1000ft (SWG vs AWG) |
|---|---|---|---|---|---|
| 10 | 3.251 mm | 8.30 mm² | 2.588 mm | 5.26 mm² | 0.81 Ω vs 1.02 Ω |
| 12 | 2.642 mm | 5.48 mm² | 2.053 mm | 3.31 mm² | 1.23 Ω vs 1.62 Ω |
| 14 | 2.032 mm | 3.24 mm² | 1.628 mm | 2.08 mm² | 2.08 Ω vs 2.58 Ω |
| 16 | 1.626 mm | 2.08 mm² | 1.291 mm | 1.31 mm² | 3.24 Ω vs 4.09 Ω |
| 18 | 1.219 mm | 1.16 mm² | 1.024 mm | 0.82 mm² | 5.81 Ω vs 6.51 Ω |
As illustrated in the chart above, the discrepancy in cross-sectional area between 10 SWG and 10 AWG is massive. A 10 SWG wire offers 8.30 mm² of conductive area, while 10 AWG offers only 5.26 mm². According to SAE J1128 standards for automotive primary wire, current carrying capacity is directly tied to this cross-sectional area and the thermal limits of the insulation jacket.
Real-World Failure Modes in Classic British Vehicles
1. The Lucas Alternator Upgrade Fire Hazard
A common modification on vehicles like the Triumph TR6 or Land Rover Series III is upgrading the original Lucas 35-amp alternator to a modern 65-amp or 100-amp unit. The original factory wiring from the alternator output (BAT) terminal to the starter solenoid or battery was often 10 SWG or 12 SWG. If a restorer uses modern 10 AWG wire to handle the 'upgrade,' the wire will be subjected to engine bay ambient temperatures exceeding 120°C. Under a continuous 60A load, 10 AWG wire will experience severe voltage drop and generate enough resistive heat to melt standard PVC insulation, potentially shorting against the exhaust manifold or inner fender.
2. 6-Volt Positive Earth Voltage Drop
Many classic British cars (such as early MG T-Series and Austin-Healeys) originally utilized 6-volt positive-earth electrical systems. In a 6V system, drawing the same wattage requires double the amperage compared to a 12V system (e.g., a 60W headlamp draws 5A at 12V, but 10A at 6V). Factory engineers compensated for this by specifying thicker SWG wires. If a previous owner converted the car to 12V negative-earth but retained damaged harnesses, and a mechanic repairs it using equivalent AWG sizes instead of the original SWG sizes, the undersized wires will choke the system, leading to dim lighting, slow wiper motors, and hot wiring harnesses.
3. Terminal Crimp Barrel Shearing
Beyond electrical resistance, physical fitment is a major point of failure. Standard Lucas bullet connectors and 6.35mm (1/4-inch) spade terminals designed for 14 SWG wire feature a larger crimp barrel than American terminals designed for 14 AWG. If you attempt to force 14 SWG wire into a standard 14 AWG insulated crimp terminal, the excess copper strands will bunch up. Mechanics often respond by snipping away strands to make the wire fit into the smaller AWG barrel. This artificially reduces the wire's gauge at the termination point, creating a high-resistance bottleneck that will arc and fail under load.
Decoding Lucas Electrical Color Codes
When sourcing correct s.w.g wire gauge replacements, you must also adhere to British automotive color codes to maintain diagnostic traceability. The British Standards Institution (BSI) and Lucas established a strict color-coding system that differs entirely from North American DIN/SAE standards. Using the correct SWG size with the wrong color code creates a nightmare for future troubleshooting.
- White (W): Unswitched battery hot. Direct from the battery or starter solenoid to the fuse box and ammeter. Typically 12 SWG or 14 SWG.
- White/Red (WR): Switched ignition hot. Fed from the ignition switch to the fuse box and ignition coil. Typically 14 SWG or 16 SWG.
- Blue (U): Headlamp and side lamp circuits. Main beam and dip beam feeds. Usually 14 SWG to handle the high amperage of sealed beam halogens.
- Green (G): Fused ignition circuits. Powers accessories like the wiper motor, fuel pump, and overdrive solenoids after the main fuse block.
- Slate (S): Lighting switch feeds. Used for the dashboard illumination and tail lamp feeds originating from the headlamp switch.
Proper Measurement and Verification Protocols
Because wire manufacturing tolerances and insulation thicknesses vary wildly—especially with modern reproduction 'classic' wiring harnesses—you cannot rely on the outer diameter of the insulation to determine if a wire is SWG or AWG. You must verify the bare copper.
- Strip the Insulation: Use a precision wire stripper to remove exactly 1/2 inch of the PVC or cloth braided insulation without nicking the copper strands.
- Use a Digital Micrometer: Do not use calipers, as the clamping pressure can deform soft copper. Use a digital micrometer with a ratchet stop to measure the bare wire diameter.
- Measure Multiple Strands: If dealing with multi-strand automotive primary wire, measure the overall diameter of the twisted bundle, or refer to the manufacturer's cross-sectional area specification (mm²) printed on the spool.
- Verify the Crimp: When terminating SWG wire, always use non-insulated, open-barrel terminals specifically stamped for metric or SWG sizing, or use a heavy-duty ratcheting crimper with interchangeable AWG/SWG die sets. A proper crimp should pass a 15 lb pull-test without the wire slipping from the barrel.
Authoritative References & Further Reading
To ensure your automotive electrical projects meet safety and OEM standards, consult the following resources:
- SAE J1128 - Low Tension Primary Cable: The definitive North American standard for automotive wire insulation and thermal ratings.
- British Standards Institution (BSI): Historical archives for BS 6004 and imperial wire gauge specifications used in UK manufacturing.
- Lucas Electrical Service Manuals (Haynes Publishing): Essential reading for tracing Lucas color codes and factory SWG routing diagrams for British Leyland vehicles.
By respecting the physical realities of the s.w.g wire gauge and refusing to substitute AWG in imperial-spec harnesses, you protect the vehicle's electrical integrity and prevent catastrophic thermal failures.