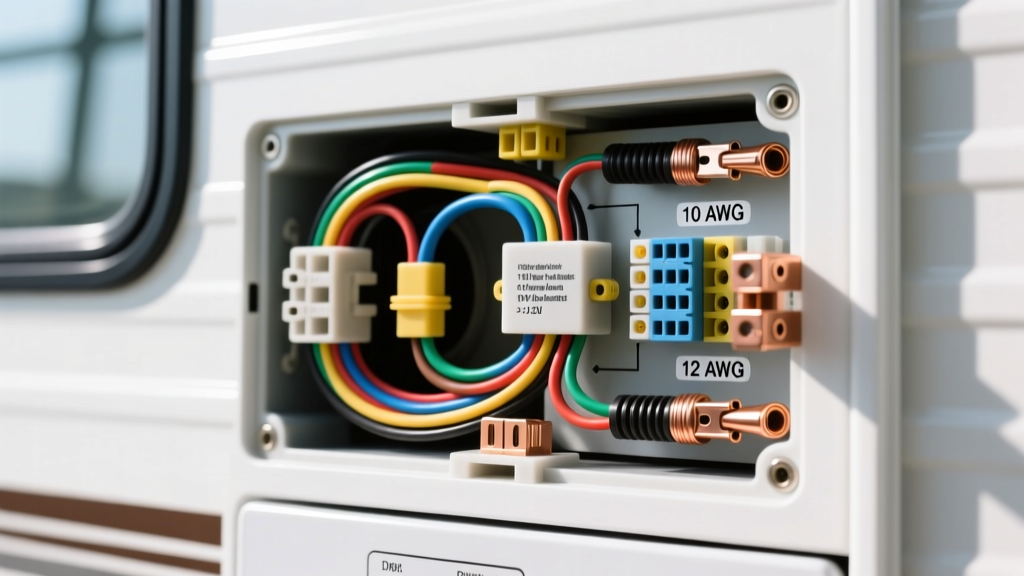
Introduction: The 12V Dryer Dilemma
When DIYers and mobile technicians search for the wire gauge for dryer installations, they are typically met with residential electrical guides recommending 10 AWG copper for 240V, 30-amp home circuits. However, in the automotive, overland, marine, and RV sectors, wiring a dryer presents a completely different physics problem. Whether you are installing a native 12V DC portable travel dryer, a high-velocity pet and car detailing air blower, or wiring a heavy-duty inverter to run a standard 1500W residential dryer off a vehicle's battery bank, the low voltage demands massive amperage.
Choosing the incorrect American Wire Gauge (AWG) in a 12V or 24V DC environment doesn't just trip a breaker; it causes severe voltage drop, starves heating elements of power, and can melt insulation, leading to catastrophic electrical fires. This guide breaks down the beginner-friendly fundamentals of sizing wire for high-draw dryer applications in mobile environments, adhering to SAE J1128 and ABYC E-11 standards.
Understanding High-Draw 12V Appliances
To select the right wire gauge, you must first categorize the type of dryer you are integrating into your vehicle or RV. Mobile dryer setups generally fall into two distinct categories:
1. Native 12V DC Dryers and Blowers
These include 12V travel hair dryers, heated air blowers for mobile detailing, and portable pet dryers. They plug directly into the vehicle's DC system or auxiliary fuse block. They typically range from 150W to 300W. While 300W sounds small compared to a home dryer, at 12V, a 300W dryer pulls roughly 25 Amps of continuous current—more than most standard automotive alternators can spare at idle.
2. Inverter-Powered 120V AC Dryers
Many overlanders and RV owners use a pure sine wave inverter to run a standard 1500W to 1800W residential hair dryer or small clothes dryer. While the AC side of the inverter only draws about 15 Amps at 120V, the DC side (the wire connecting the battery to the inverter) must supply upwards of 150 Amps. This requires heavy-gauge battery cabling, not standard automotive primary wire.
The Math: Amperage and Voltage Drop
The fundamental rule of 12V DC wiring is that lower voltage requires thicker wire to carry the same wattage. Furthermore, heating elements (like those in dryers) are highly sensitive to voltage drop. If your wire is too thin, resistance increases, voltage at the appliance drops, and the heating element outputs exponentially less heat.
Amperage Formula:
Amps = Watts ÷ Volts
- Native 12V Dryer (250W): 250W ÷ 12V = 20.8 Amps
- Inverter DC Draw (1500W AC Dryer): 1500W ÷ 12V = 125 Amps (plus 15% inverter inefficiency = ~145 Amps DC)
According to SAE and ABYC guidelines, voltage drop should be kept under 3% for critical electronics and under 10% for non-critical resistive loads like heating elements. A 10% drop on a 12V system means the dryer is only receiving 10.8V, which drastically reduces thermal output and causes the DC wiring to act as a secondary heating element.
Wire Gauge for Dryer Applications: Specification Chart
The following chart outlines the required AWG sizes based on the appliance type, maximum DC amperage, and the one-way distance from the battery or fuse block to the appliance/inverter. Always calculate using the round-trip distance (Positive + Negative wire length) for voltage drop tables.
| Appliance Setup | Wattage | Max DC Amps | Short Run (< 5 ft) | Long Run (10 - 15 ft) | Recommended Fuse |
|---|---|---|---|---|---|
| 12V Portable Travel Dryer | 150W | 12.5A | 14 AWG | 12 AWG | 15A ATC / Mini |
| 12V Heated Detailing Blower | 250W | 20.8A | 12 AWG | 10 AWG | 25A MIDI / AMEG |
| 12V High-Velocity Car Dryer | 300W | 25.0A | 10 AWG | 8 AWG | 30A MIDI / AMEG |
| 2000W Inverter (for 1500W AC Dryer) | 1500W (AC) | ~145A (DC) | 1/0 AWG SGT | 2/0 AWG SGT | 150A Class T / ANL |
| 3000W Inverter (for 1800W AC Dryer) | 1800W (AC) | ~175A (DC) | 2/0 AWG SGT | 3/0 AWG SGT | 200A Class T |
Selecting the Right Wire Type and Connectors
Automotive environments are subject to extreme vibration, temperature fluctuations, and exposure to chemicals. Using residential solid-core wire (THHN) is strictly prohibited in mobile applications; it will fracture under vibration.
Wire Insulation Standards
- SAE J1128 GXL / TXL: Cross-linked polyethylene insulation. Ideal for native 12V dryer circuits (8 AWG to 14 AWG). It is thin-walled, highly resistant to heat and automotive fluids, and fits easily into tight looms.
- SGT Battery Cable: For inverter setups drawing over 100 Amps, you must use SGT (Standard Ground Thread) or welding cable. These feature thousands of fine copper strands for maximum flexibility and current carrying capacity without overheating.
Color Codes
Following NFPA 70 (NEC) Article 551 for RVs and ABYC standards, use Red for the positive DC supply and Black (or Yellow with a black stripe in marine environments) for the DC ground.
Connectors and Terminations
For native 12V dryers drawing 20A–30A, avoid standard cigarette lighter plugs, which are typically rated for only 10A to 15A and will melt. Instead, use Anderson Powerpole (APP) connectors (specifically the 45A or 75A housings) or heavy-duty Deutsch DT connectors for integrated fan/heater switches. Always use adhesive-lined, dual-wall heat shrink with a 3:1 shrink ratio to seal out moisture and prevent corrosion at the crimp joint.
Step-by-Step Wiring Guide for a 12V Native Dryer Circuit
- Calculate the Load: Verify the wattage of the 12V dryer. Divide by 12V to find the base amperage, then add 20% for startup surge and safety margins.
- Run the Positive Wire: Route SAE J1128 GXL wire from the auxiliary fuse block or battery to the appliance location. Avoid sharp metal edges and exhaust components.
- Install the Fuse: Place a MIDI or AMEG fuse within 7 inches of the battery positive terminal if wiring directly to the battery. If using an auxiliary fuse block, ensure the block's main feeder wire is adequately sized and fused.
- Crimp and Seal: Use a ratcheting crimp tool for closed-end ring terminals or Anderson Powerpole contacts. Apply heat to the adhesive-lined heat shrink until the sealant oozes from the edges.
- Grounding: Do not rely on the vehicle's chassis ground for high-draw heating appliances. Run a dedicated negative wire back to the battery or a centralized, heavy-duty ground bus bar to prevent ground loops and voltage drop.
Inverter Wiring: The 1500W Dryer Danger Zone
The most common cause of electrical fires in RVs and overland vans is undersized wiring between the battery bank and the inverter. A 1500W hair dryer is a continuous resistive load. When you turn it on, the inverter pulls maximum DC current for 5 to 10 minutes straight.
If you use 4 AWG wire for a 1500W inverter located 10 feet from the battery, the wire will overheat, the inverter will trigger its low-voltage cutoff, and the insulation may catch fire. You must use 1/0 AWG or 2/0 AWG SGT welding cable, terminated with heavy-duty copper lugs crimped with a hydraulic or heavy mechanical crimper, and protected by a Class T fuse. Class T fuses are essential here because they have a high Ampere Interrupting Capacity (AIC), capable of safely stopping the massive short-circuit current a lithium or large AGM battery bank can deliver.
Common Mistakes and Troubleshooting
- Symptom: Dryer fan spins, but heating element produces no heat.
Cause: Severe voltage drop. The thermal cutoff switch or low-voltage protection circuit in the dryer is preventing the heating element from engaging.
Fix: Upgrade wire gauge by two sizes (e.g., from 12 AWG to 8 AWG) and verify chassis ground integrity. - Symptom: Cigarette lighter plug or adapter is hot to the touch and smells like burning plastic.
Cause: Overloading a standard 12V accessory socket. Most vehicle accessory sockets are wired with 16 AWG or 18 AWG wire and a 10A fuse.
Fix: Bypass the accessory socket entirely. Hardwire the dryer circuit using an Anderson Powerpole connector directly to a fused auxiliary circuit. - Symptom: Inverter shuts down mid-use when the AC dryer is turned on.
Cause: DC voltage drop at the inverter terminals triggers the Low Voltage Alarm (LVA).
Fix: Check for loose crimps on the 1/0 AWG battery cables, clean bus bar connections, and ensure the battery bank has adequate Amp-Hour (Ah) capacity to support the C-rate draw of a 1500W load.
Authoritative References
For further reading on mobile electrical standards, consult the following resources:
- SAE J1128: Low Tension Primary Cable - Specifications for automotive wire insulation and temperature ratings.
- ABYC E-11: AC & DC Electrical Systems on Boats - The gold standard for 12V DC voltage drop tables, color codes, and overcurrent protection in mobile environments.
- NFPA 70 (NEC) Article 551 - National Electrical Code standards for Recreational Vehicles and RV Parks, including inverter and battery bank wiring requirements.