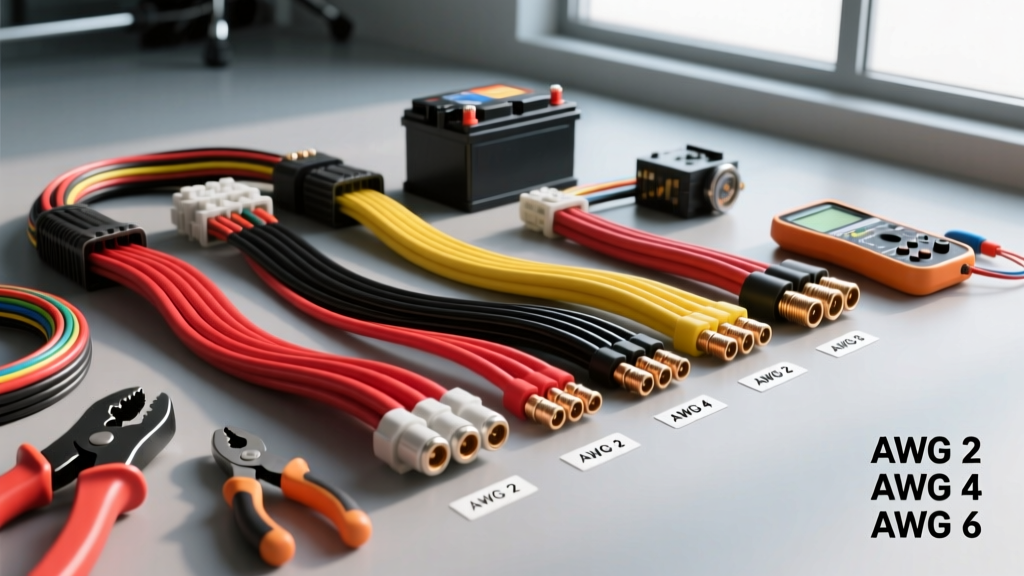
The True Cost of Battery Cable Sizing: Beyond the Wire
When upgrading an automotive electrical system or restoring a classic vehicle, selecting the correct wire gauge for battery cables is only the first step in the financial equation. Many DIYers and novice builders focus solely on the per-foot cost of the copper, ignoring the ecosystem of tooling, terminal consumables, and long-term reliability metrics that dictate the true cost of a battery cable upgrade. A cheap cable paired with improper crimping tools will inevitably lead to voltage drop, parasitic resistance, and catastrophic terminal failure.
This cost and tool requirements analysis breaks down the financial and mechanical investments necessary to properly size, terminate, and install heavy-gauge battery cables. Whether you are building a high-amperage system for a 1999-2003 Ford 7.3L Powerstroke (which demands 1/0 AWG to handle the dual-battery cranking load) or upgrading a standard passenger car, understanding the ROI of proper tooling and materials is critical.
Material Cost Breakdown: OFC vs. CCA Battery Cables
The most significant cost variable in battery cables is the conductor material. The market is flooded with Copper-Clad Aluminum (CCA) wire masquerading as pure copper. According to the SAE J1128 standard for automotive battery cables, true battery cables must meet strict conductivity and thermal resistance thresholds that CCA frequently fails to achieve under heavy cranking loads.
Oxygen-Free Copper (OFC) is the industry standard. It offers maximum conductivity, high strand flexibility (crucial for routing through tight engine bays), and excellent corrosion resistance. Copper-Clad Aluminum (CCA) is roughly 40% cheaper upfront but possesses about 60% more electrical resistance than OFC. If you use CCA, you must step up one full AWG size to carry the same current safely, which negates the initial cost savings and makes the cable stiffer and harder to route.
Price and Specification Comparison Chart
| AWG Size | Material | Est. Cost (Per Ft) | Max Ampacity (12V) | Strand Count (Flex) | Recommended Application |
|---|---|---|---|---|---|
| 1/0 AWG | OFC (Pure Copper) | $4.50 - $6.00 | 250A - 300A | 1064 strands | Heavy Duty Diesel, High-Output Alternators, Winches |
| 1/0 AWG | CCA (Aluminum Core) | $2.50 - $3.50 | 190A - 210A | 800 strands | Not Recommended for Primary Cranking |
| 2 AWG | OFC (Pure Copper) | $3.00 - $4.50 | 200A - 225A | 665 strands | Standard V8 Upgrades, Dual Battery Setups |
| 4 AWG | OFC (Pure Copper) | $2.00 - $3.00 | 150A - 180A | 420 strands | Standard 4-Cylinder/6-Cylinder Passenger Cars |
Note: Ampacity ratings assume a 12V-14V DC system with a maximum acceptable voltage drop of 0.5V over a standard 10-foot round-trip run.
Tooling Requirements: The Crimping Investment
The most common failure mode in custom battery cables is a high-resistance crimp. Hammering a lug with a vise or using standard slip-joint pliers creates voids inside the terminal barrel. These voids trap moisture, leading to "green rot" (copper oxidation) and localized heating that can melt the battery post. To properly terminate 1/0 AWG or 2 AWG wire, you must invest in specialized crimping tools.
Crimping Tool Cost Analysis
- Hammer-Lug / Plier Method (Cost: $0 - $20): Highly discouraged. Creates inconsistent compression, leaves air gaps, and violates Mad Electrical and other authoritative automotive wiring standards for mechanical integrity.
- Manual Hex-Indent Crimper (Cost: $80 - $150): Tools like the Titan or Knoweasy hex crimpers use a nested hex die to compress the lug evenly around the wire strands. This is the minimum acceptable tool for DIYers doing occasional 4 AWG or 2 AWG work.
- 16-Ton Hydraulic Crimper (Cost: $45 - $90): Surprisingly affordable and the best ROI for 1/0 AWG and larger cables. The hydraulic ram forces a deep, uniform indent into the copper lug, cold-welding the strands together for near-zero resistance. Requires purchasing separate die sets (usually included in kits).
- Rotary Ratchet Hex Crimper (Cost: $250+): Professional-grade tools (e.g., HZ or Astro Pneumatic) used by production shops. Overkill for a single vehicle build but necessary if you are manufacturing custom harnesses.
Consumables: Lugs, Heat Shrink, and Terminal Prep
The wire and the crimper are useless without the correct terminal ends and sealing materials. Sourcing the right consumables is a vital part of your budget.
Terminal Lugs and Heat Shrink Budgeting
For battery cables, you must use tinned copper lugs. Bare copper lugs oxidize rapidly in the under-hood environment. Tinning provides a sacrificial layer that prevents corrosion. A 10-pack of 1/0 AWG tinned copper lugs with a 3/8" or 5/16" stud hole typically costs between $12 and $18. Ensure the lug barrel length is sufficient to accept the full depth of the stripped wire; for 1/0 AWG, you typically need to strip 1.25 inches of insulation.
Adhesive-Lined Heat Shrink (3:1 Ratio): Standard electrical tape is a liability that will unspel due to under-hood heat cycles. You must use dual-wall, adhesive-lined polyolefin heat shrink. When heated, the inner adhesive layer melts and flows into the wire strands, creating a waterproof seal that prevents capillary action from drawing battery acid or road salt into the crimp. A 25-foot spool of 1/0 AWG compatible (3/4" or 1" diameter) adhesive heat shrink costs roughly $25-$35, yielding dozens of professional terminations.
Installation Labor, Torque Specs, and Failure Modes
The final "cost" is the labor and precision required during installation. Improper torque on battery terminals leads to micro-arcing, which pits the lead battery posts and increases resistance. According to the Painless Performance Wiring Guide, voltage drop at the main battery feeds will force the alternator to work harder, shortening its lifespan and potentially causing ECU resets during cranking.
Vehicle-Specific Torque and Prep Specifications
- Terminal Prep: Use a stainless-steel wire brush to clean the battery posts and the inside of the ring terminals. Do not use sandpaper, as the silica can embed in the soft lead and create an insulating barrier.
- Conductive Grease: Apply a thin layer of zinc-dust conductive grease (e.g., Penetrox-E) between the lug and the battery post. Avoid standard dielectric grease on the mating surfaces, as it is an insulator and will increase voltage drop.
- GM Side-Post Terminals (e.g., LS Engines, C10 Trucks): Torque the 3/8"-16 bolt to exactly 11-15 ft-lbs. Over-torquing will strip the soft lead threads embedded in the battery case, requiring a costly battery replacement or helicoil repair.
- Top-Post Terminals (Ford, Chrysler, Aftermarket): Tighten the clamp bolt until the lug cannot be moved by hand, typically 80-120 in-lbs (6.5-10 ft-lbs). Ensure the lug sits completely flush against the battery casing shoulder; if the lug bottoms out on the lead post before the clamp tightens, you must use a lead shim or spacer to prevent a loose connection.
Summary: The ROI of Doing It Right
When calculating the cost of your wire gauge for battery cables, a 15-foot run of 1/0 AWG OFC wire, a set of tinned lugs, adhesive heat shrink, and the amortized cost of a hydraulic crimper will total roughly $120 to $150. While a big-box store pre-made CCA cable might cost $30, it will suffer from voltage drop, stiff routing issues, and eventual terminal corrosion. Investing in the correct AWG sizing, pure copper materials, and proper crimping tooling ensures your vehicle's high-amperage loads—like starter motors, electric fuel pumps, and high-output alternators—receive clean, unrestricted current for the life of the vehicle.