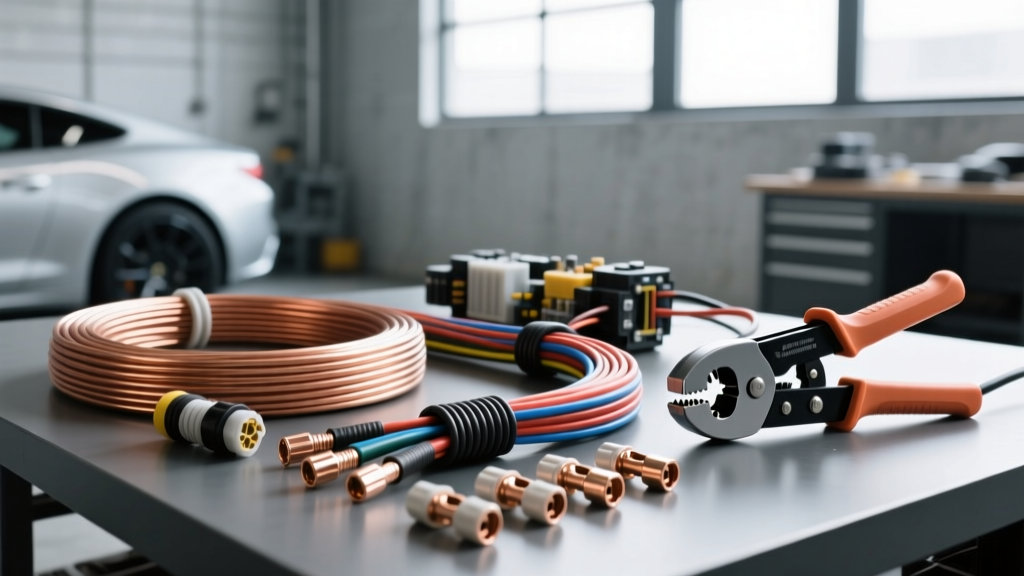
The True Cost of Running 4 Gauge Wire for Amplifier Systems
When upgrading a vehicle's audio system to push 800W to 1500W RMS, utilizing 4 gauge wire for amplifier power and ground runs is the industry standard. However, novice installers often budget exclusively for the wire spool, completely overlooking the specialized tooling, termination hardware, and circuit protection required to safely handle 120+ amps of continuous DC current. A proper 4 AWG installation is an investment in both audio fidelity and vehicle fire safety. This guide breaks down the exact material costs, hidden consumables, and mandatory tooling required for a professional-grade 4 AWG car audio power delivery system.
Material Cost Analysis: OFC vs. CCA Wire
The most significant variable in your budget will be the conductor material. The market is flooded with Copper-Clad Aluminum (CCA) and pure Oxygen-Free Copper (OFC). According to Crutchfield's car audio wire guidelines, CCA wire has roughly 30% less conductivity than pure copper, meaning a 4 AWG CCA cable will suffer from the same voltage drop as a 6 AWG OFC cable over a 15-foot run.
Oxygen-Free Copper (OFC) Pricing
High-quality 4 AWG OFC wire typically features 1,800+ fine strands for maximum flexibility through tight firewall grommets and door hinges. Expect to pay between $3.50 and $5.50 per foot. For a standard sedan requiring 17 feet of power wire and 4 feet of ground wire, the raw wire cost will be $75 to $115. OFC resists galvanic corrosion, ensuring that the termination points at the battery and amplifier distribution blocks do not develop high-resistance green oxidation over time.
Copper-Clad Aluminum (CCA) Pricing
CCA wire is significantly cheaper, averaging $1.20 to $2.00 per foot. While the upfront cost is attractive (roughly $35 for a full run), CCA is brittle. Repeated engine bay vibrations can cause the aluminum core to micro-fracture inside the insulation, leading to catastrophic resistance spikes and melted amplifier terminals. For high-current 4 AWG applications, the long-term cost of replacing melted distribution blocks and degraded wire makes CCA a false economy.
Essential Tooling for 4 AWG Termination
You cannot strip or crimp 4 AWG wire with standard household electrical tools. The sheer thickness of the copper strands requires specialized mechanical advantage. Budgeting for the correct tools is non-negotiable for a safe connection.
Heavy-Duty Cable Shears and Strippers
Standard diagonal cutters will be ruined by 4 AWG copper. You must invest in a ratcheting cable shear (Cost: $25 - $45). These shears use a gear mechanism to slice cleanly through 1,800 strands without crushing the wire's circular profile, which is critical for inserting the wire into amplifier terminal blocks. For stripping the thick PVC or silicone insulation, a dedicated large-gauge wire stripper or a precision cable skinning knife ($15 - $30) is required to avoid nicking the outer copper strands, which creates a weak point for future breakage.
Crimping Technology: Hydraulic vs. Ratcheting Hex
To terminate 4 AWG ring terminals and spade lugs, you need a crimping force of at least 3 to 5 tons.
- Generic Hex Crimpers ($40 - $70): These use interchangeable AWG-stamped dies (you will use the 25mm² or #4 die). They provide a solid, gas-tight hex crimp but require significant hand strength.
- Hydraulic Crimpers ($80 - $150): Utilizing fluid pressure, these tools effortlessly compress heavy-duty battery lugs and ANL fuse terminals. For professional installers doing multiple vehicles, a hydraulic crimper is a mandatory investment that guarantees consistent, millivolt-perfect terminations.
Adhesive-Lined Heat Shrink and Torches
Standard PVC electrical tape is strictly prohibited in engine bays due to heat degradation and adhesive melting. You must use 3:1 ratio polyolefin heat shrink tubing with an inner wall of thermoplastic adhesive (Cost: $18 for a kit). When heated to 120°C, the adhesive melts and flows into the copper strands, creating a waterproof seal that prevents battery acid vapors from corroding the crimp joint. A butane torch with a flare tip or an electric heat gun ($35) is required to properly activate the adhesive without scorching the tubing.
Hardware, Circuit Protection, and Hidden Consumables
Beyond the wire and tools, a 4 AWG system requires specific hardware to interface with the vehicle's electrical architecture safely. As outlined in Blue Sea Systems' circuit protection documentation, high-amperage DC circuits require specialized fusing to prevent thermal runaway in the event of a short to ground.
The Danger of AGU Fuses and the ANL Solution
Many budget amplifier kits include AGU (Automotive Glass Tube) fuses. Never use AGU fuses for 4 AWG main power lines. The small set screws on AGU holders cannot properly clamp 4 AWG wire, leading to arcing, melted plastic housings, and vehicle fires. Instead, budget $25 - $35 for an ANL fuse holder and a 120A to 150A ANL fuse. ANL fuses feature large bolt-through connections that securely sandwich the 4 AWG ring terminal, providing reliable high-current protection and a high interrupt capacity.
Battery Adapters and Firewall Grommets
If you are working on a General Motors vehicle with side-post battery terminals, you cannot simply bolt a 4 AWG ring terminal to the lead thread. The threads will strip instantly under the torque required for a low-resistance connection. You must purchase side-post battery adapters with a 3/8"-16 threaded stud (Cost: $12 - $18). Additionally, routing 4 AWG wire through the vehicle's firewall requires a heavy-duty rubber firewall grommet ($8) and a can of silicone lubricant to ease the thick cable through the factory pass-through without tearing the weather seal.
Comprehensive Budget and Specification Tables
The following tables summarize the financial and technical requirements for a standard 18-foot 4 AWG amplifier power run.
| Component Category | Item Description | Estimated Cost (OFC Setup) | Technical Specification |
|---|---|---|---|
| Main Conductor | 4 AWG OFC Power Wire (18 ft) | $85.00 | 1,800+ Strands, 105°C PVC Jacket |
| Ground Conductor | 4 AWG OFC Ground Wire (5 ft) | $25.00 | Matches Power Wire Gauge |
| Circuit Protection | ANL Fuse Holder + 120A Fuse | $32.00 | Bolt-Down, 50kA Interrupt Rating |
| Distribution | 1-in / 2-out Distribution Block | $35.00 | Set-Screw, Accepts 4 AWG Input |
| Termination | Ring Terminals & Adhesive Heat Shrink | $18.00 | Tinned Copper, 3:1 Shrink Ratio |
| Hardware | Side-Post Adapters / Zip Ties / Loom | $25.00 | 3/8" Stud, Split Loom Tubing |
| Total Estimated Material Cost | $220.00 | Excludes Hand Tools & Amplifier | |
Expert Termination and Torque Specifications
Proper torque is the most overlooked aspect of high-current automotive wiring. According to SAE J1128 standards for battery cables, mechanical connections must maintain constant surface pressure to prevent resistance buildup from thermal cycling.
- Battery Terminals: When attaching the main 4 AWG ring terminal to a top-post lead battery, torque the nut to 10 to 12 Nm (7.5 to 9 lb-ft). Over-torquing will deform the soft lead post, causing the connection to loosen as the metal creeps over time.
- Amplifier Set Screws: Most amplifier distribution blocks use M4 or M5 brass set screws. These are incredibly soft. Torque them to a maximum of 2.5 to 3.5 Nm. If you overtighten them with a standard 3/8" ratchet, you will strip the internal threads, ruining the amplifier's power block and creating a severe fire hazard.
- Chassis Grounding: Never ground 4 AWG wire to painted metal or thin sheet metal. Locate a thick structural bolt connected directly to the vehicle's main chassis harness. Sand away exactly 1 square inch of paint and primer down to bare steel, apply a dab of dielectric grease over the terminated ring terminal to prevent rust, and torque the chassis bolt to factory suspension specifications (usually 25+ Nm).
Final Installation Considerations
Running 4 gauge wire for amplifier setups requires respect for the vehicle's existing electrical topology. Always disconnect the negative battery terminal before beginning work. Route the 4 AWG power cable down the opposite side of the vehicle from the RCA signal cables to prevent electromagnetic interference (EMI), which manifests as a high-pitched alternator whine through the subwoofers. By budgeting correctly for OFC materials, investing in hydraulic crimping tools, and adhering to strict torque specifications, you ensure a power delivery system that will outlast the vehicle itself.