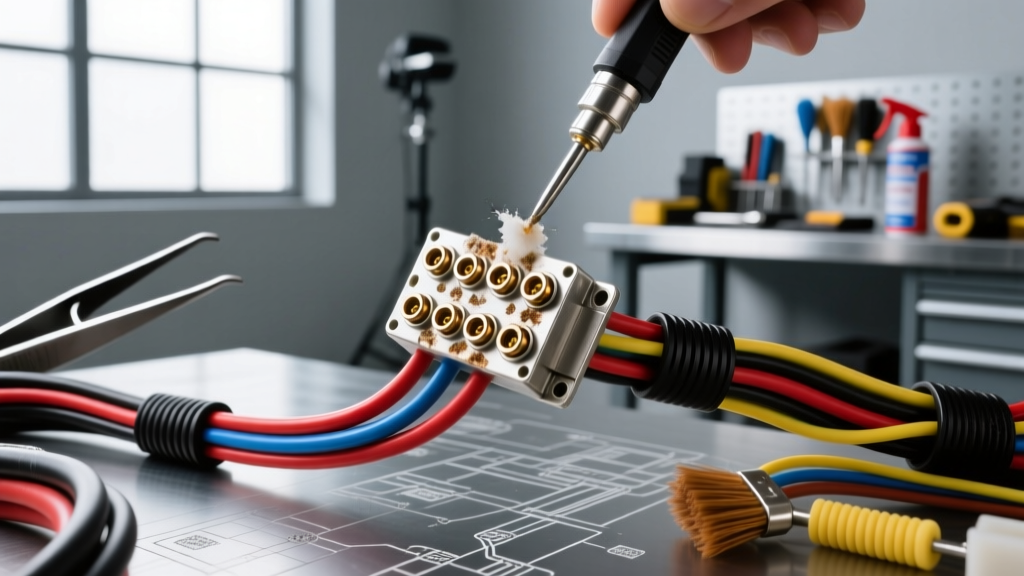
The Metallurgy of Failure: Fretting vs. Galvanic Corrosion
Most DIY tutorials suggest blasting connectors with brake cleaner and hoping for the best. As an automotive electrical diagnostic technician, you know this destroys PVC wire insulation, melts nylon connector shells, and fails to address the root cause of intermittent faults. Understanding how to clean car electrical connectors requires a deep dive into connector metallurgy and failure modes.
The primary enemy of low-amperage sensor circuits (like 18 AWG CAN bus lines or 20 AWG thermistor circuits) is fretting corrosion. According to SAE Technical Paper 2005-01-1532, fretting occurs when micro-movements—induced by engine vibration and thermal expansion—cause the tin-plated surfaces of male and female terminals to rub together. This friction breaks through the thin oxide layer, exposing raw tin to oxygen, which rapidly forms a hard, highly resistive tin oxide layer. This results in voltage drops and phantom sensor codes.
Conversely, galvanic corrosion occurs when dissimilar metals (e.g., an aluminum terminal crimped to a copper wire) are exposed to an electrolyte (road salt and moisture). This creates a micro-battery effect, resulting in the familiar green/blue copper sulfate crust, commonly seen on battery terminals and high-amperage starter circuits.
Solvent and Tool Selection Matrix
Before attempting to clean any connector, you must select the correct chemical solvent and mechanical tool. Using the wrong solvent can cause stress cracking in Polyamide 66 (PA66) connector housings, leading to catastrophic moisture ingress later.
| Solvent / Cleaner | Evaporation Rate | Plastic Safety (PA66/PBT) | Best Application |
|---|---|---|---|
| CRC QD Contact Cleaner | Fast | Excellent | General tin-plated terminal flushing |
| 99% Isopropyl Alcohol | Medium | Excellent | Ultrasonic cleaning, delicate ECU pins |
| Chlorinated Brake Cleaner | Extremely Fast | Poor (Causes melting/cracking) | NEVER use on automotive connectors |
| DeoxIT D-Series | Slow (Leaves film) | Good | Severe oxidation, gold-plated audio/ECU |
Reference: Chemtronics Contact Cleaner Selection Guide for polymer compatibility charts.
Step-by-Step Advanced Cleaning Protocol
To properly service a weather-sealed connector (such as a Delphi/Aptiv Metri-Pack 150 or TE Connectivity AMP Superseal 1.5), you cannot simply spray the assembled cavity. The silicone weather seals will trap the dissolved oxides and solvent, creating a conductive sludge that bridges adjacent pins.
Step 1: Safe Disconnection and Pin Extraction
Never pull on the wires. Use a proper terminal release tool. For a Metri-Pack 280 series connector, insert the extraction tool into the front of the housing to depress the primary locking tang, then pull the wire from the rear. If you are working on a Deutsch DT series (common in heavy-duty and off-road lighting), use a dedicated DT wedge removal tool to extract the secondary wedge lock before pulling the pins.
Step 2: Mechanical and Chemical Agitation
Once the terminal is removed from the housing, spray the male and female terminals with a dedicated contact cleaner. Use a nylon-bristle detail brush to agitate the mating surfaces. Never use a brass or stainless-steel wire brush on tin-plated terminals; doing so will embed dissimilar metal particles into the tin, accelerating galvanic corrosion and ruining the plating.
Step 3: Terminal Inspection and Re-tensioning
The female terminal relies on a cantilever spring tang to maintain clamping force on the male blade. Over time, or after improper probing with a multimeter lead, this spring loses tension. Inspect the female cavity under a magnifying lamp. If the opening appears widened, use a micro-dental pick to gently lift and re-tension the internal spring tang. According to Aptiv Electrical Termination Systems guidelines, proper normal force (typically 2 to 4 Newtons for 2.8mm blades) is critical to preventing future fretting.
High-Amperage Lug Restoration: Alternator and Starter Circuits
High-amperage circuits (4 AWG to 1/0 AWG) utilize ring terminals bolted to studs. The failure mode here is rarely fretting; it is almost always surface oxidation combined with improper torque, leading to high resistance, heat generation, and melted insulation.
- Remove and Inspect: Unbolt the terminal. If the copper shows severe pitting or black copper oxide, the terminal must be cut off and replaced. Mild green/white crust can be cleaned.
- Surface Preparation: Use a brass wire wheel on a rotary tool to clean the mating surfaces of the ring terminal and the component stud (e.g., alternator B+ post). Follow with a wipe of 99% IPA.
- Anti-Oxidant Application: Apply a thin layer of zinc-dust anti-oxidant paste (such as Noalox) to the bare copper. This paste contains zinc particles that are softer than copper but harder than copper oxide, biting through micro-oxidation layers under pressure to maintain conductivity.
- Precision Torque: Hand-tightening is unacceptable. An M8 bolt on an alternator B+ terminal requires 15-20 Nm (11-15 lb-ft) of torque. An M10 starter stud requires 20-25 Nm. This specific clamping force ensures adequate surface pressure to cold-weld the microscopic peaks of the copper surfaces together.
The Grease Debate: Dielectric vs. Contact Lubricants
A pervasive myth in automotive forums is that dielectric grease should be packed inside the connector cavity to 'improve conductivity.' This is fundamentally incorrect and dangerous. Dielectric grease is a silicone-based insulator. If packed inside a low-pin-count connector, it can block the mating surfaces, increasing resistance and causing voltage drops across 14 AWG injector driver circuits.
| Lubricant Type | Composition | Electrical Property | Correct Automotive Application |
|---|---|---|---|
| Dielectric Grease | Silicone / PTFE | Insulator (High Dielectric Strength) | Coating the OUTSIDE of rubber weather seals to prevent drying and moisture ingress. Spark plug boot interiors. |
| Contact Grease | Polybutene / Zinc Dust | Conductor (Under Pressure) | Battery terminals, high-amp ring lugs, ground straps. |
| Fretting Inhibitor | Synthetic Oil / Anti-wear | Neutral / Passivator | Micro-drop inside ECU multi-pin connectors (e.g., 60-pin Bosch ME7/ME9) to lubricate tin surfaces and prevent micro-movement oxidation. |
Proper Application Technique for Multi-Pin Connectors
When servicing high-pin-count ECU or TCM connectors (where the insertion force is already extremely high), applying a fretting inhibitor is recommended. However, the application must be microscopic. Dip the tip of a cotton swab into the fretting inhibitor and lightly wipe the male ECU pins. Do not pool the grease in the bottom of the female connector cavity. The goal is a monolayer film that prevents oxygen contact without hydraulically locking the connector or displacing the mating surfaces.
Summary of Best Practices
Mastering how to clean car electrical connectors is about preserving the engineered metallurgy of the termination system. By abandoning harsh solvents, utilizing proper pin extraction techniques, re-tensioning female cantilever springs, and applying the correct lubricant to the correct zone, you eliminate the root causes of intermittent electrical gremlins. Always verify your repair by performing a voltage drop test across the cleaned connector under load, ensuring the drop remains below 100mV for standard sensor circuits and below 50mV for high-amperage feeds.