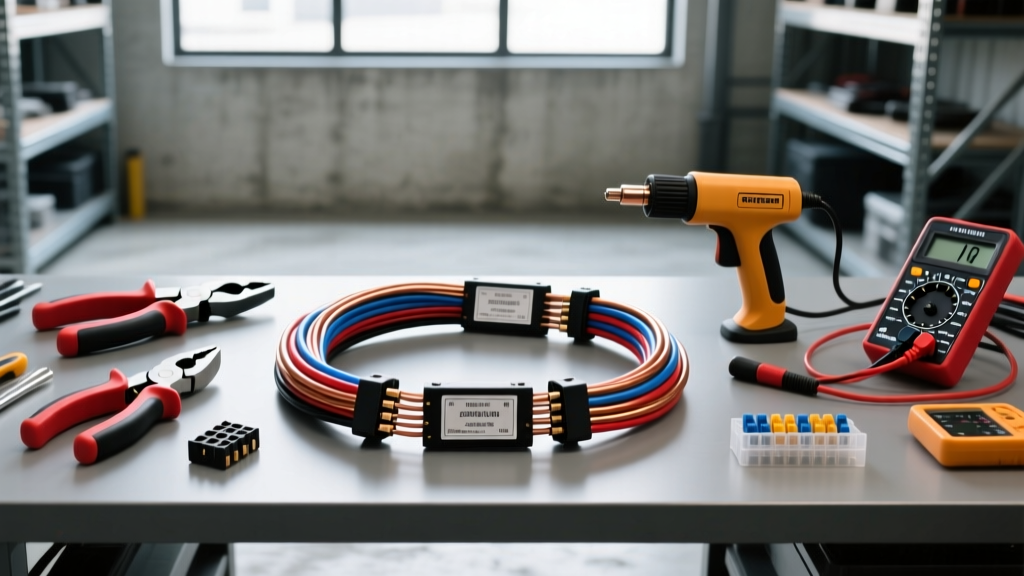
The Economics of Custom Wiring Harness Fabrication
Building a custom wiring harness for an LS swap, restomod, or custom chassis project is often romanticized as a cost-saving measure. While a standalone aftermarket engine harness kit from a premium manufacturer typically ranges from $800 to $1,500, fabricating your own harness requires a significant upfront investment in specialized tooling, high-grade materials, and rigorous testing equipment. This analysis breaks down the true cost of custom wiring harness fabrication, the mandatory tooling required to meet OEM pull-test specifications, and the hidden expenses that often push DIY builders back toward pre-made kits.
When evaluating the economics of a wiring harness project, you must separate material costs from tooling amortization. A basic V8 engine harness requires approximately 150 feet of wire, 80 to 120 terminals, and various connector bodies. The raw materials alone will cost between $250 and $400. However, the tooling required to assemble those materials to an automotive-grade standard will cost an additional $500 to $800. Understanding this financial threshold is critical for determining whether a custom build or a pre-made adapter kit is the most logical route for your specific project.
Mandatory Tooling: Where Budgets Break
To build a reliable harness that can withstand the vibration and thermal cycling of an engine bay, you must abandon generic, non-ratcheting crimping pliers. Automotive connectors like the Delphi Metri-Pack, Molex MX150, and Deutsch DT series require precise, ratcheting crimp tools. These tools deform the terminal barrel to the exact wire gauge specification, ensuring a gas-tight connection that prevents oxidation and voltage drop.
A standard crimp involves two distinct deformations: the wire grip (which bites into the bare copper strands for electrical conductivity) and the insulation grip (which secures the wire jacket for mechanical strain relief). If you use a cheap $20 universal crimper, you will inevitably crush the insulation grip into the wire grip, severing copper strands and creating a high-resistance connection. On a 5V reference circuit for a MAP or TPS sensor, a high-resistance crimp will cause erratic ECU behavior, skewed fuel trims, and engine stalling.
Tooling Investment Matrix
| Tool / Equipment | Target Connector Ecosystem | Estimated Cost | Application Notes |
|---|---|---|---|
| Delphi 12094430 Ratcheting Crimper | Metri-Pack 150.2 & 280.2 Series | $220 - $280 | Mandatory for GM-style ECU, sensor, and injector connectors. |
| Deutsch 11-04500 Crimper | DT, DTM, and DTP Series | $160 - $190 | Required for high-current fuel pump, fan, and starter solenoid circuits. |
| Hozan P-707 Precision Crimper | Weather-Pack, Micro-Pack, Relays | $85 - $110 | Excellent for non-sealed interior connections and relay harnesses. |
| Klein Tools 11063W Wire Stripper | 24 to 8 AWG Stranded Wire | $35 - $45 | Prevents nicking copper strands, which reduces ampacity and causes fatigue breaks. |
| Terminal Insertion Tool (TIT-001) | Metri-Pack & Weather-Pack Cavities | $15 - $25 | Prevents terminal push-out and protects the delicate cavity sealing plugs. |
| Digital Millivolt Meter (Fluke 87V) | Continuity & Voltage Drop Testing | $250 - $400 | Essential for identifying high-resistance crimps under simulated electrical loads. |
Material Selection and SAE Standards
Never use standard PVC-jacketed THHN or generic hardware store wire for an engine harness. PVC insulation becomes brittle at high temperatures and melts when routed near exhaust headers. You must use cross-linked polyethylene (XLPE) wire, specifically GXL or TXL, which meets SAE J1128 standards for high-temperature resistance (up to 125°C continuous) and thin-wall insulation for tight bundle routing.
TXL (Thin-wall cross-linked) wire is the industry standard for modern engine harnesses because its reduced outer diameter allows you to pack more circuits into a single connector body and route the harness through tight firewall grommets. According to Madsen Enterprises Wire Specifications, 18 AWG TXL wire has an outer diameter of just 0.059 inches, compared to 0.085 inches for standard PVC wire, saving crucial space in dense 34-pin ECU connectors.
Bill of Materials (BOM) for Standard LS V8 Engine Harness
| Material Component | Specification / AWG | Quantity | Estimated Cost |
|---|---|---|---|
| TXL Wire (Sensor Circuits) | 18 AWG (Yellow, Black, Dark Green) | 100 ft spool | $45.00 |
| TXL Wire (Injector/Ignition) | 16 AWG (Pink, White, Blue) | 100 ft spool | $42.00 |
| TXL Wire (Main ECU Power) | 12 AWG (Orange, Black) | 50 ft spool | $28.00 |
| Metri-Pack 150.2 Female Terminals | For 18-20 AWG (Sensors) | Pack of 100 | $25.00 |
| Metri-Pack 280.2 Female Terminals | For 14-16 AWG (Injectors) | Pack of 50 | $22.00 |
| Connector Bodies & Seals | Assorted 2, 4, 6, and 34-pin | Kit | $135.00 |
| Tesa 51036 Cloth Loom Tape | 19mm PET High-Temp Abrasion | 2 Rolls | $30.00 |
| Dual-Wall Adhesive Heat Shrink | Assorted 3:1 Shrink Ratio | Kit | $45.00 |
| Total Material Cost: | $372.00 | ||
Hidden Costs: Rework, Voltage Drop, and Failure Modes
The most expensive part of building a custom wiring harness is the cost of rework caused by improper assembly techniques. One of the most common failure modes in DIY harnesses is 'terminal push-out.' This occurs when the terminal is not fully seated into the connector cavity, or when the builder fails to install the Terminal Position Assurance (TPA) lock. When the harness is bundled and flexed during installation, the poorly seated terminal backs out of the cavity, breaking the circuit. Diagnosing a push-out inside a wrapped harness requires unwrapping the loom, extracting the terminal, and re-crimping, which costs valuable time and risks damaging adjacent wires.
Another hidden cost is Electromagnetic Interference (EMI). In an LS V8 harness, the 5V reference wires (typically Yellow) and low-level analog sensor signals (like the MAF sensor frequency) must be routed away from high-current switching circuits, such as the ignition coil trigger wires (typically White or Dark Blue). If these wires are bundled tightly together without proper twisting or shielding, the inductive kickback from the coils will induce voltage spikes in the 5V reference line, causing the ECU to throw false sensor codes. Correcting this requires cutting the harness open, re-routing the circuits, and utilizing shielded twisted-pair (STP) cable for critical sensor lines.
Furthermore, improper wire color coding leads to massive troubleshooting headaches down the road. Adhering to OEM standards is non-negotiable for long-term reliability. For GM applications, always use Pink for switched 12V ignition, Orange for constant battery 12V, Black for chassis/sensor ground, and Dark Green for the tachometer signal. Deviating from these standards to save money on leftover wire spools will result in hours of diagnostic labor if a circuit fails three years from now.
Validation and Testing Protocols
Before wrapping the harness in Tesa 51036 cloth tape or braided PET sleeving, every single circuit must be validated. Continuity testing with a basic multimeter is insufficient; it only verifies that a path exists, not that the path can carry current without excessive resistance. You must perform a voltage drop test under load.
Using a power supply and a load resistor, push 1 amp of current through a sensor circuit and measure the voltage drop across the crimped connections. According to Aptiv (formerly Delphi) Connection Systems engineering guidelines, a properly crimped Metri-Pack 150 terminal should exhibit a voltage drop of less than 5 millivolts per amp. If your meter reads a 50mV drop, you have a poor crimp that will cause a 0.5V drop when the sensor draws 10mA, which is enough to skew a sensitive oxygen sensor reading. Catching these defects before the harness is taped and loomed saves hundreds of dollars in diagnostic labor and prevents stranded-vehicle scenarios.
ROI Analysis: Custom Fabrication vs. Aftermarket Kits
When does it make financial sense to build your own wiring harness? If you are executing a single LS swap in your home garage, the math rarely favors custom fabrication. The $372 in materials, combined with the $500 minimum investment in ratcheting crimpers and strippers, brings your total cost to $872. When you factor in the 15 to 20 hours of labor required to strip, crimp, route, and test a custom harness, a pre-made $900 standalone kit from a reputable manufacturer becomes the vastly superior financial and logistical choice.
However, if you are a fabrication shop, a serial restomod builder, or an enthusiast planning multiple engine swaps, the ROI flips dramatically. Once the tooling is paid for on the first project, your cost per harness drops to the raw material cost of ~$375. Building three custom harnesses yields a net savings of over $1,500 compared to buying three premium aftermarket kits. Additionally, custom fabrication grants you total control over harness routing, firewall grommet placement, and connector orientation, resulting in a cleaner, more integrated engine bay that pre-made universal kits simply cannot match.