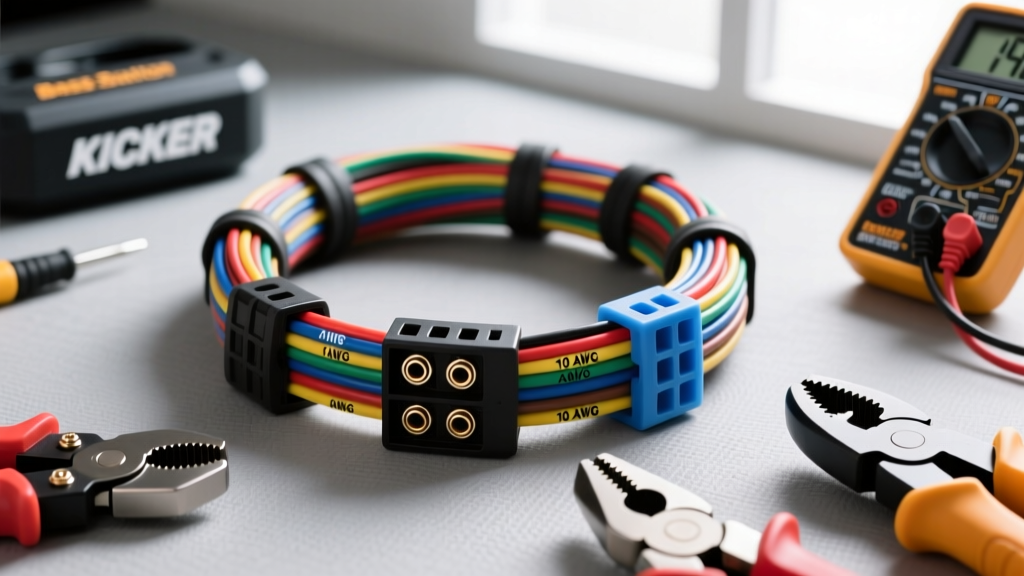
Understanding the Kicker Bass Station Harness Architecture
Integrating a Kicker bass station—whether you are wiring a Kicker Hideaway powered subwoofer enclosure or a custom marine bass station module—requires a meticulous approach to the wiring harness. The harness acts as the central nervous system, delivering stable DC voltage, clean audio signals, and precise remote switching. A poorly executed harness will result in voltage drops, thermal runaway, or severe electromagnetic interference (EMI).
According to the SAE J1128 standard for low-tension primary automotive cable, wire gauge and insulation material dictate current-carrying capacity and thermal resistance. When building or adapting a Kicker bass station wiring harness, you must exclusively use Oxygen-Free Copper (OFC). Copper-Clad Aluminum (CCA) wire, often sold in budget kits, suffers from a 30% higher resistance. An 8 AWG CCA wire will exhibit the voltage drop of a 10 AWG OFC wire under heavy bass transients, causing the Kicker amplifier's internal protection circuit to engage and shut down the station.
Core Harness Pinout and Specification Chart
| Circuit Function | Standard Color Code | Required AWG (OFC) | Termination / Connector Type |
|---|---|---|---|
| Constant 12V+ (Battery) | Red | 8 AWG (Up to 600W) / 4 AWG (600W+) | Heat-Shrink Ring Terminal (5/16") |
| Chassis Ground | Black | Match Power Wire (8 or 4 AWG) | Heat-Shrink Ring Terminal |
| Remote Turn-On (REM) | Blue w/ White Stripe | 18 AWG | Posi-Tap or Solder/Heat Shrink |
| High-Level Audio Input (+/-) | Gray/White/Green/Purple | 16 AWG or 14 AWG | Solder Seal Wire Connectors |
Tool Requirements Analysis: Professional vs. DIY
The longevity of your Kicker bass station wiring harness is entirely dependent on the quality of your terminations. A gas-tight crimp prevents oxygen and moisture from infiltrating the copper strands, which causes galvanic corrosion and increases resistance over time.
Essential Tooling for Harness Fabrication
- Ratcheting Wire Crimpers: Avoid cheap, non-ratcheting pliers. A ratcheting crimper (such as the IWISS IWS-10 or Titan 11477) applies a calibrated, uniform pressure that deforms the terminal and wire into a single solid mass. This is critical for the high-current 8 AWG power and ground circuits.
- Precision Wire Strippers: For 18 AWG to 8 AWG wires, use automatic adjustable strippers (like the Knipex MultiStrip 10) to avoid nicking the outer copper strands. Nicked strands reduce the effective cross-sectional area, creating a localized hot spot under heavy bass loads.
- Digital Multimeter (DMM): Required for verifying voltage drop. A healthy Kicker bass station harness should exhibit less than 0.2V drop between the battery positive terminal and the amplifier's B+ terminal while playing bass-heavy test tones at 80% volume.
- Heat Gun with Reflector Nozzle: Essential for shrinking adhesive-lined marine-grade heat shrink. The internal adhesive melts and seals the wire entry point, preventing capillary action from drawing moisture into the harness.
Comprehensive Cost Breakdown: DIY vs. Professional
Understanding the financial investment required for a Kicker bass station wiring harness helps set realistic expectations. While professional installation guarantees a warranty, a DIY approach using premium materials yields superior electrical performance at a fraction of the labor cost.
| Component / Service | DIY Premium Build (OFC) | Budget DIY (CCA/Scotch-Loks) | Professional Shop Install |
|---|---|---|---|
| Wiring Harness Kit (Power/Ground/Remote) | $85 - $120 | $25 - $40 | Included in Labor |
| High-Level Signal Adapter / Harness | $35 (Kicker KISL) | $10 (Generic T-Taps) | Included |
| ANL Fuse & Holder (60A - 100A) | $25 | $12 (AGU Glass Fuse) | $20 |
| Specialty Tools (Crimper, Stripper, DMM) | $110 (One-time) | $20 | N/A |
| Labor & Time Investment | 3 - 5 Hours | 2 - 3 Hours | $150 - $250 (1-2 Hours) |
| Total Estimated Cost | $255 - $280 | $77 - $112 | $350 - $500+ |
Note: Never use AGU glass fuses for high-current bass station applications. Glass fuses are prone to internal arcing and shattering under heavy transient current spikes. Always use solid-body ANL or Mini-ANL fuses.
Routing, EMI, and Signal Integrity
Routing the Kicker bass station harness requires strategic planning to avoid Electromagnetic Interference (EMI). The vehicle's alternator generates high-frequency AC noise that can easily be induced into high-level audio signal wires if they run parallel to the 8 AWG DC power wire.
The Golden Rule of Routing: Run the main power harness down the driver's side of the vehicle, and route the RCA or high-level speaker signal harness down the passenger side. If they must cross, ensure they intersect at a strict 90-degree angle to minimize inductive coupling.
When passing the 8 AWG power wire through the firewall, never pierce an existing OEM rubber grommet blindly. Remove the interior trim, locate the main body control module (BCM) grommet, and use a stiff wire coat hanger lubricated with soapy water to carefully pierce a new, dedicated hole in the rubber. This protects the vehicle's CAN-bus wiring from catastrophic shorts.
Real-World Failure Modes and Troubleshooting
Even with a premium Kicker bass station wiring harness, environmental factors and OEM electrical quirks can cause issues. Use this diagnostic tree to isolate faults.
Symptom: Bass Station Powers On, But No Audio Output
- Check Remote Turn-On Voltage: Use a DMM to measure voltage between the REM terminal and Ground. It should read 12V+ when the head unit is on. If 0V, check the Add-A-Fuse tap at the OEM fuse box.
- Verify High-Level Input Signal: If using speaker-level inputs, ensure the OEM head unit's built-in amplifier isn't utilizing a differential balanced output. If it is, you must use a specialized line output converter (LOC) like the Kicker KeyLOC to sum and convert the signal safely.
Symptom: Alternator Whine (High-Pitched Noise Modulating with RPM)
- Ground Loop Isolation: This is almost always a ground issue, not a power issue. Disconnect the bass station ground. Use a wire brush or 80-grit sandpaper to remove paint and clear coat down to bare, shiny steel. Re-terminate using a star washer to bite into the metal, and apply dielectric grease over the terminal to prevent rust.
- Check RCA Shielding: Ensure RCA cables are not damaged or routed too close to the fuel pump wiring or ignition coils.
Symptom: Amplifier Protection Light Engages During Heavy Bass Hits
- Measure Voltage Drop Under Load: Connect your DMM to the B+ and Ground terminals of the Kicker station. Play a 40Hz sine wave. If voltage drops below 10.5V, your 8 AWG wire is insufficient, or your battery/alternator cannot keep up with the current demand. Upgrade to a 4 AWG OFC harness and install a 1.5 Farad capacitor or auxiliary AGM battery.
For further technical specifications regarding amplifier current draw and impedance matching, always refer to the official Kicker owner's manuals and installation guides specific to your bass station model. Proper tooling and adherence to SAE standards will ensure your bass station delivers reference-quality audio for the life of the vehicle.