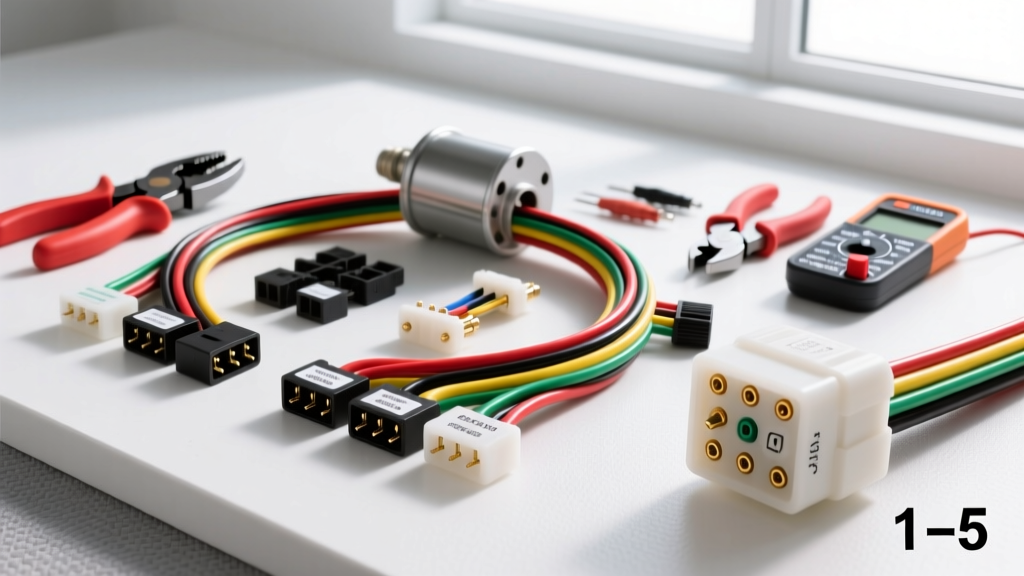
The Thermodynamics and Economics of Harness Failure
The blower motor resistor wiring harness is one of the most common failure points in modern automotive HVAC systems, particularly in high-volume platforms like the GM GMT800 and GMT900 (Chevy Silverado, GMC Sierra, Tahoe). The failure is rarely an electrical short; rather, it is a thermodynamic inevitability driven by Ohm's Law. As blower motor bearings age, friction increases, causing the motor to draw higher amperage. This elevated current flows through the resistor block and the harness connector on lower fan speeds. Over time, micro-vibrations and thermal cycling cause the terminal crimps to loosen, increasing electrical resistance. According to the I²R heating formula (Heat = Current² × Resistance), even a minor increase in resistance generates massive amounts of localized heat, eventually melting the nylon connector shell and deforming the brass terminals.
For automotive technicians and advanced DIYers, addressing a melted blower motor resistor wiring harness requires more than just swapping a $15 pigtail. It demands a strategic analysis of repair costs, proper tooling for high-current circuits, and an understanding of wire gauge specifications to prevent a repeat failure. This guide breaks down the exact costs, tool requirements, and technical specifications needed to execute a permanent repair.
Cost Analysis: Pigtails vs. Complete Harness Kits
When sourcing replacement components for a burned HVAC circuit, buyers typically face three tiers of purchasing options. Understanding the cost-to-reliability ratio of each is critical for shop profitability and long-term vehicle reliability.
Repair Strategy Price Matrix
| Repair Strategy | Estimated Cost | Pros | Cons & Risks |
|---|---|---|---|
| OEM Dealer Pigtail | $25 - $45 | Exact factory fit; includes pre-crimped fly-leads. | Often uses the same marginal 14 AWG wire that failed originally; short fly-leads make splicing difficult. |
| Aftermarket Harness Kit | $15 - $30 | Cost-effective; widely available at local auto parts stores. | Terminal crimp quality is notoriously poor; plastic shells may lack high-temp nylon ratings. |
| Custom Bulk Wire & Terminals | $8 - $15 (per repair) | Allows upgrading to 12 AWG wire; ensures perfect ratcheting crimps; highest reliability. | Requires upfront investment in specialized crimping tools and bulk terminal inventory. |
| Full OEM Engine/Body Harness | $400 - $900+ | Replaces entire degraded circuit run back to the fuse block. | Prohibitively expensive; requires massive labor hours for dashboard removal and firewall routing. |
Expert Recommendation: The custom bulk wire approach yields the highest long-term reliability. By upgrading the main power and ground circuits to 12 AWG stranded copper, you reduce the voltage drop and subsequent heat generation, effectively bulletproofing the repair.
Essential Tool Requirements for High-Current HVAC Circuits
Repairing a blower motor resistor harness is not a standard low-current sensor repair. The circuit routinely handles 15 to 25 amps. Standard universal crimpers and electrical tape will result in a callback within six months. The following tools are mandatory for a professional-grade repair.
1. Terminal Crimping Tools
Most GM and Chrysler blower resistor connectors utilize the Aptiv (formerly Delphi) Metri-Pack 280 series terminals. These are pull-to-seat or push-to-seat terminals that require a specific crimp profile to ensure the wire bellmouth is visible and the insulation grip is secure. Using a generic universal crimper will deform the terminal, preventing it from locking into the nylon housing and reducing the contact surface area, which guarantees future overheating. A dedicated ratcheting Metri-Pack 280 crimper (costing $40-$80) is a non-negotiable requirement.
2. Adhesive-Lined Polyolefin Heat Shrink
HVAC systems generate condensation. If moisture breaches the splice joint, galvanic corrosion will form between the copper wire and the brass terminal, spiking resistance. Standard PVC electrical tape degrades under the hood's ambient heat. You must use 3M or equivalent adhesive-lined (dual-wall) heat shrink tubing. When heated, the inner thermoplastic liner melts and flows into the wire strands, creating a watertight environmental seal.
3. Digital Multimeter (DMM) for Voltage Drop
A standard continuity test is useless for diagnosing high-current harness degradation. A wire with only two strands of copper intact will ring continuous on a multimeter but will melt under a 20-amp blower load. Technicians must use a DMM set to the millivolt (mV) scale to perform a live voltage drop test across the connector while the blower is running on speed 3. A healthy connection should show less than 0.10V (100mV) drop.
Technical Reference: GMT800 4-Pin Resistor Pinout
Understanding the specific pinout and wire gauge requirements is crucial before cutting into the factory harness. The manual HVAC system on the 1999-2006 GM Silverado/Sierra utilizes a 4-pin Metri-Pack 280 connector. Below is the definitive specification chart based on GM service documentation and Haynes repair manuals.
Wire Color and AWG Specification Chart
| Pin | Wire Color | Factory AWG | Recommended Upgrade AWG | Circuit Function |
|---|---|---|---|---|
| A | Purple | 14 AWG | 14 AWG | Blower Speed 1 Control (Lowest speed, highest resistance/heat) |
| B | Yellow | 14 AWG | 14 AWG | Blower Speed 2 Control |
| C | Light Blue | 14 AWG | 14 AWG | Blower Speed 3 Control |
| D | Red / Brown-White | 14 AWG | 12 AWG | Main Fused Battery Feed (High continuous current) |
Note on Wire Standards: When sourcing replacement wire, ensure it meets SAE J1128 specifications for low-tension primary automotive cable, featuring cross-linked polyethylene (XLPE) insulation rated for 125°C, which is vital given the proximity to the heat-generating resistor block.
Step-by-Step Diagnostic and Repair Workflow
To ensure a permanent fix and avoid the 'melted pigtail' comeback, follow this exact workflow:
- Test Blower Motor Amp Draw: Before replacing the harness, use an inductive ammeter or inline DMM to check the blower motor's current draw. A healthy GM blower motor should draw between 12 and 16 amps on high. If it is pulling 20+ amps, the motor bearings are failing. Replacing the harness without replacing the motor will result in the new harness melting within weeks.
- Cut and Strip: Cut the melted connector off, leaving at least 4 inches of factory wire. Strip the insulation using precision wire strippers (like Knipex MultiStrip) to avoid nicking the copper strands, which creates a localized hot spot.
- Upgrade the Feed Wire: Splice a 12 AWG XLPE wire into the main power feed (Pin D). Use a staggered butt-splice technique so the bulk of the heat shrink tubing does not create a massive, inflexible lump that stresses the connector shell.
- Crimp and Seal: Crimp the new Metri-Pack 280 terminals using the dedicated ratcheting crimper. Slide the adhesive-lined heat shrink over the splice and apply heat evenly until the adhesive oozes slightly from the edges.
- Verify Terminal Tension: Before plugging the connector into the resistor block, use a terminal pick to gently tug on each wire from the back of the shell to ensure the terminal barbs have fully engaged and locked.
- Final Voltage Drop Test: Turn the ignition on, set the blower to Speed 3, and measure the voltage drop across the new connector. Confirm the reading is below 100mV.
Conclusion
Replacing a blower motor resistor wiring harness is a masterclass in high-current thermal management. While the upfront cost of purchasing dedicated Metri-Pack crimpers and SAE-compliant 12 AWG wire is higher than grabbing a cheap auto-parts-store pigtail, the long-term economics heavily favor the custom repair approach. By understanding the pinout specifications, upgrading the main feed wire, and verifying the repair with a voltage drop test, technicians can permanently resolve HVAC electrical failures and eliminate costly warranty comebacks.