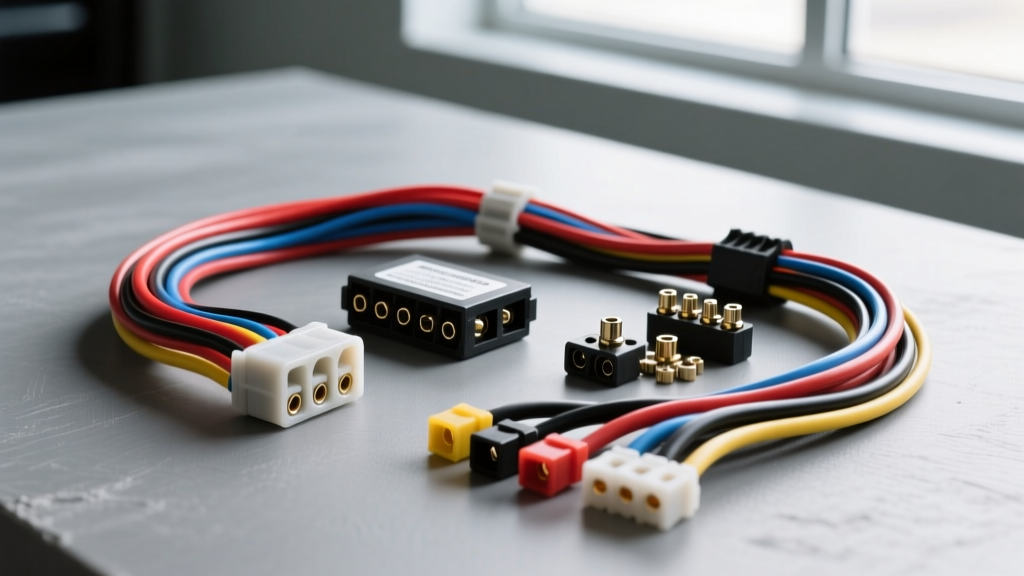
The 1972 Chevrolet C10 Electrical Architecture: A Turning Point
The 1972 model year marked the final production run of the highly successful second-generation C/K series. For automotive electricians and restoration specialists, the 1972 C10 wiring harness represents a unique transitional period in GM truck history. It bridges the gap between the simplistic, low-amperage circuits of the 1960s and the more complex, emissions-laden architectures of the mid-1970s square bodies. Whether you are performing a frame-off concours restoration or building a Pro-Touring street truck with an LS swap, selecting the correct harness is the most critical electrical decision you will make.
Unlike later models that utilized fully integrated modular harnesses, the 1972 C10 relies on a segmented system: a main dash harness, an engine compartment harness, a firewall bulkhead connector, and separate rear body/taillight harnesses. Understanding the differences between exact OEM reproduction harnesses and modernized aftermarket universal kits is essential for avoiding voltage drop, electrical fires, and chronic gremlins.
OEM vs. Aftermarket: Which 1972 C10 Harness Fits Your Build?
When shopping for a replacement 1972 C10 wiring harness, the market is broadly divided into two categories: factory-correct restorations and modernized street-rod systems. Your selection must align with your end goal, alternator setup, and fuse block preferences.
Route 1: OEM Restoration Harnesses (M&H Electric, Lectric Limited)
If your goal is factory authenticity, OEM reproduction harnesses are mandatory. Manufacturers like M&H Electric Fabricators utilize the original GM blueprints to replicate the exact wire colors, routing clips, and molded connectors. These harnesses adhere strictly to SAE J1128 standards for low-tension primary cable, utilizing cross-linked polyethylene (XLPE) insulation that mimics the look of original cloth-braided wire while offering superior heat resistance.
- Pros: Exact factory color codes (e.g., Pink for ignition 12V, Dark Green for right turn/stop), correct molded bulkhead connectors, and proper steering column routing.
- Cons: Retains the original glass-tube fuse block design, lacks headlight relays (running high current through the dash switch), and does not natively support internally regulated alternators or HEI distributors without splicing.
Route 2: Aftermarket Street & Custom Kits (Painless Performance, American Autowire)
For restomods, engine swaps, or daily drivers requiring modern reliability, aftermarket chassis harnesses are the superior choice. Kits from American Autowire (Classic Update series) or Painless Performance completely eliminate the factory glass fuse block in favor of an ATO/ATC blade fuse panel. More importantly, these kits integrate headlight relays and horn relays, pulling heavy amperage directly from the battery and using the factory steering column switch only as a low-amperage trigger.
- Pros: Modern blade fuses, integrated 30A Bosch-style relays for headlights, pre-terminated HEI ignition feeds (10 AWG), and internally regulated alternator pigtail support.
- Cons: Requires modifying firewall hole sizes for modern grommets, wire colors do not match the 1972 GM factory service manual, and bulkhead routing is often bypassed in favor of a single large firewall pass-through.
Technical Deep Dive: The 1972 Firewall Bulkhead Connector
The most notorious bottleneck in any second-generation C10 is the firewall bulkhead connector. In 1972, GM utilized a specific multi-cavity molded block that mates the engine harness to the dash harness. Corrosion and pin fretting in this block are responsible for 80% of dim headlight and erratic gauge complaints in surviving trucks.
Below is a partial reference table for the critical cavities in the 1972 C10 engine-to-dash bulkhead connector. Note the wire gauges; upgrading these specific circuits is a common requirement when swapping to high-draw components.
| Cavity | Circuit Function | Factory Wire Color | Factory AWG | Upgrade Recommendation |
|---|---|---|---|---|
| D | Ignition Switch 12V Feed | Pink | 12 AWG | Upgrade to 10 AWG if running HEI & MSD |
| E | Main Battery Feed (Ammeter) | Red | 10 AWG | Upgrade to 4 AWG if bypassing ammeter |
| F | Tail / Parking Lights | Brown | 18 AWG | Keep 18 AWG; ensure clean ground at bedsides |
| H | Left Headlight (Low/High) | Tan / Light Green | 14 AWG | Convert to relay-trigger (18 AWG trigger) |
| K | Right Headlight (Low/High) | Tan / Light Green | 14 AWG | Convert to relay-trigger (18 AWG trigger) |
Note: When servicing the bulkhead, always use a dedicated terminal extraction tool. Prying the molded rubber housing with a flathead screwdriver will tear the weather seal, leading to immediate water intrusion into the dash harness.
Critical Selection Factors: Alternator & Ignition Upgrades
Your choice of a 1972 C10 wiring harness must be dictated by your charging and ignition systems. The factory 1972 C10 was equipped with a Delco 10DN externally regulated alternator and a points-style distributor. Modern builds rarely retain this configuration.
The Alternator Dilemma: 10DN vs. 12SI vs. 1-Wire
The 1972 external voltage regulator requires a 4-wire harness (Battery, Ground, Field #1, Field #2). If you are swapping to a 12SI internally regulated alternator (the most common GM upgrade), an OEM 1972 harness will require a specialized jumper harness to plug the 12SI's 2-pin connector into the factory 10DN firewall plug. The #1 terminal (voltage sense) must route to the ignition switch, while the #2 terminal (voltage reference) must route directly to the battery side of the alternator. Aftermarket harnesses like those from Painless Performance include this 12SI pigtail natively, eliminating the need for a clumsy adapter.
Ignition: Points to HEI Conversion
The factory points ignition system utilized a resistance wire (often a pink wire with a white tracer or a specific cloth-wrapped resistor wire) to drop the voltage from 12V to roughly 7-9V at the coil, preventing the points from burning out. The 1974+ HEI (High Energy Ignition) distributor requires a full, unresisted 12V supply capable of delivering 5+ amps under load. If you use an OEM 1972 harness, you must bypass the factory resistance wire and run a dedicated 10 AWG feed from the IGN spade on the fuse block directly to the HEI BAT terminal. Failing to do so will result in weak spark, misfires at high RPM, and eventual failure of the HEI ignition module.
Common Failure Modes in Original '72 Harnesses
Before installing a new harness, it is vital to understand why the original 50-year-old wiring failed. According to archives from the GM Heritage Center, the 1972 C10 electrical system was not designed for the accessory loads modern owners demand.
- Melted Ignition Switch Pigtail: The 1972 C10 routes the blower motor, accessory, and ignition feeds directly through the steering column ignition switch. Over time, the draw from an upgraded A/C blower motor causes the plastic connector housing on the back of the ignition switch to melt, creating high resistance and voltage drop. Aftermarket kits solve this by using the ignition switch only to trigger relays.
- Headlight Switch Thermal Overload: The factory headlight switch contains a thermal circuit breaker. Because the factory harness runs the full headlight amperage (up to 12A per side) through the switch and the dimmer switch on the floor, voltage at the headlight bulbs often drops below 10V. This causes dim lights and premature switch failure. Always select a harness kit that incorporates headlight relays mounted on the core support.
- Bulkhead Corrosion: The 1972 bulkhead seal degrades over decades of engine bay heat cycling. Moisture wicks into the terminals, causing verdigris buildup. If retaining an OEM harness, you must disassemble the bulkhead, chemically clean the brass terminals, and apply dielectric grease (not Vaseline, which can degrade certain plastics).
Final Verdict & Installation Best Practices
Choosing the right 1972 C10 wiring harness comes down to your build parameters. If you are restoring a numbers-matching truck with a 10DN alternator, points ignition, and stock glass fuses, invest in an OEM-correct harness from M&H or Lectric Limited. The authenticity and correct color codes will save you hours of troubleshooting against the 1972 GM factory service manual.
However, if your C10 features an LS swap, a 12SI or 1-wire alternator, HEI or coil-on-plug ignition, and electric cooling fans, an OEM harness will fight you at every turn. Select a modernized aftermarket chassis harness. The integration of ATO blade fuses, heavy-gauge power feeds, and relay-driven lighting circuits will provide the reliable, high-amperage foundation that a modified classic truck requires. Regardless of your choice, always use a high-quality crimping tool (such as the Delphi Packard terminal crimpers) for any field modifications, and seal all firewall pass-throughs with high-temp silicone to protect your investment from the elements.