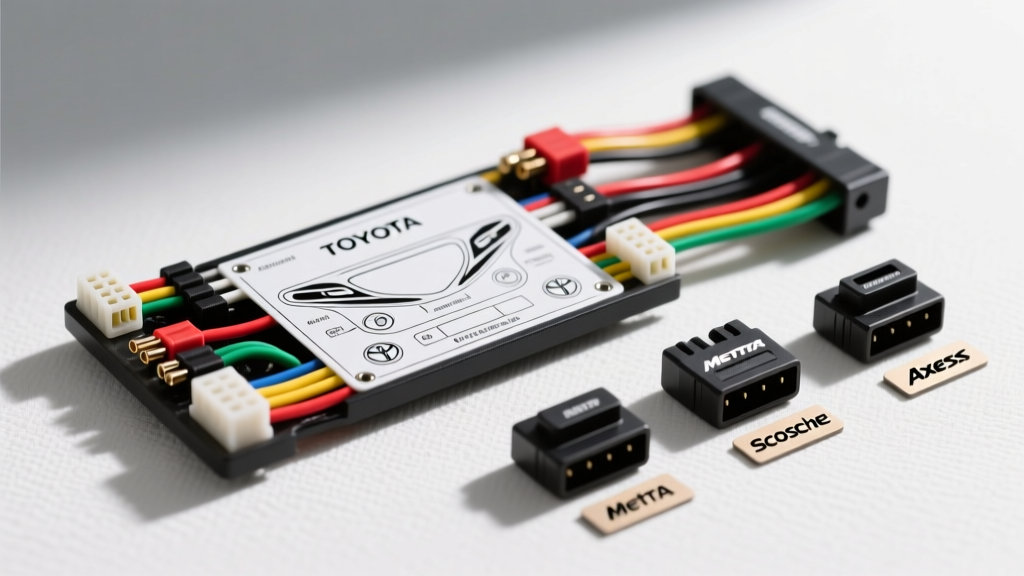
Introduction to Camry Head Unit Electrical Architecture
Upgrading the factory head unit in a Toyota Camry requires a precise understanding of the vehicle's electrical layout. Whether you are working on a 2007-2011 XLE or a 2012-2017 SE, relying on a verified color code toyota camry radio wiring diagram is the difference between a seamless plug-and-play installation and a damaged CAN-bus network. Toyota utilizes a combination of standard EIAJ (Electronic Industries Association of Japan) color codes and proprietary multiplex data lines for steering wheel controls (SWC) and amplified audio systems. This guide compares installation methodologies and top-tier wiring harness adapters to ensure your aftermarket stereo integrates flawlessly with your Camry's electrical grid.
The OEM Color Code Toyota Camry Radio Wiring Diagram
Standard non-JBL Toyota Camry models utilize a dual-connector setup: a 20-pin connector for power, ground, and speaker outputs, and a secondary 10-pin or 12-pin connector for accessories, illumination, and data buses. Below is the definitive pinout and wire color reference for the primary 20-pin harness. Always verify with a digital multimeter (DMM) before making connections, as mid-year production changes can occasionally alter tracer colors.
| Pin / Function | OEM Wire Color | AWG Size | Aftermarket EIA Equivalent |
|---|---|---|---|
| Constant 12V (B+) | Yellow (or White/Red) | 18 AWG | Yellow |
| Switched 12V (ACC) | Gray | 18 AWG | Red |
| Chassis Ground | Brown | 18 AWG | Black |
| Illumination (PWM) | Green | 20 AWG | Orange/White |
| Power Antenna / Amp Turn-On | Blue/White Tracer | 20 AWG | Blue/White |
| Front Left Speaker (+) | Pink | 20 AWG | White |
| Front Left Speaker (-) | Purple | 20 AWG | White/Black |
| Front Right Speaker (+) | Light Green | 20 AWG | Gray |
| Front Right Speaker (-) | Blue | 20 AWG | Gray/Black |
| Rear Left Speaker (+) | Black | 20 AWG | Green |
| Rear Left Speaker (-) | Yellow | 20 AWG | Green/Black |
| Rear Right Speaker (+) | Red | 20 AWG | Violet |
| Rear Right Speaker (-) | White | 20 AWG | Violet/Black |
| SWC Data (TX/RX) | Pink / Pink-White | 22 AWG | Requires SWC Interface |
Note: Wire gauges listed reflect OEM specifications. When building custom harnesses, SAE J1128 standards recommend stepping up to 16 AWG for power and ground to accommodate the higher current draw of aftermarket head units with built-in 4x50W MOSFET amplifiers. For deeper automotive cable standards, refer to the SAE J1128 Low Tension Primary Cable specification.
Hardwiring vs. Plug-and-Play: Selecting Your Installation Method
When integrating an aftermarket radio, installers generally choose between hardwiring (cutting and splicing) or using a vehicle-specific wiring harness adapter. Here is a technical comparison to help you select the right approach.
Method 1: Direct Hardwiring (T-Taps and Soldering)
- Pros: Zero additional cost; allows for custom wire routing in tight dash cavities.
- Cons: Destroys OEM harness integrity; voids vehicle electrical warranties; high risk of parasitic draws if constant 12V is poorly insulated.
- Best For: Competition show cars or salvage-title vehicles where OEM harness preservation is irrelevant.
- Expert Warning: Never use 'scotch locks' or cheap T-taps on Toyota's 20-22 AWG data lines. The mechanical blade will sever the copper strands, leading to intermittent Steering Wheel Control (SWC) failures or CAN-bus errors.
Method 2: Plug-and-Play Harness Adapters
- Pros: Preserves OEM connectors; allows for easy reversion to factory stereo; pre-stripped and tinned leads for fast soldering or crimping.
- Cons: Adds $15-$120 to the project cost depending on system complexity.
- Best For: Daily drivers, leased vehicles, and 95% of consumer installations.
Top Wiring Harness Adapters Compared
Selecting the correct harness depends entirely on whether your Camry features the standard 4-speaker/6-speaker unamplified system or the premium JBL amplified system. Below is a comparison of the industry-leading harness solutions.
1. Metra 70-1761 (Standard Non-JBL Systems)
The Metra 70-1761 is the baseline standard for 2007-2011 Camry models without the JBL upgrade. It maps the Toyota 20-pin and 10-pin OEM connectors directly to the universal 16-pin EIA aftermarket standard.
- Wire Quality: Uses standard 18 AWG stranded copper. The insulation is PVC, rated to 105°C, which is sufficient for the climate-controlled dash environment.
- Color Matching: Metra prints the function directly on the wire jacket, bypassing the need to memorize the OEM color code toyota camry radio wiring diagram during the soldering phase.
- Limitation: Does not include a data-bus interface for steering wheel controls. You must pair this with a separate Axxess ASWC-1 module if you wish to retain volume and track buttons.
2. Scosche TO02B (Standard Non-JBL Alternative)
Scosche’s equivalent to the Metra 70-1761. The TO02B is functionally identical but often features slightly thicker wire jackets and color-coding that strictly mirrors the EIA aftermarket standard rather than the OEM Toyota colors.
- Connector Fitment: Scosche molds their TYO-02B connectors with a slightly more aggressive locking tab, which can be beneficial in older Camrys where the OEM plastic harness collars have become brittle and fail to 'click' securely.
- Selection Verdict: Choose Scosche if your OEM dash connectors are worn; choose Metra for exact color-code documentation.
3. Axxess TYTO-01 (JBL Amplified Systems Interface)
If your Camry is equipped with the JBL premium audio package, the standard 20-pin diagram above does not apply. The JBL system uses a 28-pin connector that carries low-level pre-amp signals and a digital data-bus to control the factory amplifier located under the passenger seat. Cutting these wires will result in zero audio output.
- Technology: The TYTO-01 is not just a wiring harness; it is an active data-bus decoder. It translates the aftermarket radio's 12V remote turn-on and RCA pre-outs into the digital wake-up commands required by the Toyota JBL amplifier.
- Wiring Specs: Includes 4 pairs of RCA outputs and a dedicated 16 AWG power/ground loop to ensure the interface module doesn't suffer from voltage sag, which causes the infamous 'turn-on pop' in the speakers.
- Selection Verdict: Mandatory for JBL-equipped Camrys. Attempting to bypass the JBL amp and run new 14 AWG speaker wire from the dash to the doors is a massive undertaking requiring door panel removal and firewall drilling.
Expert Troubleshooting: Common Camry Radio Wiring Failures
Even with a perfect color code toyota camry radio wiring diagram, real-world installations often present unique electrical gremlins. Here is how to diagnose the most common issues.
Symptom: Dash Illumination Flickers or Radio Dims Erratically
Cause: Modern Toyota Camrys use a Pulse Width Modulated (PWM) signal for dash illumination rather than a simple 12V rheostat. Aftermarket radios expect a steady 12V signal on the Orange/White illumination wire to trigger the dimming circuit.
Fix: Do not connect the Camry's Green illumination wire directly to the aftermarket radio's dimmer wire. Instead, connect the radio's illumination wire to a switched 12V ACC source, or use a PWM-to-12V relay converter. For more on Toyota multiplex lighting circuits, consult the Haynes Toyota Camry Repair Manual electrical schematics section.
Symptom: Alternator Whine in Speakers (Ground Loop)
Cause: The aftermarket radio's chassis ground is finding a path to the vehicle's chassis through the RCA cables or SWC data lines, creating a ground loop that amplifies alternator ripple.
Fix: Ensure the Brown OEM ground wire is securely bolted to a bare, unpainted metal surface behind the dash. If using an amplifier, verify that the amp ground and the radio ground share the same potential. Never ground the radio to the steering column or airbag brackets.
Symptom: Radio Loses Memory (Presets/Clock) Every Time the Car is Turned Off
Cause: The Constant 12V (Yellow) and Switched 12V (Red/Gray) wires have been swapped at the harness adapter.
Fix: Use a DMM to test the OEM harness. The wire that reads 12.4V with the key completely out of the ignition is your Constant B+ (Memory). The wire that only reads 12V when the key is in the 'ACC' or 'ON' position is your Switched power. Re-pin the adapter harness accordingly.
Conclusion & Best Practices
Navigating the electrical system of a Toyota Camry requires respect for the OEM engineering. By utilizing the correct color code toyota camry radio wiring diagram and selecting the appropriate Metra, Scosche, or Axxess harness for your specific audio configuration, you ensure a reliable, high-fidelity upgrade. Always use heat-shrink butt connectors or rosin-core solder for all wire joints, and wrap the final harness in Tesa cloth tape to eliminate dash rattles and protect against moisture ingress. For further verification of connector pinouts and aftermarket fitment, cross-reference your specific VIN with the Crutchfield Vehicle Fit Database before purchasing your interface modules.