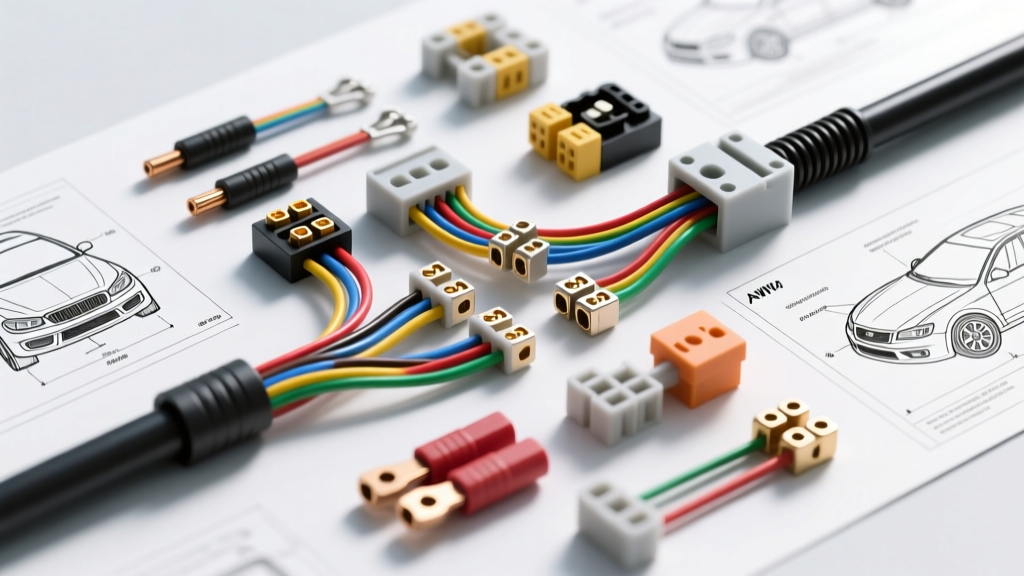
Decoding the Mini Bike Wiring Diagram: Ignition vs. Lighting
When approaching a wiring diagram for mini bike builds—whether you are running a Predator 212cc, a Honda GX160 clone, or a vintage Tecumseh flathead—it is critical to understand that you are actually dealing with two entirely separate electrical systems. The ignition system is entirely self-contained within the magneto and requires no battery, while the lighting system relies on a stator coil that often outputs raw, unrectified Alternating Current (AC). Misinterpreting the wiring diagram is the number one reason builders blow out expensive LED headlights and waste money on replacement components.
A standard mini bike wiring diagram routes the magneto's primary kill wire (usually black) to a handlebar-mounted Single Pole Single Throw (SPST) switch, which grounds the circuit to the engine block to halt the spark. Meanwhile, the lighting coil outputs AC voltage via a yellow or white wire. To run modern 12V DC accessories like LED light bars or a horn, your diagram must incorporate a full-wave bridge rectifier and a small 12V sealed lead-acid (SLA) or lithium battery to buffer the voltage. Below, we break down the exact tools and material costs required to build a reliable, vibration-proof harness from scratch, rather than relying on cheap, pre-made universal kits.
Tool Requirements: The True Cost of Proper Execution
Many hobbyists attempt to wire a mini bike using generic hardware store pliers and electrical tape. This inevitably leads to voltage drop, short circuits against the steel frame, and melted insulation near the exhaust. To execute a professional-grade wiring diagram for a mini bike, you need specialized crimping and testing tools. According to SAE J1128 standards for low-tension primary cable, proper crimping requires a ratcheting tool that compresses the terminal wire barrel without crushing the insulation grip.
| Tool Category | Recommended Specification | Est. Cost | Purpose in Mini Bike Build |
|---|---|---|---|
| Ratcheting Crimper | Delphi Aptiv Metri-Pack / Open Barrel | $35 - $55 | Ensures gas-tight crimps on 18-14 AWG terminals to prevent vibration-induced failure. |
| Wire Strippers | Precision 20-10 AWG (e.g., Klein 11055) | $25 | Prevents nicking the copper strands of thin-wall GXL automotive wire. |
| Multimeter | True-RMS (AC/DC) | $40 - $60 | Crucial for measuring raw AC stator output before the rectifier and verifying DC battery buffering. |
| Heat Gun | Dual-Temp with Reflector Nozzle | $20 | Shrinking marine-grade adhesive-lined heat shrink to seal out moisture and mud. |
Total Upfront Tool Investment: ~$120 - $155. While this seems high compared to a $10 pair of pliers, these tools are a one-time purchase that will save you hundreds of dollars in misdiagnosed electrical gremlins over the life of the vehicle.
Material Cost Breakdown & AWG Specifications
Pre-made universal mini bike wiring harnesses typically cost between $35 and $50. However, they are almost universally constructed from cheap PVC-insulated wire that becomes brittle when exposed to engine heat and UV light, and they utilize non-sealed spade connectors that corrode within a month of riding in damp grass. Building your own harness based on a custom wiring diagram costs slightly more in raw materials but yields an OEM-quality result.
For automotive and small engine applications, you should exclusively use GXL (General Cross-Linked) or TXL (Thin-Wall Cross-Linked) wire. As noted in SAE J1128 wire specifications, GXL wire features a cross-linked polyethylene insulation that withstands continuous temperatures up to 125°C (257°F), making it ideal for routing near the Predator 212 exhaust header.
| Material | Specification / AWG | Qty Needed | Est. Cost |
|---|---|---|---|
| Primary Wire (Lighting) | 18 AWG GXL (Stranded) | 25 ft | $12.00 |
| Primary Wire (Main Power/Kill) | 14 AWG GXL (Stranded) | 10 ft | $8.00 |
| Connectors | Metri-Pack 150 Series (Sealed) | 1 Kit | $18.00 |
| Stator Connectors | Vinyl Bullet (16-14 AWG) | 4 Pack | $4.00 |
| Full-Wave Rectifier | 12V 5A Bridge (e.g., KBPC5010) | 1 Unit | $6.00 |
| Adhesive Heat Shrink | Marine Grade (Dual Wall) | 1 Assortment | $10.00 |
| Kill Switch | SPST Toggle (Sealed IP67) | 1 Unit | $7.00 |
Total DIY Material Cost: ~$65.00. You are paying roughly $15 more than a cheap Amazon harness, but you are gaining sealed connections, high-temp insulation, and a custom fit that eliminates dangling wire loops.
The AC vs. DC Trap: Protecting Your Budget
The most expensive mistake you can make when following a mini bike wiring diagram is wiring 12V DC LED accessories directly to the stator's AC lighting coil. Small engine stators output wild, unregulated AC voltage that fluctuates with engine RPM. At idle, you might see 6V AC; at 3600 RPM, the voltage can spike to 35V+ AC. Feeding this directly into an LED headlight will instantly fry the internal driver, forcing you to buy a replacement.
The Cost-Saving Fix: Your wiring diagram must route the Yellow stator wire into the AC input terminals of a full-wave bridge rectifier. The DC output terminals of the rectifier are then wired to a small 12V 5Ah SLA battery (Cost: ~$15). The battery acts as a massive capacitor, absorbing the AC ripple and voltage spikes, providing a clean, steady 12V DC to your handlebar switches and lights. Skipping the $6 rectifier and $15 battery will result in a $40 blown LED light bar the first time you rev the engine.
Execution Strategy: Routing and Vibration Proofing
Mini bikes lack the rubber-isolated subframes of full-sized motorcycles. The engine is hard-mounted to the steel chassis, meaning high-frequency vibration from the single-cylinder engine is transferred directly into the wiring harness. According to NGK's small engine technical guidelines, vibration is a primary culprit in ignition failure and electrical shorts.
Common Failure Modes and Diagram Fixes
- The Steering Stem Chafe: The most common failure point on a mini bike is where the harness passes from the frame to the front forks for the headlight. Constant turning saws through standard PVC loom. Fix: Route the 18 AWG headlight wires through a dedicated rubber grommet and wrap the final 6 inches in woven PET expandable sleeving, securing it with adhesive-lined heat shrink rather than zip-ties that can act as a saw blade.
- The Kill Switch Ground Fault: Many diagrams show the kill switch grounding to the handlebars. Mini bike handlebars are often powder-coated or painted, creating a high-resistance ground. When the engine vibrates, the spark becomes erratic. Fix: Run a dedicated 14 AWG ground wire from the kill switch directly to an unpainted, star-washer-secured bolt on the engine block or bare steel frame rail.
- Exhaust Header Meltdown: Routing the stator wires too close to the Predator 212 header will melt standard wire insulation, shorting the lighting coil to the frame and killing your headlights. Fix: Use fiberglass wire sleeving (rated to 1000°F) over the GXL wire in any area within 4 inches of the exhaust, and secure it with stainless steel P-clamps rather than nylon zip-ties.
Final Cost-Benefit Verdict
Building a custom harness from a precise wiring diagram for your mini bike requires an initial tool investment of roughly $120 and a material spend of about $65. While a plug-and-play kit costs less upfront, the hidden costs of replacing fried LEDs, troubleshooting phantom grounding issues, and re-crimping failed spade terminals quickly eclipse the DIY price. By investing in GXL wire, Metri-Pack sealed connectors, and a proper ratcheting crimper, you build a harness that will outlast the engine itself, ensuring your mini bike is always ready for the dirt track.