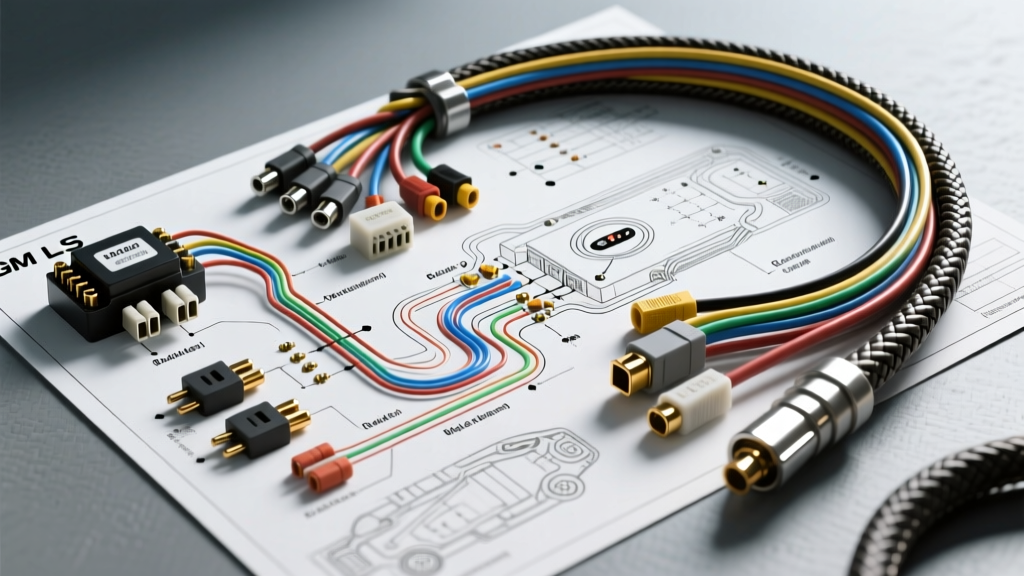
The True Cost of Executing a Fuel Injection Wiring Diagram
Reading a fuel injection wiring diagram is only the first step in diagnosing, repairing, or fabricating an engine management harness. Whether you are troubleshooting a misfire on a daily driver or executing a complex GM LS V8 swap, the schematic only tells you where the electrons need to flow. It does not tell you what it costs to ensure those electrons flow reliably under the hood's extreme thermal and vibrational environments. Automotive electrical systems demand precision; using the wrong wire gauge, improper crimping dies, or cheap diagnostic tools will lead to voltage drops, ECU damage, and catastrophic engine failure.
This guide breaks down the exact tooling, material costs, and hidden expenses required to properly execute a fuel injection wiring diagram, using the ubiquitous GM Gen III/IV LS platform (5.3L/6.0L) as our technical benchmark.
Phase 1: Diagnostic Tools for Circuit Verification
Before you splice a single wire or order replacement terminals, you must verify the existing circuit against the fuel injection wiring diagram. Modern fuel injection systems rely on high-speed data buses and precise 5V reference signals that cannot be diagnosed with a simple test light.
Digital Multimeters and ECU Breakout Boxes
A standard automotive multimeter is insufficient for back-probing delicate ECU terminals. You need a high-impedance Digital Multimeter (DMM) like the Fluke 87V (approx. $350) to measure 5V reference circuits without drawing excess current and frying the ECU's internal voltage regulator. Furthermore, back-probing the 80-way GM ECU connectors (C1 Blue and C2 Red) with standard probes will permanently splay the female terminals, causing future fretting corrosion. Investing in an OEM-style 80-pin breakout box (approx. $150-$250) is mandatory. This allows you to test continuity and resistance directly from the harness side without damaging the ECU pins.
Oscilloscopes for Injector Pulse Width Verification
When the fuel injection wiring diagram shows a switched ground circuit for the injectors, a DMM will only show an average voltage. To see the actual inductive spike and verify the ECU's pulse width modulation (PWM), an automotive oscilloscope is required. A PicoScope 4000 series (approx. $500) paired with current clamps allows you to graph the injector's pintle bump and verify that the ground circuit through the C1 connector is free of parasitic resistance. Total diagnostic tool investment: $850 - $1,100.
Phase 2: Terminal Crimping and Harness Fabrication
If your fuel injection wiring diagram dictates replacing a damaged pigtail or building a custom harness, your crimping methodology is critical. Soldering is strictly prohibited in modern automotive harness repair due to its brittleness under vibration; proper mechanical crimping creates a cold-weld that is actually stronger than the wire itself.
Ratcheting Crimpers and Die Selection
GM LS fuel injection harnesses primarily utilize Delphi (now TE Connectivity) Metri-Pack 150 and 280 series terminals for sensors, and specific EV1 or EV6 (USCAR) terminals for the fuel injectors. You cannot use generic hardware store crimpers. You must use ratcheting crimpers calibrated to the specific terminal series. A high-quality TE Connectivity or Asta ratcheting crimper set with interchangeable dies for Metri-Pack and USCAR terminals will cost between $200 and $300. Using the wrong die width (e.g., using a 2.0mm die on a 1.5mm Metri-Pack 150 terminal) will result in a high-resistance crimp that overheats under the 4-amp load of a standard high-impedance fuel injector.
Material Costs: Wire, Terminals, and Sleeving
The materials required to physically build the harness dictated by your fuel injection wiring diagram represent a significant portion of the budget. Standard PVC wire from a hardware store will melt on the exhaust manifolds and degrade under under-hood ozone exposure.
SAE J1128 Wire Specifications
Automotive primary wire must meet SAE J1128 standards, specifically GXL (General Cross-Linked) or TXL (Thin-wall Cross-Linked) specifications. TXL wire features a thinner insulation wall, allowing for tighter bending radii and reduced harness bulk, which is critical when routing through the firewall. A 500-foot spool of 18 AWG TXL wire costs roughly $85, while 20 AWG costs about $75. For a complete V8 fuel injection harness, expect to spend $150-$200 on wire alone, plus another $100 for high-temperature fiberglass braided sleeving and adhesive-lined heat shrink.
GM LS Gen III/IV ECU Pinout & Wire Specs Reference
When executing the fuel injection wiring diagram for an LS engine, matching the correct AWG and terminal type to the specific ECU pin is critical. Below is a reference chart for the primary fuel delivery and sensor circuits on the GM 411 and E40 ECUs.
| Circuit Function | ECU Connector / Pin | Required Wire Gauge | Terminal Type | OEM Wire Color (Typical) |
|---|---|---|---|---|
| Injector 1 Control | C1 (Blue) / Pin 1 | 18 AWG | Metri-Pack 280 | Dark Green |
| Injector 2 Control | C1 (Blue) / Pin 16 | 18 AWG | Metri-Pack 280 | Dark Blue |
| Injector 8 Control | C1 (Blue) / Pin 15 | 18 AWG | Metri-Pack 280 | Dark Blue/White |
| MAP Sensor Signal | C2 (Red) / Pin 36 | 20 AWG | Metri-Pack 150 | Yellow |
| MAP 5V Reference | C2 (Red) / Pin 18 | 20 AWG | Metri-Pack 150 | Gray |
| TPS Signal | C1 (Blue) / Pin 66 | 20 AWG | Metri-Pack 150 | Dark Blue |
| Injector Fused 12V+ Supply | Splice Pack / Relay | 14 AWG (Main) / 18 AWG (Drop) | Ring Terminal / MP280 | Pink / Red |
Note: Always verify your specific year and ECU calibration, as GM revised pinouts between the Gen III (24x crank) and Gen IV (58x crank) architectures. Consult Painless Performance LS Harness Manuals or GM factory service documentation for your exact RPO code.
Hidden Costs: ECU Pin Fretting and Harness Chafing
When budgeting a wiring project based on a fuel injection wiring diagram, mechanics often overlook the hidden costs of environmental protection and connector maintenance. The most common failure point on LS fuel injection harnesses is not the wire itself, but fretting corrosion at the C1 and C2 ECU connectors.
Fretting occurs when micro-vibrations cause the male ECU pins and female harness terminals to rub against each other, wearing away the tin plating and creating tin oxide—a highly resistive compound. This resistance causes the ECU to misread the 5V MAP sensor signal or fail to ground the injector circuit, resulting in a random misfire code (P0300). To prevent this, you must use a specialized dielectric grease like Nyogel 760G (approx. $45 per tube), which is specifically formulated to lubricate and seal multi-pin automotive connectors without interfering with electrical conductivity. Standard silicone grease can trap moisture and cause galvanic corrosion over time.
Additionally, harness chafing at the firewall pass-through or near the exhaust manifolds requires the use of split loom tubing, Tesa tape (approx. $15/roll), and adhesive-lined dual-wall heat shrink (approx. $30/box) to seal the harness against water intrusion. Skimping on these $100 worth of materials will inevitably lead to a shorted 12V injector feed, which can fry the ECU's internal high-side driver—a replacement cost of $400 to $800 for a reflashed PCM.
Summary: DIY vs. Professional Harness Building
Executing a fuel injection wiring diagram from scratch is a highly technical endeavor. If you are performing a one-off repair on a damaged injector pigtail, your tool investment (ratcheting crimper, DMM, TXL wire, and Metri-Pack terminals) will total around $450, saving you the $150-$200 hourly labor rate a professional shop would charge to diagnose and solder-splice the repair improperly. However, if you are building a complete custom engine management harness from a blank diagram, the material and tooling costs will easily exceed $800. In that scenario, purchasing a pre-loomed, plug-and-play harness from a reputable manufacturer like TE Connectivity's automotive partners or Holley may offer a better return on investment, reserving your diagnostic tools strictly for future troubleshooting and sensor verification.