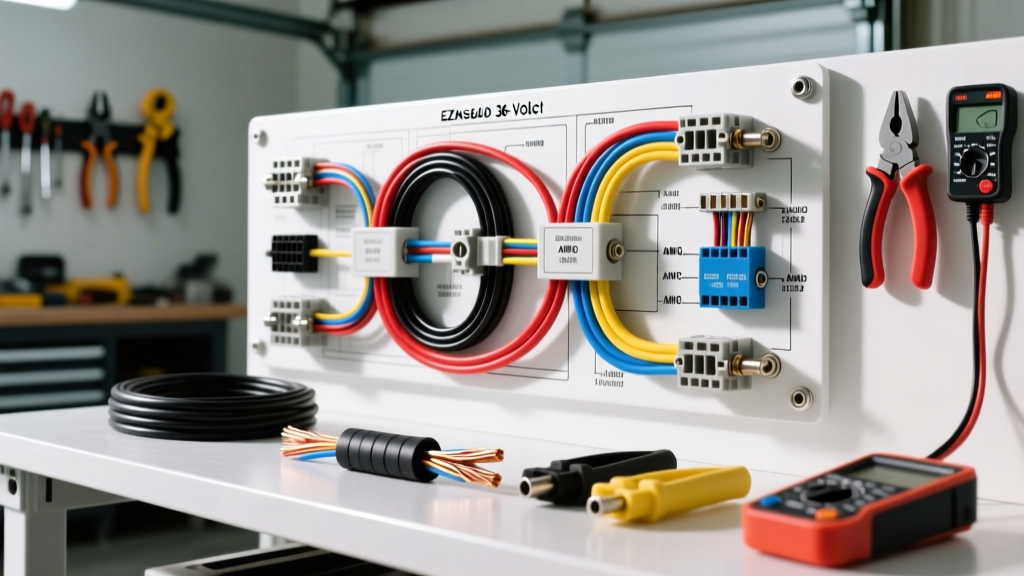
Introduction to the 36V EZGO Platform and Rewiring Economics
When tackling a complete harness rebuild or controller upgrade on a classic EZGO TXT or Marathon, simply downloading an ezgo wiring diagram 36 volt schematic is only the first step. The true challenge lies in translating that schematic into a physical, reliable, and cost-effective reality. Whether you are working on a vintage Series system with a V-Glide throttle or a later Drive Control System (DCS) with an Inductive Throttle Sensor (ITS), the electrical demands of a 36-volt traction system are unforgiving. A 36V golf cart can pull upwards of 300 amps under heavy load or hill climbing. If your wiring, terminations, and tooling are not up to spec, the result is severe voltage drop, melted lugs, and catastrophic controller failure.
This comprehensive cost and tool requirements analysis breaks down exactly what you need to budget for when executing a 36V EZGO wiring project. We will cover the specific American Wire Gauge (AWG) requirements, termination tooling, component costs, and the hidden expenses that often derail DIY golf cart electrical projects.
Essential Tooling Requirements & Cost Analysis
Standard automotive wire strippers and handheld ratchet crimpers are entirely insufficient for the high-current traction circuits of a 36V EZGO. The main battery and motor loops require heavy-gauge cabling that demands specialized termination tools to ensure a gas-tight, low-resistance connection. Below is the required tooling matrix for a professional-grade 36V rewiring project.
| Tool / Equipment | Technical Purpose | Estimated Cost |
|---|---|---|
| Hydraulic Wire Crimper (8 AWG to 2/0 AWG) | Required to properly compress 2 AWG and 4 AWG copper lugs without deforming the barrel. Ensures SAE-compliant pull-out strength. | $85 - $140 |
| Digital Multimeter (Min/Max Hold) | Crucial for measuring voltage drop across the solenoid and FNR switches under load. Standard DMMs miss transient voltage spikes. | $60 - $250 |
| Heat Gun with Reflector Nozzle | Shrinking dual-wall, adhesive-lined heat shrink over high-current terminations to prevent moisture ingress and corrosion. | $35 - $60 |
| Wire Brush & Terminal Cleaner | Removing surface oxidation from battery posts and motor studs before applying dielectric grease. | $15 |
| Torque Wrench (Inch-Pounds) | Applying exact torque to battery and motor terminals to prevent arcing without snapping the stud. | $45 - $80 |
Estimated Total Tooling Investment: $240 - $545
Decoding the Diagram: High-Current vs. Low-Current Paths
An accurate ezgo wiring diagram 36 volt will visually separate the high-current traction loop from the low-current control circuit. Understanding this distinction is critical for your material budget.
The High-Current Traction Loop
The traction loop carries the raw amperage from the battery pack, through the main solenoid, into the controller, and out to the series-wound or separately-excited motor. While OEM EZGO manuals from the 1990s and early 2000s often specify 4 AWG battery cables, modern electrical standards and high-amperage aftermarket controllers dictate an upgrade to 2 AWG or even 1 AWG Oxygen-Free Copper (OFC). Upgrading to 2 AWG reduces resistance, minimizing voltage drop and keeping the harness cooler during sustained draws. According to standard ampacity charts, 2 AWG copper wire safely handles the continuous and peak loads of a modified 36V system far better than 4 AWG.
The Low-Current Control Circuit
The control circuit operates the solenoid coil, the Forward/Neutral/Reverse (FNR) microswitches, and the throttle sensor. These circuits typically draw less than 5 amps. Here, 14 AWG or 16 AWG primary wire is standard. When sourcing this wire, ensure it meets SAE J1128 specifications for low-tension primary cable, which guarantees proper insulation thickness and resistance to under-hood (or under-seat) heat and chemical exposure.
Material Budgeting: Components and Wiring Harness
Budgeting for the physical materials requires looking beyond just the wire. High-quality terminations and heavy-duty contactors are where your budget should be heavily weighted. Cheap solenoids and stamped copper lugs are the leading cause of 36V EZGO electrical fires.
| Component | Specification / Details | Est. Cost (USD) |
|---|---|---|
| 2 AWG OFC Battery Cables | Custom-cut, 3/8' ring terminals, dual-wall heat shrink. (Set of 6 for series 6x6V setup) | $110 - $160 |
| 36V DC Solenoid (Heavy Duty) | Trombetta or Albright brand. 4-terminal. Continuous duty rated. Includes internal pre-charge resistor or external diode. | $65 - $120 |
| FNR Microswitch Block | OEM replacement switch block with 16 AWG pigtails. Includes Forward (Blue), Reverse (Yellow), and Neutral (Black) circuits. | $45 - $75 |
| Inductive Throttle Sensor (ITS) | Required for DCS/PDS models. 3-pin connector (Red 10V, Black Ground, White Signal). | $85 - $110 |
| Terminal Protection Kit | Dielectric grease, anti-corrosion felt washers, and 3/8' tinned copper lug covers. | $25 |
Estimated Total Material Investment: $330 - $490
DCS Controller Pinout and Sensor Wiring Costs
If your 36V EZGO utilizes the Drive Control System (DCS), the wiring diagram will feature a multi-pin controller harness. Misinterpreting these pins during a harness rebuild will instantly fry the controller, adding an unexpected $300+ replacement cost to your project. The DCS controller typically uses a 10-pin or 12-pin Molex-style connector. Key pins include:
- Pin 1 (B+): Main battery positive (Red, 14 AWG). Connects to the key switch and solenoid load side.
- Pin 2 (B-): Main battery negative (Black, 14 AWG). Must have a pristine ground to the battery pack negative.
- Pin 3 (Motor A-): Motor armature negative (Blue, 14 AWG). Used by the controller to monitor motor state.
- Pin 4 (ITS Signal): Throttle input (White, 18 AWG). Highly sensitive; must be routed away from high-current motor cables to prevent electromagnetic interference (EMI).
When rebuilding this harness, do not reuse the old OEM plastic connector shell if the pins show any signs of green corrosion or 'fretting'. Budget an extra $15-$25 for a new OEM-style pigtail connector with fresh crimp pins to ensure a secure mating surface with the controller.
Hidden Costs: Voltage Drop, Grounding, and Torque Specs
The most expensive mistakes in a 36V EZGO wiring project are the ones you cannot see until a component melts. A common hidden cost is the failure to properly torque battery and motor connections. According to EZGO service guidelines, battery terminal nuts should be torqued to approximately 110 inch-pounds (9.1 ft-lbs). Overtightening strips the soft lead threads of the battery post, requiring a $150+ battery replacement. Undertightening creates a high-resistance joint that will arc, melt the 2 AWG lug, and potentially cause a thermal runaway event.
Furthermore, older Series models utilizing the V-Glide throttle assembly often suffer from worn internal contacts. While the wiring diagram shows simple microswitches, the physical V-Glide box itself can wear out, causing erratic acceleration. Budget an additional $90 for a complete V-Glide replacement assembly if your cart predates 1995 and exhibits 'dead spots' in the throttle pedal travel, as no amount of wiring repair will fix mechanical wear inside the switch housing.
Summary: The ROI of Proper Tooling and Materials
Executing an ezgo wiring diagram 36 volt project is an investment in the longevity and safety of the vehicle. By allocating roughly $500 to $800 for high-quality 2 AWG cabling, heavy-duty contactors, and the proper hydraulic crimping tools, you eliminate the primary failure points of the 36V platform. Skimping on terminations or relying on undersized 4 AWG wire will inevitably lead to voltage drop, reduced top speed, and burnt components, ultimately costing far more in replacement parts and downtime than doing the job to SAE standards the first time.