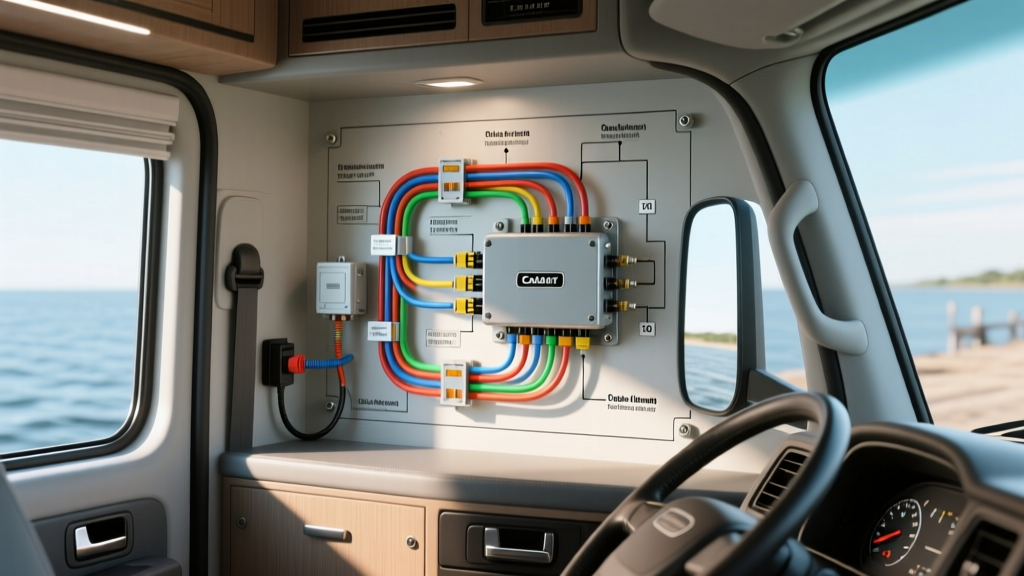
Integrating a Cadet Heater Wiring Diagram into Commercial Truck Sleeper Cabs
While Cadet Manufacturing designs their Com-Pak and Baseboard heaters for residential and commercial wall applications, owner-operators of heavy-duty commercial trucks (such as Peterbilt, Kenworth, and Freightliner sleeper cabs) frequently adapt these 120V AC units for auxiliary cab heating. This eliminates the need for cold-weather engine idling, saving thousands in fuel costs. However, interpreting a standard residential Cadet heater wiring diagram for a mobile vehicle environment requires a complete overhaul of the installation methodology. You are bridging high-amperage 12V DC battery banks, pure sine wave inverters, and 120V AC shore power transfer switches. This guide provides a comprehensive cost and tool requirements analysis for executing this complex vehicle wiring schematic safely and reliably.
Essential Tool Requirements for 120V AC and 12V DC Integration
Residential electricians typically rely on wire nuts and standard slip-joint pliers for Cadet heater installations. In a commercial vehicle, the constant vibration and thermal cycling will cause residential wire connectors to fail, leading to arcing and potential cab fires. According to RVIA and mobile AC wiring standards, all AC connections in mobile environments must be mechanically secured using ring terminals and torque-specified terminal blocks. Therefore, your tool investment must reflect automotive and marine-grade electrical standards.
Specialized Crimping, Stripping, and Testing Gear
To properly size and terminate the heavy-gauge DC cables feeding the inverter, as well as the 12 AWG AC lines feeding the Cadet unit, you need specialized equipment. A standard automotive wire stripper will not cleanly strip 12 AWG THHN solid core wire, and a standard crimper cannot handle 2/0 AWG battery lugs.
| Tool Category | Specific Tool Requirement | Estimated Cost | Application in Install |
|---|---|---|---|
| Wire Stripping | Klein Tools 11055 (10-20 AWG Solid) | $35.00 | Stripping 12 AWG THHN for Cadet AC connections |
| Heavy Crimping | Titan 11104 Hydraulic Crimper (up to 4/0 AWG) | $85.00 | Crimping 2/0 AWG lugs for inverter DC battery feeds |
| Testing / Diagnostics | Fluke 87V True-RMS Digital Multimeter | $450.00 | Testing AC sine wave purity and DC voltage drop |
| Fastening | Wheeler Engineering Torque Screwdriver (In-lbs) | $110.00 | Torquing Cadet terminal blocks to 20 in-lbs spec |
| Heat Shrinking | Dual-Wall Adhesive Heat Shrink Tubing Kit | $45.00 | Sealing ring terminals against moisture and vibration |
Total Baseline Tool Investment: ~$725.00. While the Fluke 87V represents the bulk of this cost, testing the Total Harmonic Distortion (THD) of your inverter is critical. Modified sine wave inverters will cause the Cadet heater's internal blower motor and limit switches to overheat and fail prematurely.
Material and Component Cost Breakdown
When adapting the Cadet heater wiring diagram for a truck cab, you must account for both the AC load side and the DC supply side. A standard Cadet Com-Pak CEH102TW (1000W, 120V) draws approximately 8.3 Amps. While 14 AWG wire is technically rated for 15 Amps, SAE J1128 guidelines and mobile voltage drop charts dictate using 12 AWG for runs exceeding 15 feet to prevent voltage drop, which can cause the heater's thermal limit switch to nuisance-trip.
| Component | Specification & Wire Colors | Estimated Cost |
|---|---|---|
| AC Wiring (Heater Feed) | 12 AWG THHN (Black=Hot, White=Neutral, Green=Ground) | $25.00 |
| DC Wiring (Inverter Feed) | 2/0 AWG Welding Cable (Red=B+, Black=Ground) | $85.00 |
| Overcurrent Protection (AC) | 20A Single-Pole AC Circuit Breaker (DIN Rail Mount) | $18.00 |
| Overcurrent Protection (DC) | 250A ANL Fuse & Block (Class T preferred for marine/truck) | $45.00 |
| Transfer Relay | Omron LY2-AC120 DPDT Relay (120V AC Coil, 10A Contacts) | $22.00 |
| Power Inverter | 2000W Pure Sine Wave Inverter (e.g., Victron Phoenix) | $650.00 |
Total Material Cost: ~$845.00 (excluding the cost of the Cadet heater unit itself, which retails for approximately $180.00).
Interpreting the Cadet Heater Wiring Diagram for Vehicles
The factory Cadet heater wiring diagram features a simple loop: Line voltage enters the thermostat, passes through the high-limit safety switch, and energizes the heating element and blower motor simultaneously. In a residential setting, this is wired directly to a 20A wall breaker. In a truck sleeper cab, you must integrate a shore-power transfer system so the heater operates off the truck's inverter while driving, but automatically switches to external shore power when plugged in at a truck stop, saving the vehicle's battery bank.
Shore Power vs. Inverter Transfer Relay Pinouts
To automate this, we use a 120V AC coil DPDT (Double Pole, Double Throw) relay. The relay coil is powered by the shore power line. When shore power is connected, the relay energizes and switches the Cadet heater's Hot and Neutral lines away from the inverter and toward the shore power source.
| Relay Pin Number | Function | Wire Connection Detail |
|---|---|---|
| Pin 85 (Coil -) | Relay Coil Neutral | Connect to Shore Power Neutral (White) |
| Pin 86 (Coil +) | Relay Coil Hot | Connect to Shore Power Hot (Black) |
| Pin 30 (Common 1) | Heater Hot Feed | Connect to Cadet Thermostat Hot Input (Black) |
| Pin 87a (NC 1) | Inverter Hot | Connect to Inverter AC Output Hot (Black) |
| Pin 87 (NO 1) | Shore Power Hot | Connect to Shore Power Hot (Black) |
| Pin 41 (Common 2) | Heater Neutral Feed | Connect to Cadet Heater Neutral Bus (White) |
| Pin 90a (NC 2) | Inverter Neutral | Connect to Inverter AC Output Neutral (White) |
| Pin 90 (NO 2) | Shore Power Neutral | Connect to Shore Power Neutral (White) |
Note: The Cadet heater's chassis ground (Green) must bypass the relay entirely and tie directly to the vehicle's unified AC/DC grounding bus bar to ensure fault current paths remain intact regardless of the power source.
Step-by-Step Installation Cost and Labor Analysis
If you are outsourcing this installation to a commercial truck upfitter or an RV electrical specialist, expect labor rates to range from $125 to $175 per hour. The complete integration of the inverter, DC cabling, transfer relay, and the physical mounting and wiring of the Cadet heater typically requires 8 to 12 hours of skilled labor.
- Phase 1: DC Infrastructure (3-4 Hours): Routing 2/0 AWG cables from the battery bank, installing the Class T fuse within 18 inches of the battery positive terminal, and terminating the inverter. Labor Cost: ~$500.
- Phase 2: AC Transfer & Breaker Panel (2-3 Hours): Mounting the DIN rail, wiring the Omron DPDT relay, and establishing the AC grounding bus. Labor Cost: ~$375.
- Phase 3: Cadet Heater Mounting & Termination (2-3 Hours): Cutting the sleeper cab paneling, mounting the heater can, and terminating the 12 AWG THHN wires into the Cadet's internal thermostat and limit switch blocks using ring terminals. Labor Cost: ~$375.
Total Professional Labor Estimate: $1,250.00. Combined with materials, a professional turn-key installation of a Cadet heater in a truck sleeper cab will cost approximately $2,100.00.
Real-World Failure Modes and Troubleshooting
When troubleshooting a mobile Cadet heater installation, technicians often misdiagnose the heater itself when the fault lies in the vehicle's power delivery. The most common failure mode is DC Voltage Drop causing Inverter Low-Voltage Cutoff. A 1000W heater draws roughly 900W from the 12V DC side (accounting for inverter efficiency losses), equating to roughly 75 Amps of continuous DC draw. If the 2/0 AWG cables are undersized, poorly crimped, or too long, the voltage at the inverter will drop below 10.5V under load. The inverter will shut down to protect itself, and the Cadet heater will abruptly turn off. To diagnose this, use a Fluke True-RMS multimeter to measure DC voltage directly at the inverter terminals while the heater blower is running. If it reads below 11.5V, you must upgrade your DC cabling or add a secondary battery bank to reduce internal resistance.