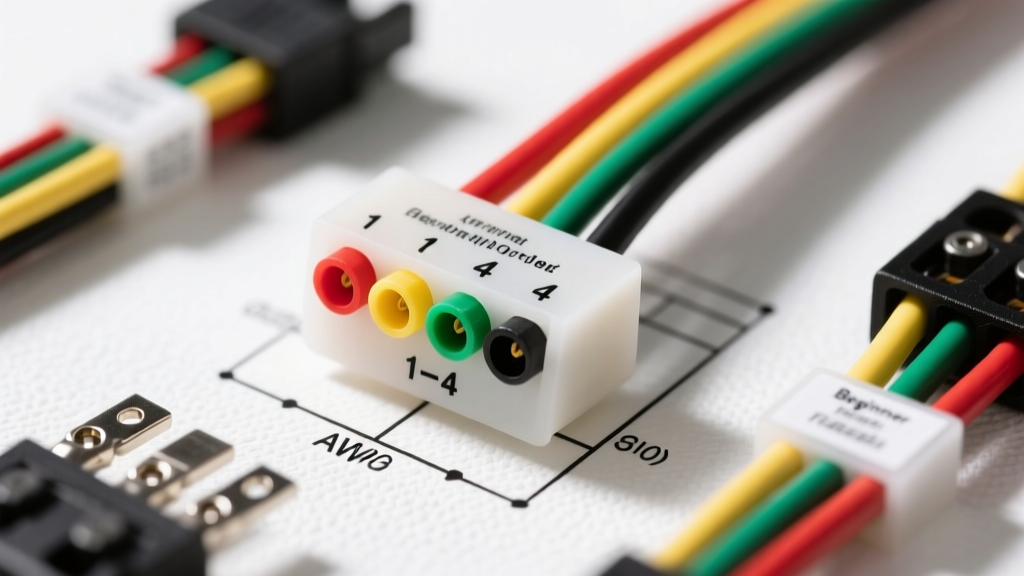
Introduction to the 4-Pin Flat Connector Standard
Whether you are wiring a 5x8 utility trailer, a lightweight aluminum boat trailer, or a motorcycle tow dolly, the 4-pin flat connector is the undisputed industry standard for light-duty towing. Understanding a four pin wiring diagram trailer setup requires moving beyond simple color-matching. To build a reliable, road-worthy tow rig, you must understand the electrical engineering principles, SAE standards, and real-world failure modes that dictate trailer lighting performance. This beginner-friendly guide breaks down the anatomy, pinouts, wire specifications, and modern vehicle integration techniques required for a flawless 4-pin trailer wiring installation.
The Standard Four Pin Wiring Diagram Trailer Pinout
The 4-pin flat connector (governed by the SAE J286 standard) is designed to handle basic lighting functions: tail/marker lights, left turn/brake, right turn/brake, and a common ground. It does not support dedicated electric trailer brakes, reverse lights, or auxiliary 12V power feeds. Below is the universal pinout configuration for both the vehicle-side (male) and trailer-side (female) connectors.
| Pin Position | Circuit Function | Standard Wire Color | Recommended AWG Size |
|---|---|---|---|
| Pin 1 (Ground) | Chassis Ground Return | White | 14 AWG (12 AWG for runs over 20ft) |
| Pin 2 (Tail) | Tail Lights, Clearance, and Marker Lights | Brown | 16 AWG (14 AWG for heavy marker setups) |
| Pin 3 (Left) | Left Turn Signal and Stop Light | Yellow | 16 AWG |
| Pin 4 (Right) | Right Turn Signal and Stop Light | Green | 16 AWG |
Wire Gauge, Insulation, and SAE Standards
Beginners often purchase the cheapest bonded trailer wire available, which frequently leads to premature failure. When sourcing wire for your four pin wiring diagram trailer project, you must look for insulation that meets SAE J1128 specifications. Specifically, you want GXL (General Cross-Linked) or TXL (Thin-wall Cross-Linked) insulation. These cross-linked polyethylene (XLPE) jackets are highly resistant to heat, moisture, road salt, and abrasion.
Avoid standard PVC-insulated wire (often labeled TWL) for undercarriage routing. PVC becomes brittle in freezing temperatures and melts easily when routed near exhaust components. Furthermore, while 16 AWG is standard for the lighting circuits, the White ground wire should always be upgraded to 14 AWG or 12 AWG. The ground wire must carry the cumulative return current of all three active lighting circuits simultaneously. Undersizing the ground wire leads to voltage drop, resulting in dim lights and erratic behavior.
The Critical Role of the Ground Circuit
The single most common cause of trailer lighting failure is a poor ground connection. Many beginners mistakenly believe that the physical connection between the vehicle's hitch ball and the trailer coupler is sufficient to complete the ground circuit. This is a critical error. Hitch balls are frequently coated in grease, rust, or paint, creating high electrical resistance.
Proper Grounding Technique
- Locate Bare Metal: Find a spot on the trailer frame near the tongue. Use a wire brush or sandpaper to remove all paint, powder coating, and rust down to bare, shiny steel.
- Use a Star Washer: Place a stainless steel star (lock) washer between the ring terminal and the frame. The teeth of the star washer will bite into the metal, ensuring a vibration-proof, low-resistance connection.
- Apply Dielectric Grease: Once torqued down, coat the entire terminal in silicone dielectric grease to prevent galvanic corrosion and water ingress.
Modern Vehicle Integration: PWM and CAN-Bus Systems
If you are wiring a modern vehicle (typically 2015 and newer, such as the Ford F-150, RAM 1500, or Toyota Tacoma), you cannot simply splice a 4-pin harness directly into the vehicle's tail light wires. Modern vehicles use Pulse Width Modulation (PWM) and multiplexed CAN-bus systems to monitor lighting circuits. The Body Control Module (BCM) sends rapid voltage pulses to the bulbs and monitors the amperage draw.
If you splice a trailer harness directly into a PWM circuit, the BCM will detect the unexpected amperage spike from the trailer bulbs, interpret it as a short circuit, and shut down the lighting circuit entirely. To bypass this, you must use a Powered ModuLite Converter. This device connects directly to the vehicle's battery (via a fused 12V constant power line) and uses the vehicle's tail light wires only as low-amperage signal triggers to activate internal relays. This isolates the trailer's electrical draw from the vehicle's sensitive BCM. For exact vehicle-specific plug-and-play solutions, consult resources like the etrailer.com Trailer Wiring Guide to find custom T-one connectors that integrate seamlessly with factory tow packages.
Step-by-Step Hardwiring Best Practices
When terminating wires on the trailer side, the method you use to join wires will determine the lifespan of your harness. Avoid electrical tape and standard soldering.
- Why Not Solder? Soldered joints are rigid. The constant torsion, vibration, and flexing of a trailer tongue will cause soldered copper strands to work-harden, crack, and eventually fail.
- The Correct Method: Use adhesive-lined heat shrink crimp connectors. The nylon outer shell provides abrasion resistance, while the inner polyamide hot-melt adhesive melts during the heating process, flowing into the wire strands and creating a 100% waterproof seal. This prevents capillary action from wicking moisture down the copper strands, which causes the dreaded "green corrosion" that increases resistance over time.
Upgrading to LED Trailer Lighting
Upgrading from incandescent bulbs to LED trailer lights is highly recommended due to lower power draw, faster illumination times (improving braking reaction distance for drivers behind you), and sealed submersible housings. However, LEDs draw significantly less amperage. If your tow vehicle utilizes a traditional thermal flasher relay, the low amperage draw of LEDs will cause the turn signals to "hyper-flash" (blink rapidly). To resolve this, you must either install an electronic LED flasher relay in the vehicle's fuse box or wire 50W 6-ohm load resistors in parallel on the yellow and green turn signal circuits of the trailer harness to simulate the electrical load of incandescent bulbs.
Troubleshooting Decision Tree
When your four pin wiring diagram trailer setup fails, use this systematic approach to isolate the fault:
- Symptom: All lights flicker or dim when hitting bumps.
Cause: High resistance in the ground circuit.
Fix: Inspect the white wire ring terminal on the trailer frame. Sand to bare metal and re-secure with a star washer. Check the vehicle-side 4-pin plug for bent ground prongs. - Symptom: Brake lights and turn signals work perfectly, but tail/running lights are completely dead.
Cause: Severed brown wire or corroded Pin 2.
Fix: Test Pin 2 on the vehicle side with a multimeter (should read ~12V with headlights on). If voltage is present at the vehicle but not the trailer, trace the brown wire along the trailer tongue for pinch points or rodent damage. - Symptom: Turn signals illuminate but do not blink; they stay solid.
Cause: Short circuit in the trailer harness or blown vehicle fuse.
Fix: Disconnect the trailer and check the vehicle's tow fuse. If the fuse is intact, inspect the trailer's yellow and green wires near the leaf spring mounts where wire insulation frequently rubs through against the steel frame. - Symptom: Lights behave erratically (e.g., hitting the brakes makes the side markers flash).
Cause: "Back-feeding" due to a missing or corroded ground at the individual light fixtures.
Fix: Every individual trailer light fixture must have its own dedicated ground wire (usually white) ring-terminated to the trailer frame. Do not rely on the metal housing of the light to ground through the mounting bolts.
For advanced diagnostics and vehicle-specific wiring schematics, always refer to the Tekonsha Wiring Technical Support documentation or your vehicle manufacturer's official upfitter body builder manuals. Mastering these fundamentals ensures your trailer remains safe, legal, and reliably illuminated on every journey.