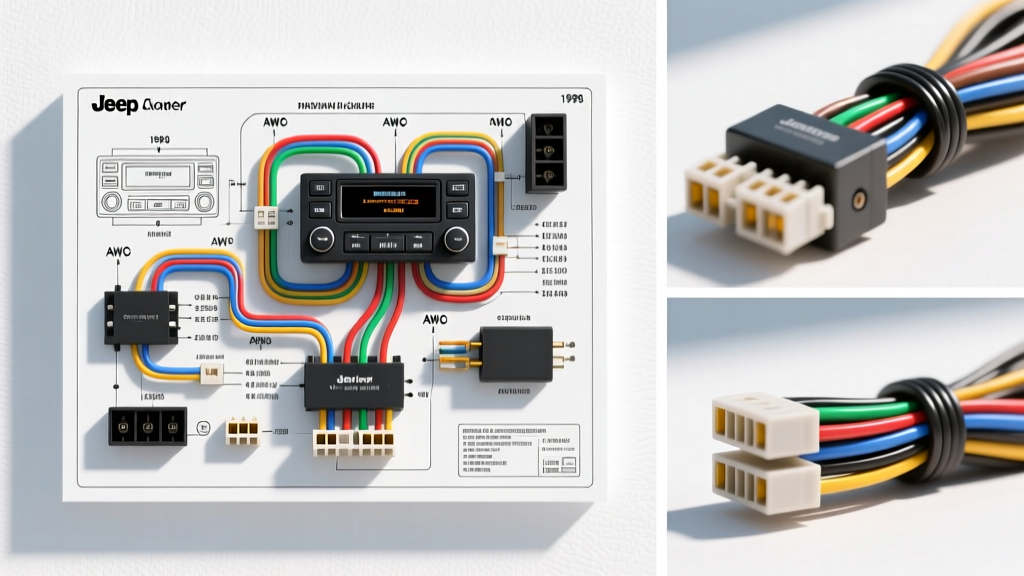
Project Scope: Upgrading the 1998 Jeep Cherokee (XJ) Audio System
When consulting a 1998 Jeep Cherokee radio wiring diagram, enthusiasts and technicians are usually faced with a critical decision: cut and splice the OEM harness, or invest in plug-and-play adapters? The 1998 model year (XJ platform) is a transitional split-year for Chrysler audio systems. Depending on the exact build date and trim level, your Cherokee will feature either a standard 7-pin power/8-pin speaker configuration or the notorious 10-pin Infinity amplified system. Understanding the cost implications, required tooling, and material specifications is essential for a reliable, noise-free installation that preserves the vehicle's electrical integrity.
This guide provides a comprehensive cost and tool requirements analysis for executing a flawless head unit upgrade, backed by OEM pinout data and industry-standard wiring practices.
Cost Breakdown: OEM Splicing vs. Plug-and-Play Adapters
A common misconception in automotive electrical work is that splicing wires is 'free' because it avoids the upfront cost of an adapter harness. However, when factoring in the cost of high-quality consumables and the labor value of your time, the financial reality shifts dramatically.
The True Cost of 'Free' Splicing
If you choose to cut the OEM harness to wire an aftermarket radio directly, you must use marine-grade adhesive-lined heat shrink and proper crimp connectors to prevent corrosion and voltage drop. Cheap electrical tape will eventually unravel in the extreme temperature fluctuations of a Jeep cabin.
- Adhesive-Lined Heat Shrink (3/16 inch): $12.00 per 50-pack
- Nylon Insulated Crimp Connectors (18-22 AWG): $15.00 per 100-pack
- Ratcheting Crimping Tool: $35.00 (Minimum for reliable cold welds)
- Time Penalty: Stripping, crimping, and heating 12+ individual wires adds roughly 45 minutes of labor.
Furthermore, cutting the OEM harness severely reduces the resale value of the XJ and increases the risk of a parasitic draw if the constant 12V B+ wire is improperly insulated. According to Mopar Wiring Repair Manuals, any modification to the primary radio harness voids the circuit's OEM warranty parameters and complicates future diagnostic troubleshooting.
Harness Adapter Investment
Using a vehicle-specific harness adapter (such as the Metra 70-1002 for power and 72-1002 for speakers) allows you to build the wiring pigtail on a workbench. This reduces in-dash installation time to under 15 minutes and preserves the OEM connectors.
- Standard Power & Speaker Adapter Kit: $18.00 - $25.00
- Dash Kit (Single DIN to Double DIN bezel): $15.00 - $30.00
- Antenna Adapter (Motorola to Aftermarket): $4.00
Verdict: The adapter route is actually cheaper when accounting for the necessary crimping tools and heat shrink required for a safe direct-splice job, while offering vastly superior reliability.
1998 Jeep Cherokee Radio Wiring Diagram & Pinout Reference
The standard 1998 XJ audio system utilizes two separate connectors behind the radio: a 7-pin cavity for power, ground, and illumination, and an 8-pin cavity for speaker outputs. All speaker and power wires are typically 18 AWG, compliant with SAE J1128 Low Tension Primary Cable Standards for automotive environments.
| Connector / Pin | Wire Color | Function | AWG / Notes |
|---|---|---|---|
| C1 - Pin 1 | Red/White | Fused Battery (+12V Constant) | 18 AWG (20A Fuse) |
| C1 - Pin 2 | Black | Chassis Ground | 18 AWG |
| C1 - Pin 3 | Pink | Fused Ignition (+12V Switched) | 18 AWG (10A Fuse) |
| C1 - Pin 4 | Orange | Panel Illumination | 20 AWG (Dimmer Circuit) |
| C2 - Pin 1 | Green/Red | Left Front Speaker (+) | 18 AWG |
| C2 - Pin 2 | Green/White | Left Front Speaker (-) | 18 AWG |
| C2 - Pin 3 | Purple/Red | Right Front Speaker (+) | 18 AWG |
| C2 - Pin 4 | Purple/White | Right Front Speaker (-) | 18 AWG |
| C2 - Pin 5 | Brown/Red | Left Rear Speaker (+) | 18 AWG |
| C2 - Pin 6 | Brown/White | Left Rear Speaker (-) | 18 AWG |
| C2 - Pin 7 | Dark Blue/Red | Right Rear Speaker (+) | 18 AWG |
| C2 - Pin 8 | Dark Blue/White | Right Rear Speaker (-) | 18 AWG |
Essential Tooling & Material Requirements
Executing this wiring project requires more than a pair of wire strippers. To ensure a professional-grade connection that withstands the vibration inherent to the Jeep XJ's solid-axle suspension, the following tools are mandatory:
1. Precision Wire Strippers (18-22 AWG)
Do not use standard pliers or a utility knife. Stranding 18 AWG copper reduces the wire's current-carrying capacity and creates a high-resistance point that can melt under load. Use a self-adjusting wire stripper calibrated specifically for 18 to 22 AWG stranded copper.
2. Ratcheting Crimper & Heat Shrink
Twist-and-tape connections are strictly prohibited in automotive 12V DC systems. You must use a ratcheting crimper to apply nylon-insulated butt connectors, followed by dual-wall adhesive heat shrink. The adhesive lining melts and seals the connection against moisture and oxidation, which is critical for Jeeps that may be exposed to water or high humidity.
3. Digital Multimeter (DMM)
Before connecting the aftermarket head unit, use a DMM to verify the Red/White (Constant 12V) and Pink (Switched 12V) wires. In some late-build 1998 models, the ignition circuit may experience voltage drop if the ignition switch contacts are worn. A reading below 11.5V on the Pink wire while the key is in the 'Run' position indicates a failing ignition switch, a common XJ failure point.
4. Non-Marring Trim Removal Tools
The 1998 Cherokee dashboard bezel is secured by brittle plastic push-clips. Using a flathead screwdriver will almost certainly crack the 25-year-old plastic. A nylon trim removal tool set ($8.00) is a required investment to prevent a $45.00 replacement bezel cost.
Advanced Cost Analysis: The Infinity Sound System Bypass
If your 1998 Cherokee is equipped with the premium Infinity sound system, the standard wiring diagrams do not apply. The Infinity system uses a 10-pin connector and relies on an external amplifier located under the passenger seat. Plugging a standard adapter into an Infinity harness will result in no audio output and potentially damage the new head unit's preamp outputs.
The Bypass Relay Kit Requirement
To bypass the OEM Infinity amp and power the speakers directly from the aftermarket radio's internal amplifier (4 x 50W), you must rewire the speaker outputs and trigger the OEM amp's power relay. This requires a 12V SPST (Single Pole Single Throw) automotive relay and a fuse tap.
- 12V 30A SPST Relay: $6.00
- Add-A-Circuit Fuse Tap: $8.00
- 14 AWG Primary Wire (for relay power feed): $10.00
Infinity Bypass Wiring Execution
- Relay Pin 86 (Coil +): Connect to the aftermarket radio's Blue/White remote turn-on wire.
- Relay Pin 85 (Coil -): Connect to a clean chassis ground.
- Relay Pin 30 (Switched Power): Connect to a fused 12V source using the Add-A-Circuit in the interior fuse box.
- Relay Pin 87 (Normally Open): Connect to the OEM Infinity harness's Dark Green/Red wire (Amp Turn-On/Power Feed). This tricks the OEM dash wiring into passing the new radio's speaker-level signals through the XJ's body harness to the door speakers, bypassing the dead external amplifier.
This bypass method saves the $150+ cost of running new 16 AWG speaker wires through the Jeep's door jambs and rubber boots, leveraging the existing OEM wiring while eliminating the faulty external amp.
Expert Troubleshooting & Installation Insights
Even with the correct Crutchfield Vehicle Fit Database diagrams and adapters, XJ owners frequently encounter specific electrical gremlins during installation.
Symptom: Radio Loses Memory Presets When Key is Off
Cause: The Constant 12V (Red/White) and Switched 12V (Pink) wires are swapped at the adapter harness. Fix: Verify with a multimeter. The Red/White wire must have 12.6V with the key completely removed from the cylinder. If the radio resets, swap the Yellow and Red wires on the aftermarket radio's pigtail, not the vehicle side.
Symptom: Alternator Whine in Audio Output
Cause: Poor grounding of the aftermarket head unit or the OEM amplifier ground strap. The XJ's unibody construction is prone to ground corrosion. Fix: Do not rely solely on the Black ground wire in the radio harness. Run a dedicated 14 AWG ground wire from the radio chassis to a clean, bare-metal bolt behind the dash, or directly to the negative battery terminal if the noise persists. Ensure all ground ring terminals are sanded down to bare steel before bolting.
Conclusion
Successfully navigating the 1998 Jeep Cherokee radio wiring diagram requires an analytical approach to both cost and tooling. By investing $30-$50 in proper harness adapters, ratcheting crimpers, and adhesive heat shrink, you eliminate the hidden costs of parasitic draws, broken dash clips, and poor audio connections. Whether you are dealing with the standard 7-pin setup or executing a complex Infinity relay bypass, respecting the OEM wire gauges and utilizing proper diagnostic tools ensures your XJ's audio system remains as rugged and reliable as the vehicle itself.