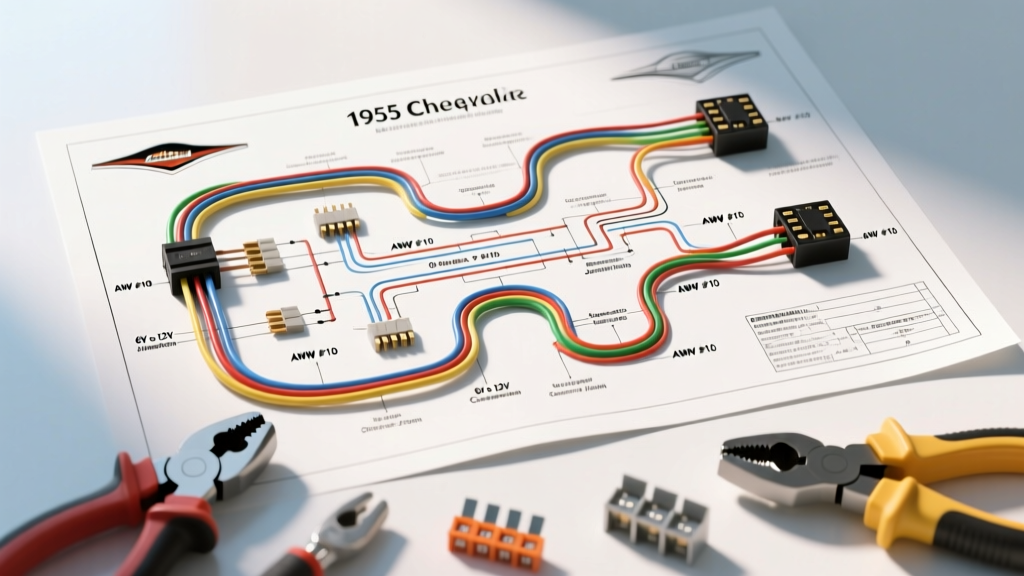
Decoding the 1955 Chevrolet Wiring Diagram: A Cost & Tool Analysis
Restoring or modifying a Tri-Five Chevy requires a deep understanding of its electrical architecture. The original 1955 Chevrolet wiring diagram was designed for a 6-volt, positive-ground system utilizing cloth-covered copper wire, glass fuses, and a generator-based charging system. Today, keeping a 1955 Bel Air, 210, or 150 on the road almost always necessitates a complete rewiring effort, usually paired with a 12-volt negative-ground conversion. Before you start pulling brittle wires from the loom, you must analyze the schematic to accurately forecast your material costs and acquire the correct professional-grade tools. This guide breaks down the exact financial and technical requirements for overhauling the electrical system of a 1955 Chevrolet.
Essential Tool Requirements for Tri-Five Electrical Overhauls
Reading a vintage schematic is only the first step; executing the physical rewire demands specialized automotive electrical tools. Standard household wire strippers will destroy the delicate copper strands found in classic harnesses, leading to high-resistance joints and localized heating. To properly execute the circuits mapped out in your 1955 Chevrolet wiring diagram, budget for the following professional tools:
- Professional Wire Strippers: The Klein Tools 11055 or Knowles precision strippers are mandatory for cleanly stripping 10 to 18 AWG primary wire without nicking the conductor.
- Ratcheting Crimpers: Avoid cheap plier-style crimpers. A ratcheting crimper (like the Titan T450 or Hozan P-707) ensures a gas-tight seal on insulated and non-insulated terminals, which is critical for high-vibration environments.
- Digital Multimeter (DMM):strong> A Fluke 87V or equivalent is required for measuring voltage drop across the bulkhead connector and verifying the continuity of the ignition switch circuits.
- Heat Gun and Marine-Grade Heat Shrink: Electrical tape is unacceptable for under-hood or under-dash use. You must use dual-wall, adhesive-lined heat shrink tubing to seal out moisture and prevent the classic 'green crust' corrosion on copper terminals.
- Terminal Extraction Tools: If you are retaining any original connectors or integrating modern Weather-Pack connectors, you need specialized extraction pins to back out terminals without breaking the plastic housings.
Estimated Tool Budget: $180 - $350 depending on existing inventory.
Wire Gauge (AWG) and Color Code Mapping
The most critical cost factor in your rewire is the copper itself. When transitioning from a 6-volt to a 12-volt system, the amperage requirements for specific circuits drop by half, allowing for smaller gauge wires in some areas, while modern accessories demand heavier feeds. According to SAE J1128 Primary Cable Standards, wire gauge must be selected based on the maximum continuous amperage and the length of the run to prevent voltage drop exceeding 0.5V.
| Circuit Path | OEM 6V AWG | Modern 12V AWG | OEM 1955 Color | Modern Harness Color |
|---|---|---|---|---|
| Battery to Starter | 1/0 AWG | 4 AWG | Black (Heavy Braid) | Red |
| Battery to Ammeter | 10 AWG | 10 AWG (or Shunt Wire) | Red | Red |
| Headlight Switch to Dimmer | 14 AWG | 12 AWG | Black | Yellow |
| Ignition Switch (BAT to IGN) | 12 AWG | 12 AWG | Black / Orange | Pink |
| Horn Relay Feed | 14 AWG | 14 AWG | Yellow | Dark Green |
| Dash Lighting | 18 AWG | 18 AWG | Grey | Brown |
Sourcing high-temperature, cross-linked polyethylene (XLPE) insulated wire in these specific gauges will cost between $120 and $250 if buying by the spool. However, purchasing a pre-terminated, fused harness kit eliminates the guesswork and reduces assembly time by up to 40 hours.
Cost Analysis: OEM Restoration vs. Modern 12V Update
When analyzing the 1955 Chevrolet wiring diagram, you must decide between a strict OEM restoration and a modernized 'Street Rod' configuration. As detailed in American Autowire Technical Articles, the physical routing of the harness remains the same, but the integration points change drastically.
Budget Breakdown: The Modern 12-Volt Update
- Complete Chassis & Dash Harness Kit: $650 - $850 (Includes modern ATO blade fuse block, updated bulkhead connector, and pre-labeled wires).
- Alternator & Regulator Wiring: $45 (10 AWG charge wire, inline 120A mega fuse, and exciter wire).
- Headlight & Taillight Extensions: $80 (Upgrading to halogen or LED requires specific relay kits to bypass the original floor dimmer switch).
- Terminals, Heat Shrink, and Loom: $110.
- Total Material Cost: $885 - $1,085.
Budget Breakdown: Strict 6-Volt OEM Restoration
- NOS or Exact Reproduction Cloth-Covered Harness: $450 - $600.
- Glass Fuses and Original Style Bullet Connectors: $60.
- Generator Cut-Out Relay & Voltage Regulator: $120.
- Soldering Equipment & Rosin-Core Solder: $80 (Bullet connectors must be soldered for reliable 6V conductivity).
- Total Material Cost: $710 - $860.
While the OEM restoration appears slightly cheaper on paper, the labor cost to properly solder and loom cloth-covered wires is significantly higher, making the 12V modernized kit the more cost-effective choice for 95% of builders.
Hidden Costs: The Ammeter Bottleneck and Ignition Switch
Tracing the main power feed on the 1955 schematic reveals a massive design flaw by modern standards: the dash ammeter. In the original design, all charging current from the generator flows directly through the dash ammeter and the 10 AWG wires behind the dash. If you upgrade to a modern 12-volt, 100-amp alternator, pushing 100 amps through a vintage ammeter will melt the dash harness and potentially cause a fire.
The Fix: You must budget for either a voltmeter conversion kit ($35) or an external ammeter shunt system ($65), which routes the heavy 4 AWG charge wire directly to the starter solenoid and uses a small 18 AWG sensing wire for the dash gauge. Furthermore, the original 1955 ignition switch utilizes a 4-terminal layout (BAT, IGN, ACC, ST). Modern HEI distributors require a full 12 volts during both 'RUN' and 'START' positions. The original wiring diagram drops voltage through a resistance wire during 'RUN' for the points ignition. Budget $25 for a bypass relay kit to ensure your HEI distributor receives a clean, unswitched 12V feed.
Real-World Failure Modes in the '55 Harness
When troubleshooting an existing 1955 harness using a multimeter, pay special attention to these high-failure nodes mapped in the factory schematic:
- The Floor Dimmer Switch: Located on the driver's side floor pan, this 3-terminal switch (Power In, High Beam Out, Low Beam Out) is highly susceptible to moisture and road salt. Internal corrosion causes high resistance, resulting in dim headlights. Cost to fix: $18 for a heavy-duty replacement or a $45 relay bypass kit.
- Firewall Pass-Throughs: The 1955 Chevy did not use a sealed bulkhead connector. Wires were pushed through a single large rubber grommet. Over decades, the rubber dries out, cracks, and chafes the wire insulation against the steel firewall, causing dead shorts. Cost to fix: Integrated into modern harness kits, but requires 2 hours of labor to properly seal with silicone dielectric grease.
- Turn Signal Integration: Turn signals were not standard on all 1955 models; many were dealer-installed add-ons. The wiring diagram often shows spliced connections under the dash column that were done with friction tape. These must be completely removed and replaced with a modern, self-canceling steering column switch harness ($110).
Finalizing Your Rewire Strategy
Successfully rewiring a Tri-Five Chevy requires respecting the original routing paths while entirely discarding the outdated 6-volt material specifications. By cross-referencing your 1955 Chevrolet wiring diagram with modern vintage gauge and safety guidelines, you can avoid the catastrophic failure modes associated with high-amperage alternators and vintage copper. Budget approximately $1,000 for high-quality materials, invest in proper ratcheting crimpers, and prioritize the ammeter and ignition bypass circuits to ensure your classic Chevy starts reliably and safely for decades to come.