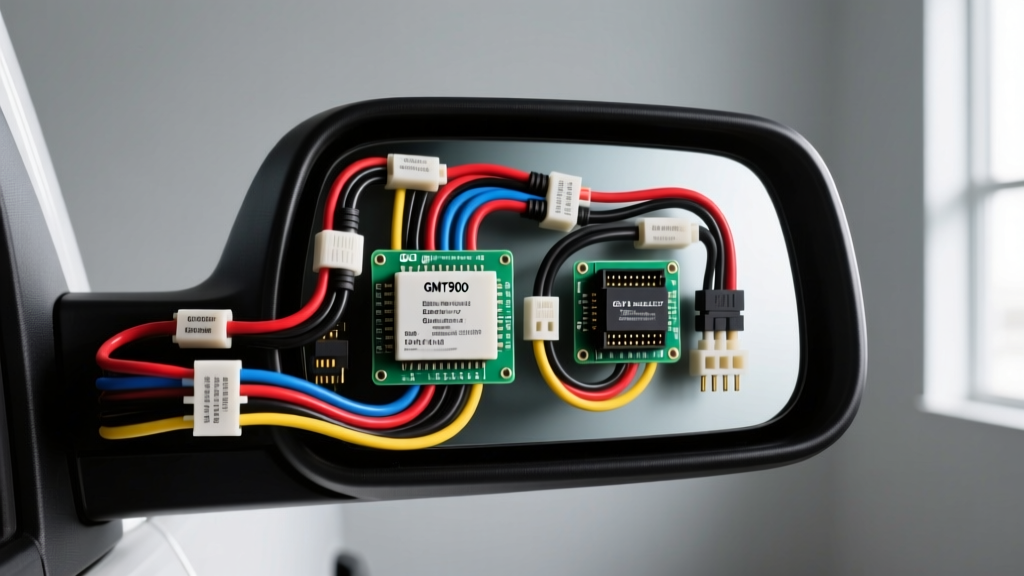
Understanding the 07-13 Silverado Tow Mirrors Wiring Diagram
Upgrading standard side mirrors to full-featured tow mirrors on the GMT900 platform (2007-2013 Chevy Silverado and GMC Sierra) is one of the most popular modifications for truck owners who tow heavy loads. However, the 07-13 Silverado tow mirrors wiring diagram reveals a complex electrical architecture that goes far beyond a simple plug-and-play swap. If your truck originally came with base mirrors, the factory door harness lacks the necessary circuits for integrated turn signals, heated glass, puddle lamps, and power-folding capabilities.
Unlike older vehicles that relied on simple relay-driven analog circuits, the GMT900 platform utilizes a multiplexed electrical system controlled by the Body Control Module (BCM) and Door Control Modules (DCM). The BCM monitors the resistive load and continuity of every exterior lighting circuit. If you attempt to splice into existing wiring without following the proper OEM pinout strategy and wire gauge specifications, the BCM's solid-state drivers will detect an anomaly, trigger Diagnostic Trouble Codes (DTCs), and shut down the circuit to prevent a fire.
GMT900 Door Harness Pinout Strategy & Wire Specifications
Base model mirrors typically utilize a 6-pin or 8-pin Delphi connector. In contrast, upgrading to OEM-style tow mirrors with the DL3 (Heated, Turn Signal, Power Fold) or DQS (Camper/Tow Mirrors) RPO codes requires integrating a 13-pin or 16-pin Aptiv (formerly Delphi) GT 280 connector block. To build a custom pass-through harness from the A-pillar to the door, you must adhere to SAE J1128 standards for low-tension automotive cable, specifically using TXL or GXL cross-linked polyethylene insulated wire to withstand the high-temperature environment inside the door cavity.
Left Door Tow Mirror Pinout Reference (13-Pin Configuration)
| Pin | Function | OEM Wire Color | AWG Size | Source / Destination |
|---|---|---|---|---|
| A | Left Turn Signal | Light Green / White Stripe | 18 AWG TXL | BCM X4 Pin 12 |
| B | Heated Glass Control | Dark Green | 16 AWG GXL | BCM Heated Mirror Relay |
| C | Puddle Lamp (Cargo) | Brown / White Stripe | 18 AWG TXL | BCM X5 Pin 4 |
| D | Mirror Fold Motor (+) | Tan | 16 AWG GXL | Door Switch Assembly |
| E | Mirror Fold Motor (-) | Gray | 16 AWG GXL | Door Switch Assembly |
| F | Main Ground Bus | Black | 14 AWG GXL | Door Ground Stud (G200) |
Note: Right door pinouts utilize Dark Green for the turn signal circuit. Always verify against your specific VIN's GM service manual, as mid-year production splits in 2010 altered some BCM connector cavity assignments.
Tool Requirements Analysis: What You Actually Need
The most common point of failure in aftermarket mirror upgrades is poor terminal crimping. The GMT900 BCM is highly sensitive to voltage drops. A poorly crimped terminal increases resistance, which the BCM interprets as a short-to-ground or an open circuit, resulting in the infamous 'hyper-flash' or complete circuit lockout. To execute this wiring diagram properly, you must invest in specific automotive electrical tools.
Essential Tooling Checklist
- Ratcheting Terminal Crimper: Do not use standard pliers. You need a ratcheting crimper specifically calibrated for Aptiv GT 150 and GT 280 open-barrel terminals (e.g., IWISS IWS-3220M or equivalent). This ensures a gas-tight crimp that meets OEM pull-force specifications.
- Terminal Extraction Tool: Required for removing existing pins from the A-pillar bulkhead connectors without breaking the fragile plastic locking tangs.
- Flexible Fish Tape & Lubricant: Routing 14-18 AWG wires through the existing rubber door boot (grommet) alongside the factory harness is notoriously difficult. Silicone dielectric grease is mandatory to prevent wire chafing against the rubber boot.
- Adhesive-Lined Heat Shrink: For any splices made inside the door cavity, standard electrical tape will fail due to moisture and temperature cycling. Use 3M dual-wall heat shrink with an internal melting sealant to achieve an IP67 waterproof rating.
Comprehensive Cost Analysis: OEM vs. Aftermarket Upgrades
Budgeting for a tow mirror upgrade requires looking beyond the price of the mirrors themselves. The hidden costs lie in the wiring harnesses, BCM programming, and specialty tools. Below is a realistic cost breakdown based on current market pricing for a complete driver and passenger side upgrade.
| Component / Service | OEM GM Route | Aftermarket Route (e.g., 1A Auto, Trailering Kits) |
|---|---|---|
| Mirror Assemblies (Pair) | $750 - $1,100 | $250 - $450 |
| OEM Door Wiring Harnesses | $180 - $240 | $0 (Requires custom pigtails) |
| Pigtails, Terminals & Wire | $60 (Aptiv kits) | $45 (Universal kits + bulk TXL wire) |
| BCM Programming / RPO Flash | $125 - $175 (Dealer MDI) | $125 - $175 (Dealer or Mobile Tech) |
| Specialty Crimping Tools | $65 (One-time investment) | $65 (One-time investment) |
| Estimated Total Project Cost | $1,180 - $1,580 | $485 - $735 |
The Hidden Cost of BCM Programming
Many enthusiasts overlook the software side of the 07-13 Silverado tow mirrors wiring diagram. The BCM must be programmed with the correct Regular Production Option (RPO) codes to enable the heated mirror timer and the puddle lamp logic. If your truck did not leave the factory with the DL3 or DQS RPO codes, the BCM will not output the PWM (Pulse Width Modulated) signal required to heat the glass safely. You will need a GM MDI (Multiple Diagnostic Interface) pass-through device or a dealer visit to flash the BCM calibration file. Attempting to hardwire the heated glass directly to a 12V ignition source bypasses the BCM's thermal protection, risking shattered glass due to uneven heating in freezing conditions.
Routing & Execution: A-Pillar to Door Integration
The physical execution of the wiring harness requires patience and precision. The transition point between the truck's chassis and the door is the A-pillar rubber boot. 1. Disconnect the Battery: Always isolate the negative terminal to prevent shorting the LIN bus or CAN bus circuits located in the adjacent kick panel modules. 2. Unseat the Bulkhead Connector: Locate the main door-to-body connector (typically a 30+ cavity block). Unclip the harness and carefully pull it into the door cavity. 3. Feed the New Circuits: Using fish tape, pull your new 14 AWG ground and 16/18 AWG signal wires through the rubber grommet. 4. Terminal Insertion: Crimp your Aptiv GT 280 terminals and insert them into the correct cavities of the door-side bulkhead connector. You will hear a distinct 'click' when the terminal locking lance engages. 5. Grounding: Do not rely on the door hinge for grounding. Terminate your 14 AWG black ground wire directly to the existing factory ground stud (G200) located behind the interior kick panel or inside the door shell, ensuring you sand away any paint or corrosion to achieve less than 0.05 ohms of resistance.
Troubleshooting Common GMT900 Mirror Failures
Even with a flawless execution of the wiring diagram, GMT900 electrical gremlins can occur. Consult this decision tree if your new tow mirrors malfunction:
- Symptom: Turn signal hyper-flashes or BCM clicks rapidly.
Fix: Check the ground circuit. A high-resistance ground forces the BCM to limit current. Clean the G200 ground stud and verify terminal crimp integrity. - Symptom: Heated glass does not activate, but mirrors fold and turn signals work.
Fix: Verify BCM RPO programming. If programmed correctly, test the thermistor circuit inside the mirror glass. OEM heated mirrors utilize a PTC (Positive Temperature Coefficient) heating element that self-regulates; aftermarket glass often lacks this, causing the BCM to throw a B3832 DTC for 'Circuit Overcurrent'. - Symptom: Puddle lamps remain off.
Fix: The puddle lamp circuit is often gated by the BCM's 'Theft Deterrent' and 'Interior Lighting' logic. Ensure the BCM recognizes the door-ajar switch correctly, as a faulty door latch microswitch will prevent the BCM from illuminating exterior cargo/puddle lighting to preserve battery life.
For further technical discussions and community-verified pinout variations across different GMT900 trim levels, the GM Truck Club Technical Archives remain an invaluable resource for cross-referencing factory service manual updates.