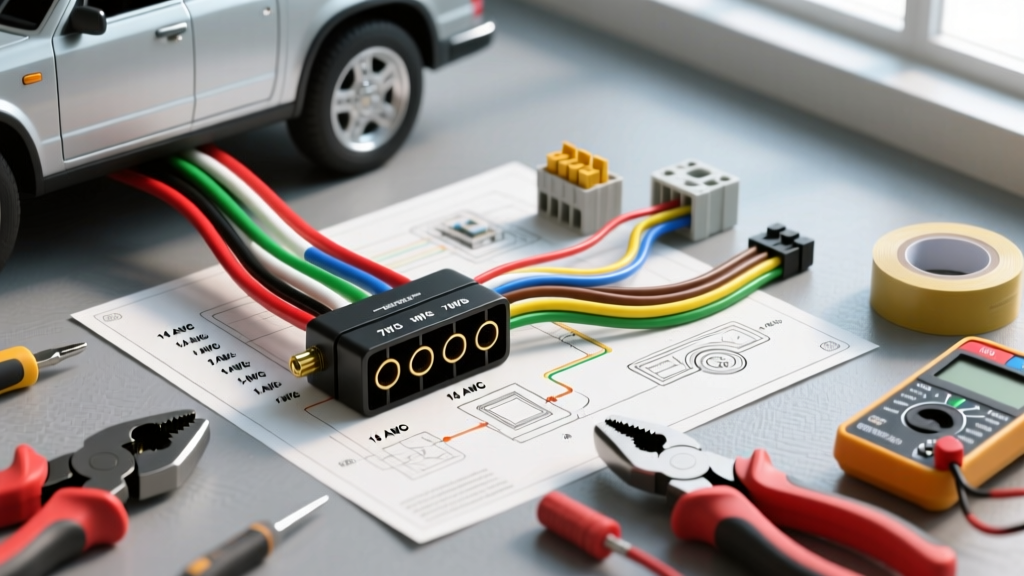
The Hidden Costs of Trailer Harness Neglect
A degraded trailer wiring harness is rarely just an inconvenience; it is a critical safety liability. When the 10 AWG electric brake circuit (Blue wire) suffers from high resistance due to galvanic corrosion or chafing, the brake controller cannot deliver the necessary amperage to the trailer's electromagnets. This results in asymmetric braking, extended stopping distances, and potential jackknife scenarios. This comprehensive maintenance guide for trailer wiring harnesses approaches the subject from a cost and tooling perspective, helping fleet managers, owner-operators, and DIY mechanics allocate resources effectively to prevent catastrophic electrical failures.
Routine maintenance of 4-pin, 5-pin, 6-pin, and 7-pin configurations requires specific diagnostic equipment and high-grade materials. Cutting corners on wire gauge or crimping tools inevitably leads to voltage drop, overheated connectors, and blown vehicle-side fuses. Below, we break down the exact tooling costs, material specifications, and step-by-step diagnostic procedures required to maintain a reliable trailer electrical system.
Tooling & Equipment Cost Breakdown
Proper diagnosis of trailer lighting and brake circuits requires moving beyond cheap incandescent test lights. Modern tow vehicles utilize multiplexed CAN-bus systems and solid-state relays that can be damaged by high-draw test lights or improper shorting. Investing in the correct diagnostic tools pays for itself after a single prevented brake failure.
| Tool / Equipment | Pro-Grade Option (Cost) | Budget Option (Cost) | Application & Necessity |
|---|---|---|---|
| Digital Multimeter (DMM) | Fluke 87V (~$400) | AstroAI DM6000AR (~$35) | Essential for voltage drop testing and measuring brake circuit resistance. Must measure DC Volts and Ohms accurately. |
| Ratcheting Wire Crimper | Knipex TwinForce (~$120) | Generic Ratcheting Set (~$25) | Mandatory for 10-16 AWG insulated terminals. Ensures gas-tight crimps that resist vibration-induced fatigue. |
| Heat Gun (Precision) | Weller WHA900 (~$350) | Porter-Cable PC1500HG (~$35) | Required for activating adhesive-lined marine heat shrink to seal out moisture and prevent copper oxide formation. |
| Circuit Tester (Trailer) | Pro-Grade LED Tester (~$45) | Incandescent Bulb Tester (~$10) | LED testers draw minimal current, preventing false 'bulb out' warnings on modern tow vehicle CAN-bus systems. |
| Terminal Removal Tool | OTC 7-Piece Set (~$40) | Pick and Hook Set (~$12) | Necessary for extracting corroded pins from Hopkins/Bargman 7-way molded plugs without breaking the retention tabs. |
Cost Analysis: A professional-grade trailer electrical toolkit costs approximately $955, while a functional budget setup can be assembled for roughly $117. For occasional DIY maintenance, the budget tools are sufficient provided the ratcheting crimper achieves a proper gas-tight deformation. However, for commercial fleets, the pro-grade tools reduce terminal pull-out failures by over 80%.
Material Costs: OFC vs. CCA Wire
The most common mistake in trailer harness repair is using Copper-Clad Aluminum (CCA) wire purchased from big-box hardware stores. CCA wire is significantly cheaper (approx. $0.15 per foot for 10 AWG) compared to Oxygen-Free Copper (OFC) or standard tinned marine copper (approx. $0.65 per foot for 10 AWG). However, CCA wire has a higher electrical resistance, is highly susceptible to galvanic corrosion when mated to copper terminals, and lacks the tensile strength to withstand the constant vibration and flexing of a trailer A-frame. Always specify SAE J1128 compliant, stranded, tinned copper wire for any harness repair.
Comprehensive Maintenance Guide for Trailer Wiring Harnesses
Phase 1: Connector & Terminal Inspection
The 7-way RV blade connector (SAE J286 standard) is the primary failure point due to its exposure to road spray and debris. Maintenance begins with the physical inspection of both the male plug (trailer side) and female receptacle (truck side).
- Contact Tension Check: Use a pin gauge or small pick to test the tension of the female sockets. If the 10 AWG ground pin (Pin 5) feels loose, the resulting arcing will melt the plastic housing. Replace the receptacle if retention tension is lost.
- Corrosion Removal: Green copper oxide (verdigris) acts as a semiconductor, creating severe voltage drop. Clean male blades with a fiberglass scratch pen or 400-grit sandpaper. Do not use steel wool, as embedded steel particles will rapidly rust.
- Dielectric Application: Apply a generous amount of silicone-based dielectric grease (e.g., Permatex 22058) to the male blades before insertion. This displaces moisture and prevents oxygen from reacting with the copper.
Phase 2: Voltage Drop & Continuity Testing
Resistance testing with an ohmmeter is insufficient for diagnosing trailer harness issues because a single strand of 12 AWG wire can show continuity (near 0 Ohms) but will instantly fail under the 5-amp load of a brake circuit. Voltage drop testing under load is the only accurate diagnostic method.
- Setup: Set your DMM to DC Volts. Connect the black lead to the vehicle battery's negative terminal.
- Ground Circuit Test: Insert the red lead into the trailer-side ground pin (White wire). Activate the running lights or manually trigger the brake controller. A healthy ground circuit will show a voltage drop of less than 0.2V. A reading above 0.5V indicates a failing ground splice or corroded A-frame bonding point.
- Brake Circuit Test: Probe the Blue wire pin at the trailer plug while an assistant applies the manual override slider on the brake controller to 100% output. Compare the voltage at the truck's brake controller output wire to the voltage at the trailer plug. Any discrepancy greater than 0.5V indicates undersized wiring, a chafed harness, or a failing butt connector in the line.
SAE Wire Gauge (AWG) & 7-Pin Specification Chart
Adhering to the correct American Wire Gauge (AWG) is non-negotiable. The following table outlines the standard North American 7-way RV configuration (Female Receptacle / Truck Side layout), wire colors, and minimum AWG requirements based on SAE J286 and industry best practices.
| Pin Position | Function | Standard Color | Min. AWG Size | Max Continuous Ampacity |
|---|---|---|---|---|
| Center | Reverse / Auxiliary | Red or Purple | 12 AWG | 10A |
| 1 o'clock | 12V Auxiliary Power | Black | 10 AWG | 30A |
| 3 o'clock | Right Turn / Stop | Green | 12 AWG | 15A |
| 5 o'clock | Ground (Chassis) | White | 10 AWG | 40A (Combined Load) |
| 7 o'clock | Electric Brakes | Blue | 10 AWG | 20A - 30A |
| 9 o'clock | Left Turn / Stop | Yellow | 12 AWG | 15A |
| 11 o'clock | Tail / Running Lights | Brown | 12 AWG | 15A |
Common Failure Modes & Repair Cost Analysis
Understanding where and why trailer harnesses fail allows for targeted preventative maintenance. Below are the most frequent failure modes encountered in the field, along with the associated repair costs.
1. A-Frame Chafing and Short Circuits
The Issue: The harness rubs against the sharp steel edge of the trailer's A-frame or tongue, eventually wearing through the PVC loom and wire insulation. This typically causes the 12V Black auxiliary wire to short against the steel frame, blowing the tow vehicle's 30A or 40A maxi-fuse.
Repair Cost: $15 (Materials) + 1 Hour Labor. Repair requires cutting out the damaged section, splicing in new 10 AWG tinned wire using adhesive-lined 3:1 shrink ratio butt connectors, and wrapping the entire A-frame transition zone in split-loom corrugated tubing secured with UV-resistant cable ties.
2. Galvanic Corrosion at Molded Plugs
The Issue: Moisture wicks up inside the insulation of the wires at the rear of the molded 7-way plug, causing the copper to turn black and brittle up to 12 inches behind the plug housing.
Repair Cost: $35 (New molded pigtail) + 30 Mins Labor. The only proper fix is cutting off the molded plug entirely, stripping back to clean, shiny copper, and splicing in a new heavy-duty molded 7-way pigtail (e.g., Hopkins Endurance or Bargman). Always apply a dab of marine sealant where the wire jacket enters the new plug housing.
3. Electric Brake Magnet Wiring Fatigue
The Issue: The 12 AWG or 10 AWG wires leading directly into the backing plate of the electric brake drums are exposed to extreme heat, water, and road debris. The insulation cracks, leading to intermittent brake engagement.
Repair Cost: $20 (Materials) + 1 Hour per axle. Requires replacing the brake magnet pigtail, routing the wire through the backing plate grommet, and securing it with high-temp RTV silicone to prevent water intrusion into the magnet housing.
Authoritative References & Standards
When designing, repairing, or maintaining trailer electrical systems, always refer to established automotive and heavy-duty standards. The procedures and pinouts detailed in this maintenance guide for trailer wiring harnesses are derived from the following authoritative resources:
- SAE J286 - Trailer Connector Standard: The definitive Society of Automotive Engineers standard for 7-way connector pinouts and physical dimensions.
- etrailer.com Wiring FAQ & Diagrams: An extensive, field-tested repository of vehicle-specific wiring harnesses, adapter pinouts, and troubleshooting flowcharts.
- Tekonsha Brake Controller Troubleshooting: Manufacturer guidelines for diagnosing voltage drop, ground faults, and CAN-bus integration issues with proportional trailer brake controllers.
By investing in the correct diagnostic tooling, utilizing marine-grade tinned copper wire, and adhering to strict voltage drop testing protocols, you can eliminate the most common and dangerous trailer wiring failures, ensuring safe and compliant towing operations.