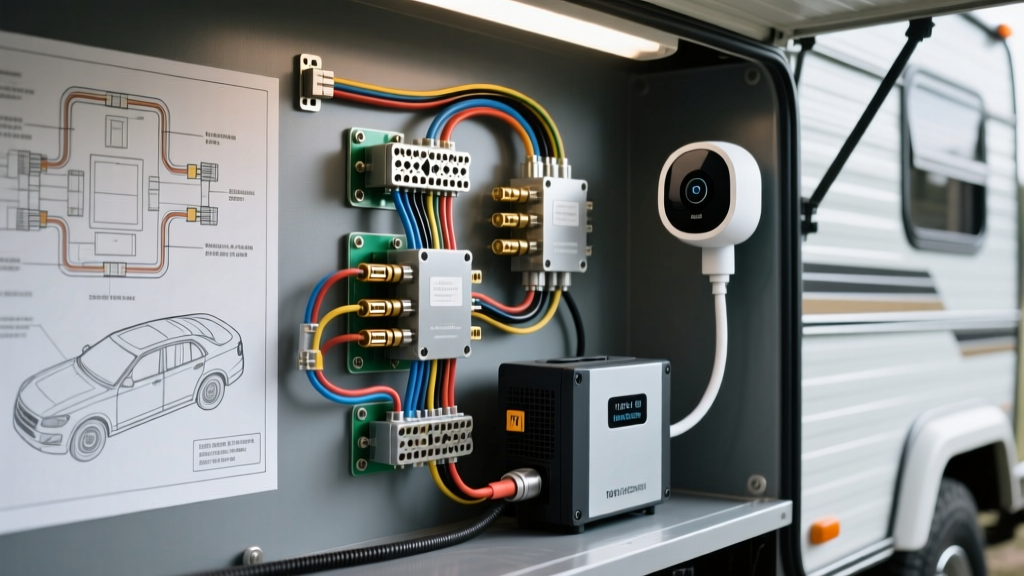
Introduction: Adapting Smart Home Tech for Overland & RV Rigs
Integrating residential smart security into mobile platforms is a growing trend in the expedition vehicle community. When planning a nest outdoor camera install on an RV, Sprinter van, or overland camper, the primary challenge is not mounting the hardware, but rather engineering a reliable, safe power delivery system. The Nest Cam Outdoor requires a standard 120V AC power source, typically drawing between 15W and 20W depending on night-vision IR LED activation. Because automotive and RV house banks operate on 12V or 24V DC architecture, a dedicated pure sine wave inverter circuit must be engineered specifically for exterior AC loads.
This guide provides a comprehensive cost and tool requirements analysis for automotive electricians and DIY van-lifers. We will break down the exact wire gauges, marine-grade components, and ABYC-compliant fusing protocols required to run a dedicated exterior GFCI receptacle that safely powers your Nest camera without introducing harmonic distortion or voltage drop into your vehicle's sensitive CAN bus or lithium battery management systems (BMS).
The Core Challenge: 12V DC to 120V AC Conversion
The Nest Outdoor Camera utilizes a switching power supply (the USB adapter brick) that is highly sensitive to dirty power. Modified sine wave (MSW) inverters produce a stepped square wave that causes switching power supplies to overheat, emit a high-pitch capacitor whine, and ultimately fail. Therefore, a Pure Sine Wave (PSW) inverter is a non-negotiable requirement for this install. Furthermore, routing 120V AC wiring through an automotive chassis requires strict adherence to separation distances from low-voltage DC harnesses to prevent electromagnetic interference (EMI) that can disrupt tire pressure monitoring systems (TPMS) or digital multiplexed chassis networks.
Essential Tool Requirements for Automotive-to-AC Integration
Executing a reliable connection between a high-amperage lithium house battery and a localized inverter requires specialized automotive and marine electrical tools. Standard household wire strippers will destroy the fine stranding of marine-grade tinned copper wire, leading to localized hotspots.
- Hydraulic Lug Crimper (8 AWG to 4/0 AWG): Mechanical ratcheting crimpers often fail to compress 4 AWG wire into heavy-duty 3/8-inch ring terminals sufficiently for high-current inverter feeds. A 12-ton hydraulic crimper ensures a cold-weld, gas-tight connection.
- Marine Wire Stripper (Knipex ErgoStrip): Essential for stripping Ancor or equivalent SAE J1171 tinned copper wire without nicking the outer tinning, which prevents corrosion in high-humidity exterior conduit runs.
- Adhesive-Lined Heat Shrink & Industrial Heat Gun: Standard electrical tape is prohibited in mobile environments due to vibration and thermal cycling. 3M or Ancor adhesive-lined marine heat shrink creates a waterproof seal at the inverter terminals.
- Digital Multimeter with AC Ripple Testing (e.g., Fluke 87V): Required to verify the inverter's AC output is a clean sine wave and to test the GFCI receptacle's ground fault circuitry.
- Thermal Imaging Camera (e.g., FLIR ONE): Used post-installation to scan the ANL fuse holder, battery busbars, and inverter terminals under full load (Nest IR LEDs active at night) to detect micro-ohm resistance failures.
Component Cost Breakdown & Specification Matrix
Building a dedicated, switched 120V AC circuit for an exterior camera requires marine-grade components that can withstand the vibration, thermal shock, and corrosive environments inherent to overland travel. Below is the estimated cost and specification matrix for a premium, ABYC-compliant build.
| Component Category | Specification & Standard | Est. Cost (USD) |
|---|---|---|
| Primary DC Feed Wire | 4 AWG SAE J1171 Tinned Copper (Red/Black) | $85.00 |
| Pure Sine Wave Inverter | 400W Victron Phoenix (Hardwired AC Out) | $185.00 |
| Overcurrent Protection | 80A ANL Fuse & Marine Ignition Protected Holder | $32.00 |
| Exterior AC Receptacle | IP67 Marine GFCI with Weatherproof Boot | $55.00 |
| Terminals & Hardware | 3/8" Adhesive Heat Shrink Ring Terminals | $24.00 |
| Conduit & Routing | 1/2" Split Loom & IP68 Cable Glands | $30.00 |
| Total Estimated Hardware Cost | Excludes Nest Camera Unit & Labor | $411.00 |
Voltage Drop Calculations & Wire Gauge Selection
While the Nest camera only draws roughly 0.15 Amps on the 120V AC side, the DC side of the inverter sees a much higher current draw due to the step-up conversion and inverter efficiency losses. Assuming an 85% inverter efficiency, a 20W AC load requires approximately 23.5W from the DC battery bank. At a nominal 12.8V (LiFePO4 resting voltage), the DC draw is roughly 1.8 Amps. However, automotive electrical standards dictate that we size the wire and fuse for the inverter's maximum continuous capacity, not just the attached load, to prevent future fire hazards if additional AC loads are added to the exterior receptacle.
For a 400W inverter, the maximum continuous DC draw is calculated as: (400W / 12.0V) / 0.85 efficiency = 39.2 Amps. According to the American Boat and Yacht Council (ABYC) E-11 standards for wire ampacity, 8 AWG wire is technically sufficient for 40A in a marine/RV environment. However, to mitigate voltage drop over long conduit runs from the rear garage battery bank to the exterior sidewall, upgrading to 4 AWG marine-grade wire is the industry best practice for expedition vehicles.
Step-by-Step Wiring & Routing Protocol
- DC Overcurrent Protection: Install an 80A ANL fuse holder on the positive (Red) 4 AWG wire. Per SAE J1171 and ABYC guidelines, this fuse must be located within 18 inches of the positive battery terminal to protect the un-fused wire segment from shorting against the chassis.
- Inverter DC Connection: Route the 4 AWG Red and Black wires to the 400W Pure Sine Inverter. Crimp 3/8" ring terminals using the hydraulic crimper, apply adhesive heat shrink, and torque the inverter terminal nuts to the manufacturer's specification (typically 5-7 Nm) to prevent vibration loosening.
- AC Output Routing: Run 12 AWG 3-conductor (Hot, Neutral, Ground) marine-rated AC wire from the inverter's hardwired output block through the vehicle's interior wall cavity to the exterior mounting location. Maintain a minimum 2-inch separation from any 12V DC data cables to prevent EMI.
- Exterior GFCI Termination: Mount the IP67 marine GFCI receptacle using a butyl rubber gasket to seal against the vehicle's aluminum or fiberglass skin. Connect the AC Ground (Green) to the vehicle's common AC grounding busbar, which must ultimately bond to the DC negative busbar at a single point to prevent ground loops.
- Nest Camera Integration: Plug the Nest Outdoor Camera's USB power adapter into the exterior GFCI. Route the camera's weatherproof cable through an IP68 cable gland into the vehicle's interior or a sealed junction box to protect the proprietary magnetic connector from road debris and UV degradation.
Real-World Failure Modes & Troubleshooting
When performing a nest outdoor camera install on a mobile platform, technicians frequently encounter specific failure modes that do not exist in residential home installations.
Symptom: Camera Reboots Randomly at Night
Cause: When the Nest camera's infrared (IR) night vision LEDs activate, the power draw spikes. If the 120V AC wire run is excessively long or undersized, or if the DC-side inverter input wire has high resistance due to poor crimps, the voltage at the camera's power brick drops below its operational threshold, triggering a reboot loop.
Fix: Use a Fluke multimeter to measure the AC voltage at the GFCI receptacle while the IR LEDs are active. If voltage drops below 110V AC, inspect the DC-side 4 AWG crimps with a thermal camera and verify the house battery BMS is not prematurely cutting off due to a misconfigured low-voltage disconnect (LVD) parameter.
Symptom: Inverter Emits High-Pitch Whine and Overheats
Cause: The use of a Modified Sine Wave (MSW) inverter instead of a Pure Sine Wave (PSW) inverter. The Nest power adapter's internal capacitors and inductors cannot filter the stepped square wave of an MSW inverter, resulting in massive harmonic heat generation.
Fix: Replace the MSW inverter with a certified Pure Sine Wave unit, such as those outlined in the Victron Energy Wiring Unlimited Guide. Ensure the inverter's chassis is properly grounded to the vehicle chassis to dissipate high-frequency noise.
Conclusion
A successful automotive or RV-based security camera integration requires looking past the consumer electronics packaging and treating the installation as a critical mobile electrical circuit. By investing approximately $411 in marine-grade tinned copper, pure sine wave inversion, and IP67 exterior sealing, overlanders can achieve a permanent, reliable security perimeter around their vehicle without risking the integrity of their auxiliary power systems.