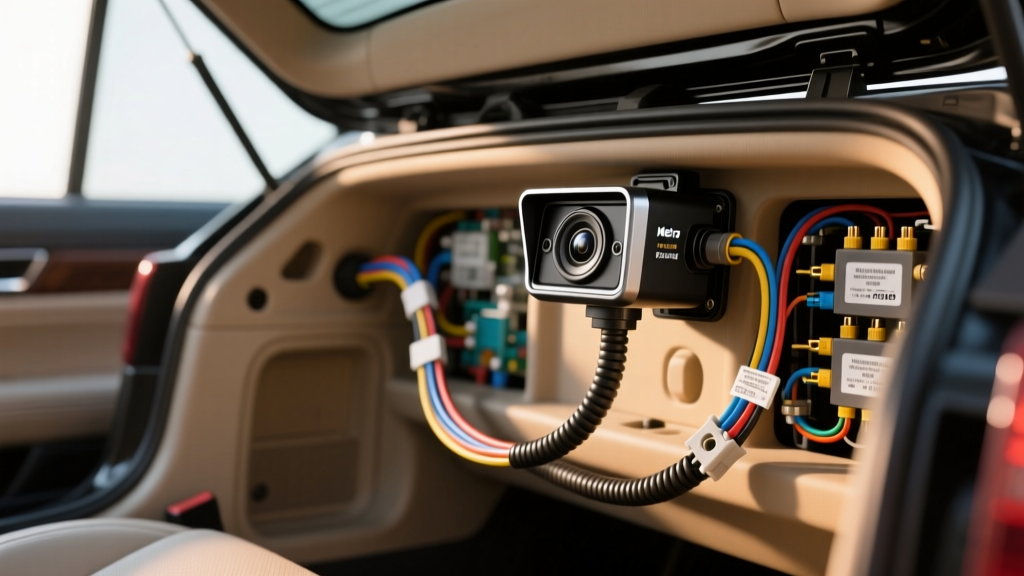
Project Scope: Head Unit, Camera, and Harness Integration
Upgrading a legacy Subaru vehicle with a modern touchscreen infotainment system and a backup camera requires a meticulous approach to wiring. At the core of the audio integration is the speaker adapter. Procuring authentic metra 72 8104 speaker wiring harnesses is the foundational step for retaining factory speaker functionality without slicing into the OEM chassis wiring. However, a complete camera tech installation extends far beyond the speaker connections. The camera's RCA video signal and the +12V reverse trigger wire must be routed and integrated alongside the audio harnesses, demanding specific tools, precise budgeting, and an understanding of Subaru's unique electrical architecture.
This guide provides a comprehensive cost and tool requirements analysis for executing a seamless head unit and backup camera installation, focusing on the technical realities of integrating the Metra 72-8104 adapter with aftermarket camera modules.
Cost Breakdown: Budgeting the Tech Upgrade
Before cutting a single zip tie, it is critical to map out the financial requirements of the build. Sourcing the correct harnesses and camera hardware prevents mid-installation delays. The Metra 72-8104 is specifically designed for select Subaru models (such as the WRX, Impreza, and Forester) to bridge the factory 16-pin speaker plug to standard aftermarket head unit spade terminals. Below is an itemized cost analysis for a professional-grade camera and audio integration.
| Component | Specification / Purpose | Estimated Cost | Priority |
|---|---|---|---|
| Metra 72-8104 Harness | 16-Pin to 8-Spade Speaker Adapter (18 AWG) | $15 - $22 | Required |
| Backup Camera Kit | NTSC/720p Sensor with RCA & 22 AWG Trigger Pigtail | $45 - $120 | Required |
| Head Unit Dash Kit | ISO to Subaru 20-Pin Power/Data Harness | $25 - $40 | Required |
| RCA Extension Cable | 15ft Shielded Video Cable with Pass-Through Trigger | $12 - $18 | Required |
| Heat Shrink & Connectors | Adhesive-Lined Marine Grade (22-18 AWG Assortment) | $15 - $25 | Required |
| Wire Loom & Tesa Tape | Split Loom and Fleece Harness Tape for Chassis Routing | $10 - $15 | Recommended |
Total Estimated Hardware Budget: $122 - $240 (Excluding the head unit and specialized tools).
Essential Tool Requirements for Wiring & Routing
Integrating camera technology and audio harnesses requires more than a basic pair of pliers. To meet SAE J1128 standards for low-tension primary cable splicing and to prevent voltage drop or signal interference, the following specialized tools are mandatory for this installation.
- Wire Strippers (Knipex 12 42 195 or equivalent): Essential for cleanly stripping the 18 AWG speaker wires on the Metra harness and the delicate 22 AWG reverse trigger wire from the camera RCA cable without nicking the copper strands. Nicked wires lead to fatigue failure from vehicle vibration.
- Ratchet Crimper (IWISS SN-28B or SN-58B): A ratcheting crimper ensures uniform pressure on heat-shrink butt connectors. This is critical when joining the 22 AWG camera trigger wire to the vehicle's reverse lamp circuit to prevent the wire from pulling out of the barrel under tension.
- Digital Multimeter (Fluke 115 or similar): Required to identify the +12V reverse trigger wire at the Subaru head unit or kick panel. Relying solely on wire color charts is a common failure point; OEM wire colors can vary by model year and trim level.
- Trim Removal Pry Tools (Nylon/POM Plastic): Metal screwdrivers will mar the Subaru's soft-touch dash plastics and door sill covers. A high-quality plastic pry set is required to safely expose the chassis wiring grommets and kick panels.
- Heat Gun (Variable Temperature): Necessary for shrinking adhesive-lined marine heat shrink connectors, ensuring a watertight and vibration-proof seal on all splices.
Wiring Architecture: Speaker Harness vs. Camera Trigger
A critical concept that separates novice installers from professionals is understanding the separation of circuits. The metra 72 8104 speaker wiring harnesses are strictly dedicated to audio signal transmission. They map the factory 16-pin speaker plug to the standard EIA/CEA color-coded 18 AWG spade terminals. They do not carry the reverse lamp trigger signal required to wake up the backup camera.
To activate the camera, the installer must locate the vehicle's reverse trigger wire. In many Subaru applications, this is found on the adjacent main 20-pin power and data harness, or it must be tapped directly at the rear hatch reverse lamp circuit and routed forward. Below is the standard pinout reference for the 16-pin speaker connection managed by the 72-8104 harness, alongside the separate trigger requirement.
| Pin / Circuit | Function | Wire Gauge | Standard EIA/Metra Color |
|---|---|---|---|
| Pins 1 & 2 | Front Left Speaker (+/-) | 18 AWG | White / White w/ Black |
| Pins 3 & 4 | Front Right Speaker (+/-) | 18 AWG | Gray / Gray w/ Black |
| Pins 5 & 6 | Rear Left Speaker (+/-) | 18 AWG | Green / Green w/ Black |
| Pins 7 & 8 | Rear Right Speaker (+/-) | 18 AWG | Purple / Purple w/ Black |
| Separate Circuit | Reverse Trigger (Camera) | 22 AWG | Red (on RCA pigtail) |
Step-by-Step Camera Trigger & Harness Routing
Routing the camera's RCA cable and integrating the trigger wire requires navigating the Subaru's interior chassis. Follow these steps to ensure a factory-grade finish and reliable electrical connectivity.
- Head Unit Harness Preparation: Connect the Metra 72-8104 to the factory 16-pin plug. Crimp the 18 AWG spade terminals to your aftermarket head unit's speaker harness. Use adhesive heat shrink on all connections.
- Locating the Reverse Trigger: Using your Digital Multimeter, probe the main head unit harness (not the 72-8104 speaker harness) or the kick panel wiring. Set the vehicle to Reverse (engine off, ignition on). The wire that shows +12V is your trigger. In many Subarus, this is a Light Green wire with a Red tracer, but always verify with a DMM as per Crutchfield's vehicle wiring guidelines.
- Splicing the Trigger: Strip the 22 AWG red trigger wire from the camera's RCA cable. Use a 22-18 AWG step-down heat shrink butt connector to splice it to the vehicle's verified +12V reverse wire. Apply heat until the adhesive sealant purges from the ends of the shrink tube.
- Chassis Routing: Run the RCA cable from the head unit, down the driver or passenger side door sill. Carefully peel back the carpet and locate the rubber grommet leading to the rear cargo area. Pierce the grommet with a specialized grommet piercer or a dull awl—never use a sharp screwdriver, which can slice the grommet and lead to water intrusion into the cabin.
- Signal Isolation: Keep the RCA video cable separated from the 18 AWG speaker wires and high-current power cables by at least 2 inches to prevent electromagnetic interference (EMI), which manifests as rolling bars or static on the camera display.
Common Failure Modes & Troubleshooting
Even with the correct budget and tools, camera installations can fail if technical nuances are ignored. Use this decision tree to diagnose common issues:
- Symptom: Camera displays 'No Signal' or black screen when in reverse.
Cause: The 22 AWG trigger wire is not receiving +12V, or the head unit's internal 'Reverse Polarity' setting is set to 'Battery' instead of 'Ground' (or vice versa depending on the head unit brand).
Fix: Test the red RCA pigtail wire with a DMM while the car is in reverse. If +12V is present, adjust the head unit's backup camera trigger settings in the hidden diagnostic menu. - Symptom: Audio only plays from two speakers after installing the 72-8104.
Cause: The factory 16-pin plug is not fully seated, or a spade terminal on the Metra harness was crimped improperly and pushed back into the plastic housing.
Fix: Inspect the spade terminals. Use a small flathead screwdriver to lift the plastic locking tab on the Metra harness housing and pull the wire forward until it clicks securely into place. - Symptom: Severe video noise or 'alternator whine' on the camera display.
Cause: The RCA cable is routed parallel to the vehicle's main power wire or the 18 AWG speaker wires, inducing EMI.
Fix: Re-route the RCA cable along the opposite side of the vehicle's chassis, or wrap the RCA cable in copper-foil shielding tape grounded at the head unit chassis.
Conclusion
Integrating modern camera technology into a Subaru requires a clear understanding of circuit separation. While the Metra 72-8104 expertly handles the 18 AWG speaker audio signals, the backup camera relies on a completely separate 22 AWG trigger circuit and shielded RCA routing. By budgeting for high-quality adhesive heat shrink, precision crimpers, and a reliable multimeter, you ensure that your infotainment and safety tech upgrade operates flawlessly for the life of the vehicle. For exact pinout diagrams and vehicle-specific fitment data, always consult the official Metra Electronics documentation before beginning your installation.