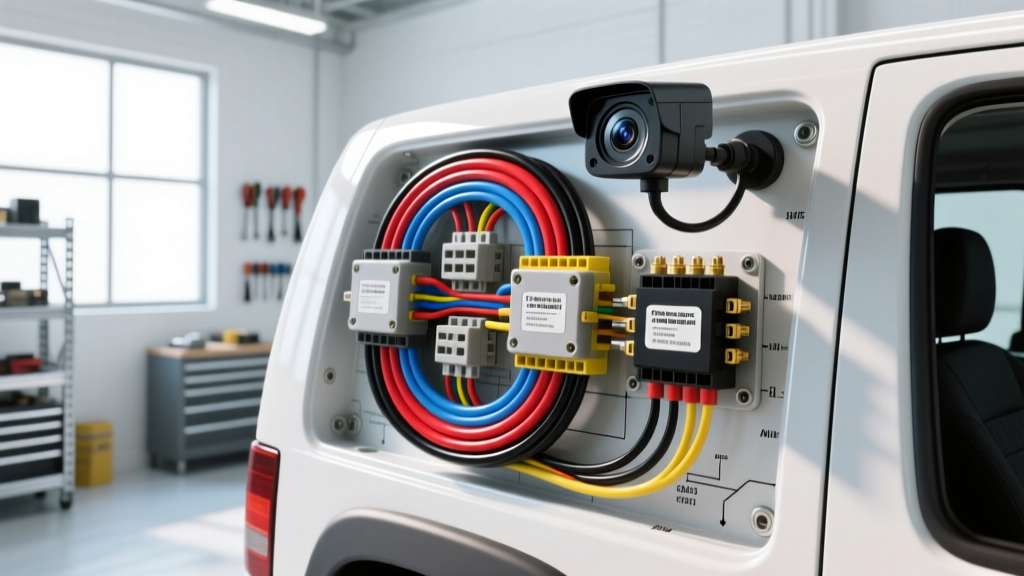
Deconstructing the Average Price for Security Camera Installation in Automotive Environments
When fleet managers and commercial upfitters research the average price for security camera installation, search engines typically return estimates for residential or commercial building setups (ranging from $150 to $300 per PoE node). However, applying this metric to automotive and fleet security cameras—such as multi-channel dash cams, interior cargo surveillance, and parked-vehicle monitoring systems—is a fundamental category error. Automotive security camera installation is not about mounting a dome camera and running Cat6 cable; it is a complex integration of 12V/24V DC electrical systems, ignition-sense logic, CAN bus network integration, and extreme vibration mitigation.
At AutoFlowWire, we bridge the gap between commercial security requirements and automotive electrical engineering. The true cost and complexity of an automotive security camera installation are dictated by wire routing through firewalls, voltage regulation, electromagnetic compatibility (EMC), and battery protection protocols. This advanced technical deep dive explores the wiring architecture required to properly install fleet security cameras, moving far beyond basic plug-and-play cigarette lighter adapters.
Automotive vs. Residential Security Architecture
In a static building, security cameras rely on Power over Ethernet (PoE) or standard 120V AC to 12V DC adapters. The vehicle environment is inherently hostile to standard electronics. Alternator whine, load dump spikes (which can exceed 40V for milliseconds), and cranking voltage dips (dropping below 9V) will destroy a standard commercial security camera. Therefore, the installation requires an automotive-grade hardwire kit with built-in transient voltage suppression (TVS) and low-voltage cutoff relays.
According to SAE J1113 standards for Electromagnetic Compatibility (EMC), any electronic module added to a vehicle must not emit electromagnetic interference that disrupts the vehicle's ECU, nor should it be susceptible to the high-frequency noise generated by the alternator and ignition coils. Proper shielding and twisted-pair wiring are non-negotiable in professional fleet installations.
3-Wire Hardwire Kit Pinouts and Wire Selection
A professional automotive security camera installation relies on a 3-wire hardwire harness to manage power states. This allows the camera to operate in "Driving Mode" (recording all channels) and "Parking Mode" (low-bitrate motion/impact surveillance) without draining the vehicle's starter battery.
Standard Hardwire Pinout Configuration
- Wire 1: Constant 12V (VBAT / Yellow or Red) - Connected directly to the battery or a constant 12V bus bar. This supplies power during Parking Mode and maintains the camera's internal RTC (Real Time Clock) and GPS memory.
- Wire 2: Switched 12V (ACC / Ignition / White or Blue) - Tapped into an ignition-controlled circuit (e.g., windshield wiper motor, radio ACC, or OBD2 pin 16 via a fused tap). This signals the camera to wake up and begin high-resolution recording.
- Wire 3: Ground (GND / Black) - Must be secured to a bare, unpainted chassis ground point. Relying on cigarette lighter sleeve grounds introduces severe resistance and ground-loop noise.
GXL vs. TXL Wire Jacket Specifications
Never use standard PVC-jacketed wire (like THHN or basic primary wire) under the hood or inside commercial vehicle panels where temperatures exceed 85°C. Professional upfitters adhering to NTEA (National Truck Equipment Association) guidelines utilize Cross-Linked Polyethylene (XLPE) insulated wires.
- GXL Wire: Standard wall thickness, rated to 125°C. Ideal for general chassis routing.
- TXL Wire: Thin wall, rated to 125°C. Essential for routing through tight firewall grommets and bundled harnesses where space is at a premium.
Heavy-Duty Fleet Camera Wiring Specifications
The following table outlines the minimum specifications for a 4-channel fleet security camera system (front, rear, interior, and cargo) drawing a peak of 3.5 Amps. Connectors must be sealed and vibration-resistant; standard spade terminals are strictly prohibited.
| Circuit Function | Wire Type | AWG Size | Inline Fuse | Recommended Connector |
|---|---|---|---|---|
| Constant 12V (VBAT) | TXL (Red) | 16 AWG | 5A ATO/ATC | Deutsch DT (2-pin sealed) |
| Ignition Sense (ACC) | TXL (White) | 18 AWG | 3A Mini | Molex MX150 |
| Chassis Ground | TXL (Black) | 16 AWG | N/A | Ring Terminal (8mm stud) |
| CAN High (J1939) | Shielded Twisted Pair | 22 AWG | N/A | Ampseal 16 |
| CAN Low (J1939) | Shielded Twisted Pair | 22 AWG | N/A | Ampseal 16 |
| GPS Antenna (Active) | Coaxial RG174 | N/A | N/A | SMA / FAKRA Z |
CAN Bus Integration for Event Triggering
In advanced fleet security installations, relying solely on the ACC wire is insufficient. Fleet managers require the security camera to trigger recording based on specific vehicle events: door openings, PTO (Power Take-Off) engagement, or air brake releases. Running physical wires to every door jamb switch in a Class 8 truck or a Sprinter van is labor-intensive and prone to failure.
Instead, modern installations tap into the vehicle's CAN bus network. For light-to-medium duty vehicles, installers tap into the OBD2 CAN High (Pin 6) and CAN Low (Pin 14). For heavy-duty trucks, the SAE J1939 protocol is accessed via the 6-pin or 9-pin Deutsch diagnostic connector.
CAN Bus Wiring Rules
- Twisted Pair Topology: CAN High and CAN Low must remain twisted at a rate of 1 twist per inch up to the exact point of termination to maintain the 120-ohm impedance and reject common-mode noise.
- Solder Sleeves over T-Taps: Never use "Scotchlok" or T-tap connectors on CAN bus wires. Piercing the insulation alters the cable geometry, causes signal reflection, and can crash the vehicle's ECU network. Use heat-shrink solder sleeves (e.g., 3M or Raychem) for splicing.
- Galvanic Isolation: Use a CAN bus sniffer module with opto-isolators to prevent ground loops between the camera's logic board and the vehicle's data bus.
Voltage Drop Calculations in Long-Wheelbase Vans
One of the most common failure points in cargo van security camera installations (e.g., Ford Transit Extended, Mercedes Sprinter 2500) is voltage drop. When mounting a rear cargo security camera, the power run from the front-mounted DVR/hardwire kit to the rear can easily exceed 25 feet.
According to Aptiv's automotive electrical design guidelines, a voltage drop exceeding 0.5V on a 12V circuit can cause camera reboots or IR illuminator flickering. Let us calculate the voltage drop for an 18 AWG copper wire running 25 feet (50 feet total round-trip) carrying 1.5 Amps (typical for a rear camera with IR LEDs active at night).
Formula: VD = (2 × L × R × I) / 1000
- L = One-way length (25 ft)
- R = Resistance of 18 AWG copper (6.385 ohms per 1000 ft at 20°C)
- I = Current (1.5A)
Calculation: VD = (2 × 25 × 6.385 × 1.5) / 1000 = 0.478 Volts.
While 0.478V is technically within the 0.5V threshold, engine bay temperatures and chassis heat will increase copper resistance. For runs exceeding 20 feet, upgrading to 16 AWG or 14 AWG for the power and ground lines to rear-mounted cameras is a mandatory best practice to ensure stable voltage delivery to the camera's internal DC-DC buck converters.
Battery Protection Modules & Low-Voltage Cutoffs
A critical component affecting the overall installation architecture is the hardwire kit's voltage cutoff relay. If a fleet vehicle sits idle over a weekend, the security camera's parking mode will slowly drain the battery. Professional hardwire kits feature adjustable DIP switches or software-configurable cutoffs.
- 12V Systems: Standard cutoff is 12.0V to 12.2V. Below this threshold, the internal relay physically severs the VBAT connection, ensuring enough Cold Cranking Amps (CCA) remain to start the diesel or gas engine.
- 24V Systems (Heavy Duty): Cutoff is typically set to 24.0V. Note that 24V-to-12V step-down converters (buck converters) must be rated for at least 5A continuous output and feature reverse-polarity protection.
Real-World Failure Modes & Troubleshooting
Even when the average price for security camera installation is factored into a fleet budget, poor workmanship leads to expensive downtime. Here are the most common technical failure modes encountered in the field:
1. Alternator Whine in Audio/Video Feeds
Symptom: A high-pitched whining noise that fluctuates with engine RPM on the interior camera's audio track, or horizontal rolling bars on the video feed.
Cause: Ground loop. The camera's ground and the DVR's ground are referencing different chassis points with varying resistance.
Fix: Establish a single-point star ground for the entire security camera system, or install a 12V DC ground loop isolator on the coaxial/video lines.
2. Intermittent SD Card Corruption
Symptom: Camera reports "Format SD Card" after every engine cranking event.
Cause: Cranking voltage dip. When the starter motor engages, system voltage can drop to 8V. If the hardwire kit lacks a supercapacitor or sufficient bulk capacitance, the camera's write-controller loses power mid-cycle, corrupting the FAT32/exFAT file table.
Fix: Install a secondary inline supercapacitor bank near the DVR power input, or ensure the hardwire kit features an integrated low-voltage ride-through (LVRT) circuit.
3. Water Intrusion in Exterior Connectors
Symptom: Rear or side-view security cameras short out after heavy rain or truck washes.
Cause: Using non-sealed connectors or failing to use dielectric grease on exterior pigtails.
Fix: All exterior connections must use IP67-rated Deutsch DT or Amphenol connectors. Apply Nyogel dielectric grease to the pins before mating to prevent galvanic corrosion between dissimilar metals.
Conclusion
Ultimately, evaluating the cost of automotive security camera integration requires looking past residential metrics. The true investment lies in the engineering of the harness, the selection of TXL/GXL wiring, the precision of CAN bus splicing, and the rigorous adherence to voltage drop limits. By treating the vehicle as a dynamic, high-noise electrical grid rather than a static wall, fleet technicians can deploy security camera systems that survive the harshest environments on the road.