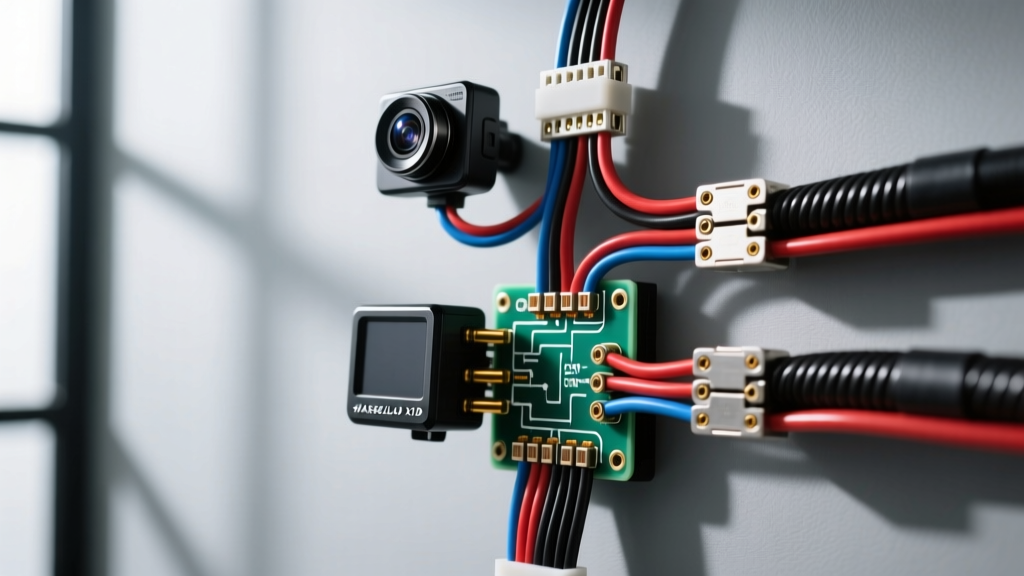
Evaluating the True Cost: Professional vs. DIY Hardwiring
When fleet managers, RV owners, and daily commuters ask, how much for security camera installation, the answer extends far beyond the retail price of the camera unit. A true automotive security system—such as a 3-channel dash cam with parking mode (e.g., BlackVue DR970X-3CH or Thinkware U3000)—requires continuous power, CAN bus integration for low-power wake states, and robust physical mounting. Professional installation for a 3-channel hardwired security setup typically ranges from $250 to $450 in labor alone, depending on the vehicle's interior trim complexity and the required routing distance for the rear and cabin coaxial cables.
However, an advanced DIY installation can reduce this cost to just the price of materials (typically $40 to $85 for high-grade wire, Add-A-Circuit fuse taps, and FAKRA adapters). The critical differentiator between a failing amateur setup and a reliable security system lies in the wiring topology, voltage drop management, and adherence to automotive electrical standards.
| Component / Service | Professional Install Cost | DIY Material Cost | Technical Specification Required |
|---|---|---|---|
| 3-Channel Camera Hardware | $600 - $900 | $600 - $900 | Front (FHD/4K), Cabin (IR), Rear (FHD) |
| Hardwire Kit (CMOS / Bypass) | $50 - $80 | $40 - $60 | Integrated low-voltage cutoff (LVC) |
| Labor (Routing & Trim Removal) | $250 - $450 | $0 | Non-marring trim tools, fish tape |
| Wiring & Connectors (FAKRA, Molex) | Included in Labor | $25 - $45 | 18 AWG Power, RG174 Coaxial, MX150 |
| CAN Bus / OBD-II Multiplexer | $100 - $150 | $80 - $120 | J1962 compliant, <2mA sleep draw |
Advanced Power Topologies: Hardwire Kits vs. CAN Bus Multiplexers
The core of any vehicle security camera is its parking mode. To achieve this without draining the starter battery, the system must know when the vehicle is secured. Traditional hardwire kits rely on an Add-A-Circuit fuse tap connected to a constant 12V source (e.g., interior lighting or power seat memory) and an accessory (ACC) source (e.g., windshield wipers or 12V cigarette lighter socket). When the ACC line drops to 0V, the camera enters parking mode and relies on the constant 12V line, governed by an internal Low Voltage Cutoff (LVC).
For modern vehicles with complex multiplexed networks (LIN/CAN bus), tapping physical ACC fuses can cause BCM (Body Control Module) sleep errors, resulting in parasitic draws exceeding 800mA. In these cases, an OBD-II CAN bus multiplexer is the superior technical solution. These devices read the vehicle's CAN network to determine ignition status and door lock states without physically splicing into the vehicle's high-speed data lines.
OBD-II J1962 Pinout for Security Camera Bypass Modules
According to SAE J1962 standards, the OBD-II diagnostic connector provides standardized access to vehicle power and data buses. Advanced security camera OBD multiplexers utilize the following pins to operate safely:
- Pin 16 (Battery Positive): Constant 12V-14.4V. Used to power the camera's internal supercapacitor and maintain the multiplexer's sleep-state logic. Must be fused inline with a 2A Mini-ATC fuse.
- Pin 4 & Pin 5 (Chassis & Signal Ground): Critical for completing the DC circuit. A poor ground here will introduce noise into the camera's video signal and cause erratic LVC behavior.
- Pin 6 (CAN-High) & Pin 14 (CAN-Low): High-speed ISO 15765-4 CAN bus lines. The multiplexer reads these differentially (typically CAN-H at 2.5V-3.5V and CAN-L at 1.5V-2.5V) to detect the exact moment the ECU goes to sleep, triggering the camera's sentry mode instantly.
Video Signal Routing: FAKRA Coaxial and Shielding Standards
Unlike standard RCA video cables used in older backup camera kits, modern 3-channel security systems utilize FAKRA Z-type coaxial connectors or proprietary 4-pin Ethernet-style Molex connectors for the rear and cabin cameras. These cables carry both high-definition digital video signals and 5V DC power from the main head unit.
When routing a 15-foot RG174 or proprietary FAKRA cable from the front windshield to the rear hatch of an SUV or RV, electromagnetic interference (EMI) from the vehicle's high-voltage ignition coils or hybrid inverter cables can cause digital artifacting or signal dropout. To prevent this:
- Maintain Separation: Route the camera coaxial cable at least 6 inches away from any high-current wiring (e.g., 4 AWG amplifier power wires or EV high-voltage orange cables).
- Shield Grounding: If using an aftermarket FAKRA extension, ensure the outer braided shield is properly terminated to the connector's metal crimp ferrule. A floating shield will act as an antenna for alternator whine and RF interference.
- Hatch Hinge Routing: When passing the cable through the rubber weather boot between the vehicle body and the rear hatch, never zip-tie the cable tightly. The constant articulation will fatigue the 22 AWG internal power wires and the delicate center conductor. Use a dedicated fish tape and apply dielectric grease to the rubber grommet to prevent chafing.
Voltage Cutoff Thresholds and Battery Chemistry
The most common failure in security camera installations is a dead starter battery. This occurs when the camera's LVC is mismatched to the vehicle's battery chemistry. If you are hardwiring a security camera, you must configure the voltage cutoff via the companion app or physical DIP switches on the hardwire module based on the following specifications:
- Flooded Lead-Acid (Standard): Set LVC to 12.2V or 12.0V. Dropping below 11.9V risks sulfation and inability to crank the starter.
- AGM (Absorbent Glass Mat - Start/Stop Vehicles): Set LVC to 11.8V or 11.6V. AGM batteries can safely discharge deeper without permanent damage, allowing for extended security recording times.
- LiFePO4 (Lithium Iron Phosphate - RV/Marine Aux): If wiring to an auxiliary house battery in an RV, set LVC to 13.0V to prevent the BMS from triggering a low-voltage disconnect, which would kill camera power abruptly and risk SD card corruption.
For comprehensive DC wiring standards, especially in RV and fleet applications, referencing ABYC E-11 AC & DC Electrical Systems guidelines ensures proper overcurrent protection and wire gauge selection for continuous loads.
Diagnostic Decision Tree: Parasitic Draw and Boot Failures
When a security camera system fails to wake or causes a dead battery, follow this advanced diagnostic sequence using a digital multimeter (DMM) and a clamp-on DC ammeter:
Step 1: Measure Sleep-State Parasitic Draw
Connect a DC ammeter in series with the negative battery terminal. Lock the vehicle and wait 20 minutes for the BCM to enter deep sleep. A properly installed security camera multiplexer should draw less than 5mA (0.005A). If the draw remains above 50mA, the multiplexer is failing to recognize the CAN bus sleep state. Check Pin 6 and Pin 14 for continuity and verify the OBD-II connector is fully seated.
Step 2: Test Voltage Drop Across the Hardwire Kit
If the camera randomly reboots while driving, suspect a voltage drop under load. Set your DMM to DC Volts. Place the red probe on the vehicle's positive battery post and the black probe on the 12V input wire at the camera's DC barrel jack. Start the engine and turn on high-draw accessories (HVAC, headlights). A voltage drop greater than 0.3V indicates undersized wiring (upgrade from 20 AWG to 18 AWG) or a corroded Add-A-Circuit fuse tap connection.
Step 3: Ground Ring Terminal Verification
Over 60% of camera ground faults are caused by technicians wrapping ground wires around existing seat bolts without removing paint or using proper ring terminals. The ground must be secured to bare, unpainted chassis metal using an M6 or M8 crimped ring terminal. Torque the bolt to the manufacturer's specification (typically 8-12 Nm for interior chassis grounds) and coat the terminal in dielectric grease to prevent galvanic corrosion.
Conclusion
Understanding how much for security camera installation truly costs requires looking past the labor rate and examining the materials and methodologies used. By utilizing SAE-compliant OBD-II multiplexers, adhering to strict FAKRA shielding protocols, and matching LVC thresholds to specific battery chemistries, you can deploy a 3-channel automotive security system that operates flawlessly for years without compromising the vehicle's electrical integrity.