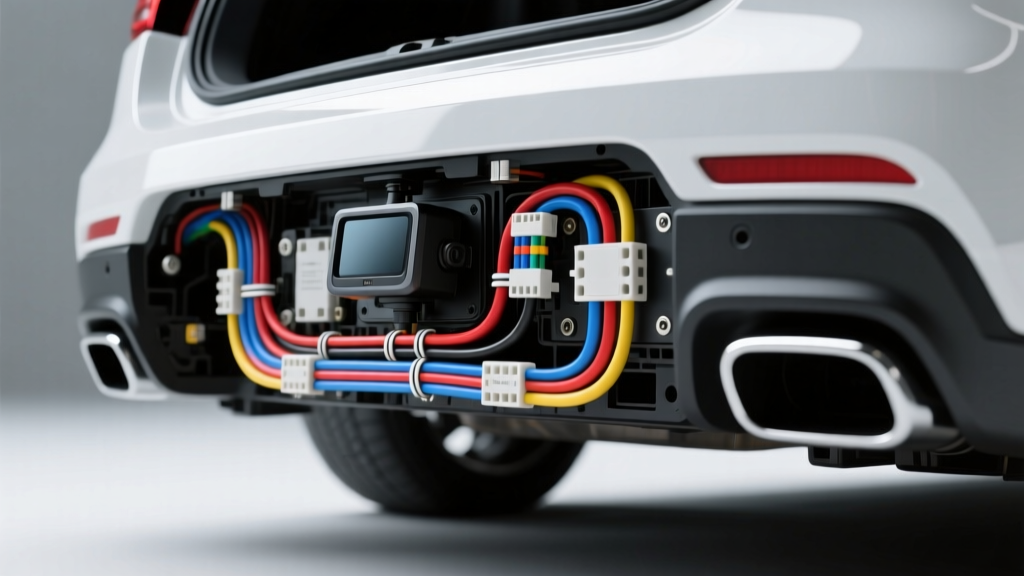
The True Cost of Backup Camera Installation
When vehicle owners ask, how much does it cost to install a backup camera, they are typically quoted a baseline shop rate of $150 to $250 for a standard aftermarket kit. However, modern vehicle electrical architectures rarely allow for simple plug-and-play installations. The true cost of integrating a reverse camera is dictated by the complexity of your vehicle's multiplexed wiring networks, head unit compatibility, and chassis grounding topology.
As an automotive electrical specialist, I see countless vehicles return to the shop with 'dead' cameras or rolling video interference because the initial installer ignored the underlying CAN bus protocols or ground loop potentials. This step-by-step troubleshooting flow is designed to help you diagnose why an installation quote might be inflated, or why your DIY installation failed, forcing you to pay professional re-diagnosis fees. By understanding the hidden wiring hurdles, you can accurately forecast the real cost of your camera integration.
Diagnostic Decision Tree: Why Your Installation Quote is High
If a professional installer has quoted you upwards of $600 to $800 for a backup camera installation, do not immediately assume price gouging. Use this troubleshooting flow to identify the hidden wiring modules and labor hours required for your specific vehicle.
Step 1: Diagnosing the Reverse Trigger Signal (The CAN Bus Hurdle)
Symptom: The camera powers on, but the head unit does not automatically switch to the video input when the vehicle is shifted into reverse.
Cause: Modern vehicles (2015 and newer) utilize Pulse Width Modulation (PWM) or CAN bus networks to control tail lighting. There is no dedicated 12V reverse trigger wire at the taillight harness.
- Test: Set your Digital Multimeter (DMM) to DC Volts. Probe the reverse lamp wire while the vehicle is in reverse. If the voltage pulses rapidly or reads below 10V DC, the circuit is multiplexed.
- Hidden Cost Impact (+$120 - $180): The installer must splice into the OBD-II CAN High and CAN Low lines to install a data interface module (such as the PAC RPDBCA or Axxess ASWC-1) to digitally extract the reverse gear command.
Step 2: Evaluating Head Unit Video Inputs (The Lockpick Bypass)
Symptom: The camera receives power, but the factory infotainment screen displays a 'No Signal' message or refuses to accept the RCA video feed while the vehicle is in motion or in gear.
Cause: OEM head units often lock out auxiliary video inputs for safety compliance, or lack an RCA composite video input entirely.
- Test: Inspect the rear of the head unit. If only a proprietary multi-pin connector is present without a dedicated yellow RCA female chassis port, direct integration is impossible.
- Hidden Cost Impact (+$250 - $450): The shop must install a proprietary video lockpick bypass module or replace the entire head unit with an aftermarket Double-DIN receiver featuring native backup camera RCA inputs and a dedicated reverse trigger lead.
Step 3: Inspecting the Tailgate Pivot Harness (The Hidden Fracture)
Symptom: The camera works intermittently, or the image flickers severely when the tailgate is opened or closed.
Cause: The OEM rubber boot wiring harness passing through the tailgate hinge has suffered copper fatigue and internal fracturing—a notorious failure point on the Ford F-150, Toyota Tacoma, and Honda CR-V.
- Test: Perform a continuity test on the OEM pigtail from the camera side to the cabin side while flexing the rubber boot. An open circuit confirms internal wire breakage.
- Hidden Cost Impact (+$150 - $220): The installer must source an OEM replacement pigtail, strip back the tailgate interior trim, and solder/heat-shrink a new harness, drastically increasing labor time.
Technical Wiring Specifications & Pinouts
To avoid paying a shop for 'trial and error' diagnostics, verify that your installer is using the correct wire gauges and interface pinouts. Improper wire sizing leads to voltage drop, causing the camera's IR night-vision LEDs to flicker or fail prematurely.
| Wire Function | Recommended AWG | Standard Color Code | Connection Method | Notes / Tolerances |
|---|---|---|---|---|
| Camera 12V+ Power | 18 AWG TXL | Red | Solder & Heat Shrink | Must handle 1.5A surge for IR LEDs |
| Camera Ground | 18 AWG TXL | Black | Ring Terminal to Chassis | Do NOT ground to plastic trim or taillight housing |
| Reverse Trigger (Aftermarket) | 20 AWG | Red (Inline) | Posi-Tap Connector | Connect to head unit reverse input wire |
| CAN High (OBD-II Pin 6) | 22 AWG | Green / White | T-Harness or Posi-Tap | Requires 60-ohm termination resistance |
| CAN Low (OBD-II Pin 14) | 22 AWG | Blue / Black | T-Harness or Posi-Tap | Twisted pair routing required to prevent EMI |
| Video Signal (RCA Coaxial) | N/A (Shielded) | Yellow (Outer) | RCA Plug | Shield must be grounded at the head unit end only |
Troubleshooting Ground Loops and Alternator Whine
One of the most common reasons a backup camera installation requires expensive follow-up visits is the presence of 'rolling horizontal bars' across the video feed. This is a classic ground loop, caused by a voltage potential difference between the camera's ground point at the rear taillight and the head unit's ground point at the dashboard.
According to the Crutchfield Backup Camera Installation Guide, routing the camera's power and ground wires all the way back to the front of the vehicle alongside the RCA video cable is the most reliable way to eliminate this interference. However, this adds up to two hours of interior trim removal and wire fishing labor, which directly answers why professional installation costs vary so wildly.
Expert Fix: If running a dedicated 18 AWG ground wire to the dashboard is physically impossible due to chassis constraints, install a 12V DC-to-DC isolated power supply (such as the PAC GRSW-1) near the camera. This breaks the galvanic ground connection, eliminating the loop without requiring hours of additional wire routing labor.
Cost vs. Complexity Matrix
Use this matrix to evaluate the fairness of your installation quote based on your vehicle's specific electrical architecture.
| Vehicle Architecture | Required Components | Estimated DIY Cost | Estimated Pro Install Cost |
|---|---|---|---|
| Pre-2012 (Dedicated 12V Reverse Wire) | Camera, RCA Cable, 18 AWG Wire | $45 - $80 | $150 - $250 |
| 2013-2018 (PWM Taillight Circuits) | Camera, RCA, PWM Filter / Relay | $70 - $110 | $250 - $350 |
| 2019+ (Multiplexed CAN Bus Network) | Camera, RCA, CAN Bus Decoder Module | $150 - $220 | $400 - $650 |
| OEM Head Unit w/ Video Lockout | Camera, Video Lockpick Bypass Interface | $200 - $300 | $500 - $850 |
Final Expert Wiring Directives
Understanding how much does it cost to install a backup camera requires looking past the price of the camera itself and evaluating the electrical topology of your specific vehicle. Always insist that your installer uses SAE J1939 compliant twisted-pair routing for any CAN bus splices, and strictly forbids the use of 'Scotch-Lok' crimp connectors, which invite moisture ingress and copper oxidation over time. By utilizing this troubleshooting flow, you can accurately diagnose hidden wiring complexities, negotiate fair labor rates, and ensure a permanent, interference-free reverse camera integration.