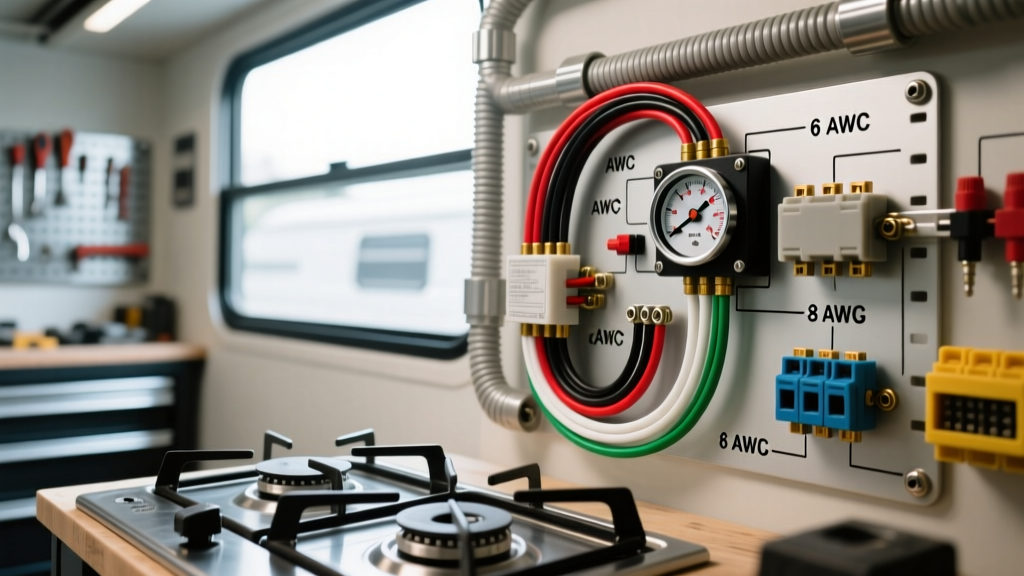
The Danger of Residential Logic in Automotive DC Systems
When converting a Ford Transit, Mercedes Sprinter, or RAM ProMaster into a camper, many DIYers ask: 'what gauge wire for electric stove?' The instinct is to look at residential electrical codes (NEC). A standard 240V home electric stove requires 6 AWG or 8 AWG copper. However, applying residential Alternating Current (AC) logic to a 12V or 24V Direct Current (DC) automotive inverter system is a catastrophic mistake that leads to melted insulation, voltage fires, and destroyed alternators.
In the automotive and RV electrical sector, high-draw appliances demand a strict adherence to DC physics and SAE standards. This guide breaks down the exact wire gauge specifications, common installation mistakes, and safety warnings for integrating electric induction cooktops into mobile platforms.
Translating Stove Wattage to Automotive DC Amperage
To determine the correct wire gauge, we must calculate the DC amperage draw from your vehicle's battery bank, not the AC output of the inverter. Let us use a common 2000W induction cooktop as our baseline for these calculations.
The 12V vs 24V Calculation
A 2000W cooktop running on a 120V AC inverter requires roughly 16.6 amps on the AC side. But inverters are not 100% efficient; they generate heat and lose power in the conversion. Assuming an 85% efficiency rate, the DC draw from a 12V battery bank is calculated as: (2000W / 12V) / 0.85 = 196 Amps continuous. If you are running a 24V system (which is highly recommended for heavy-duty Sprinter builds), the DC draw is halved to roughly 98 Amps continuous.
Critical Mistake #1: Confusing AWG (Residential) with SAE (Automotive)
The most common error when answering 'what gauge wire for electric stove' for a van build is buying residential THHN wire or standard ROMEX from a hardware store. Automotive wire is governed by SAE J1128 standards. SAE wire has a thinner copper diameter and fewer strands than American Wire Gauge (AWG) used in homes. A 2 AWG SAE wire actually contains less copper than a 2 AWG residential wire. If you use residential sizing charts for your inverter cables, you will undersize your circuit by up to 12%, causing severe voltage drop and heat buildup. Always purchase pure copper, fine-strand SAE J1128 or Type SGX battery cable for high-draw inverter feeds.
Critical Mistake #2: Ignoring the Alternator and Chassis Ground Limits
Pulling 196 continuous amps from a secondary battery bank in a moving vehicle puts massive strain on the OEM alternator. A stock Ford Transit 3.5L EcoBoost alternator peaks around 210A-250A, but its continuous safe output is closer to 60% of that rating at idle. If your battery bank depletes and the inverter pulls 196A while the engine is running, you will backfeed the OEM alternator, melting the factory battery isolator or the PCM-controlled smart charging wiring.
Furthermore, using the vehicle's steel chassis as a ground return for a 200A inverter circuit is a severe safety violation. Sheet metal and factory chassis ground studs cannot handle 200A continuous without creating a high-resistance bottleneck, leading to arcing at the frame bolts. You must run a dedicated, equally sized ground cable directly to the battery negative terminal or a dedicated copper busbar bonded to the chassis with multiple 5/16-inch stainless steel bolts.
Critical Mistake #3: Ignoring DC-DC Charger and Interconnect Bottlenecks
Many van builders correctly size the wire from the battery bank to the inverter but completely overlook the wiring between the vehicle's starting battery and the house battery bank. If you are using a 12V system and cooking on an electric stove, you are pulling nearly 200A. If your DC-DC charger is only rated for 40A or 60A, and the interconnect wire is 4 AWG, the inverter will rapidly drain the house battery. Once the house battery voltage sags, the BMS (Battery Management System) will trigger a low-voltage disconnect, killing power to your stove mid-cook.
To prevent this, high-draw appliance setups require a robust lithium battery bank (minimum 200Ah) capable of high continuous discharge rates, and heavy-duty 2/0 AWG interconnects between parallel batteries. Never rely on the alternator to supply real-time current for a 2000W induction cooktop; the transient surge when the induction coil fires will trip your OEM battery isolation manager (BIM) or fry a standard solenoid.
Wire Gauge Specification Chart for 2000W Inverter Stove Circuits
The following table dictates the minimum SAE wire gauge required based on system voltage and one-way cable length. Voltage drop must be kept under 3% for high-draw inverter circuits to prevent low-voltage shutdowns and inverter fault codes.
| System Voltage | Continuous DC Draw | Cable Length (One-Way) | Minimum SAE Wire Gauge | Recommended Fuse (Class T) |
|---|---|---|---|---|
| 12V Nominal | 196 Amps | Under 5 Feet | 1/0 AWG | 225A |
| 12V Nominal | 196 Amps | 5 to 10 Feet | 2/0 AWG | 250A |
| 12V Nominal | 196 Amps | 10 to 15 Feet | 3/0 AWG | 300A |
| 24V Nominal | 98 Amps | Under 10 Feet | 2 AWG | 125A |
| 24V Nominal | 98 Amps | 10 to 15 Feet | 1/0 AWG | 150A |
Execution: Lugs, Crimping, and Torque Specifications
Selecting the right gauge is only half the battle. High-amperage DC circuits fail most often at the termination points due to improper crimping and loose hardware. Follow these automotive-grade execution standards:
- Terminals: Use only adhesive-lined, heat-shrink closed-loop ring terminals. For 2/0 AWG, use a 3/8-inch stud size to match standard inverter busbars.
- Crimping: Mechanical ratcheting crimpers are insufficient for gauges larger than 4 AWG. You must use a hydraulic crimper with hexagonal dies matching the AWG size to ensure a gas-tight, cold-weld compression.
- Torque: When securing the 3/8-inch ring terminal to a copper busbar or inverter stud, use a calibrated inch-pound torque wrench. The standard torque spec for a 3/8-inch stainless or brass hardware connection is 120 to 140 in-lbs. Under-torquing creates resistance and heat; over-torquing strips the soft copper inverter bus threads.
- Fusing: According to Victron Energy's Wiring Unlimited guidelines, the main battery fuse must be installed within 7 inches of the positive battery post. For a 2000W 12V inverter, a 225A Class T fuse is mandatory. ANL fuses are acceptable but Class T offers superior interrupting capacity (AIC) for massive lithium short-circuit events.
Troubleshooting High-Draw Inverter Shutdowns
If your electric stove causes the inverter to fault or the vehicle's dash lights to flicker, diagnose using this sequence:
- Measure Voltage at the Inverter Terminals Under Load: If the voltage drops below 10.5V when the stove kicks to high, your wire gauge is too small, or your cable run is too long.
- Thermal Imaging: Use an infrared thermometer or thermal camera on the crimp lugs and fuse holders after 5 minutes of cooking. Any termination point exceeding 140°F (60°C) indicates a high-resistance crimp or loose torque.
- Check Smart Alternator Interference: Modern vehicles (2015+) use PCM-controlled alternators that drop voltage to 12.2V to save fuel. This artificially inflates the DC amperage draw of your inverter (Amps = Watts / Volts). Install a DC-DC charger with an alternator protection limit, or use a manual alternator exciter wire to force 14.4V output while cooking.
Summary
When researching what gauge wire for electric stove applications in mobile environments, forget residential codebooks. Rely on SAE standards, calculate for inverter inefficiency, and prioritize heavy-gauge, fine-strand copper with hydraulic crimps. Proper execution ensures your mobile kitchen operates safely without compromising the vehicle's vital automotive electrical systems.
References & Authoritative Resources
For deeper research into mobile DC wiring standards, consult the following resources: