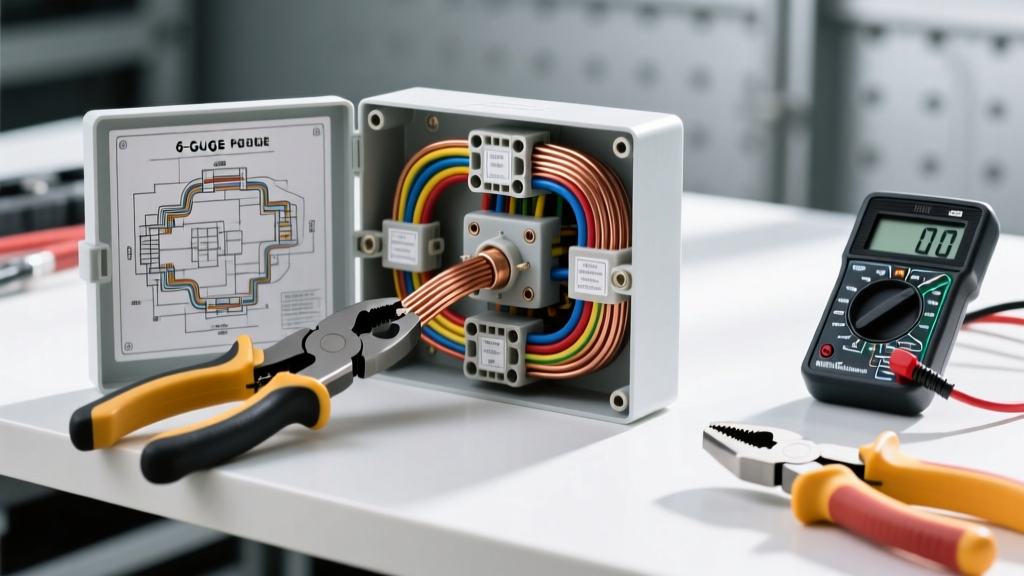
The Threshold of High Current: Why 6 AWG Demands Precision
When upgrading high-amperage automotive circuits—such as installing a 200-amp high-output alternator on a diesel truck, wiring a 12,000 lb winch, or building a dual-battery management system for overlanding—6 AWG wire is the standard threshold for handling heavy continuous loads. However, learning how to connect 6 gauge wire in junction box configurations requires a significant step up in tooling and material quality compared to standard 16-12 AWG accessory wiring. At 6 AWG, the wire can safely carry 55 to 75 amps continuously (depending on insulation temperature ratings and bundle derating), meaning a poor connection will not just cause voltage drop; it will generate enough resistive heat to melt plastic junction housings and cause catastrophic electrical fires.
This guide provides a comprehensive cost and tool requirements analysis for executing flawless 6 AWG junction box connections, ensuring your high-current automotive and marine systems operate safely under extreme vibration and thermal cycling.
Tool Requirements Analysis: Budget vs. Professional Grade
The most common mistake DIYers make with 6 AWG wire is attempting to crimp heavy-duty ring terminals using standard pliers or non-ratcheting hand crimpers. 6 AWG copper requires immense mechanical force to achieve a "cold weld"—a gas-tight deformation where the copper strands and the terminal barrel fuse together, leaving no voids for oxygen or moisture to penetrate. Below is a breakdown of the tooling required and the associated costs.
| Tool Category | Budget / DIY Tier | Professional / Shop Tier | Why It Matters for 6 AWG |
|---|---|---|---|
| Wire Strippers | Utility Knife ($5) | Klein 11055 or Wire Stripper Matrix ($45-$80) | Slicing strands with a knife reduces the cross-sectional area, creating a bottleneck and a localized hot spot at the junction box entry. |
| Crimping Tool | Hammer & Punch ($10) | Ratcheting Crimper (e.g., Titan 11470) ($40-$60) | Hammer crimps leave voids and sharp edges that slice through heat shrink. Ratcheting tools ensure full-cycle, uniform compression. |
| Heavy-Duty Crimper | N/A | Hydraulic Crimper (e.g., Astro Pneumatic) ($120-$200) | For frequent 6 AWG to 4/0 AWG work, a 12-ton hydraulic crimper with hexagonal dies creates a perfectly symmetrical, vibration-resistant crimp. |
| Torque Wrench | Standard Socket Wrench ($20) | 1/4-inch Drive Inch-Pound Torque Wrench ($40-$60) | Overtightening junction box studs strips threads; undertightening causes arc welding under load. Precise torque is mandatory. |
Total Tool Investment: A reliable DIY setup will cost approximately $85. A professional-grade hydraulic and torque setup will range from $200 to $340. For a one-off winch install, the ratcheting crimper is sufficient; for building custom harnesses, hydraulics are mandatory.
Material Cost Breakdown: Junction Boxes and Terminals
The materials you select dictate the longevity of the connection, especially in harsh under-hood or marine environments. According to SAE J1128 standards for low-tension primary cable, automotive wire must withstand severe chemical and thermal exposure. Your junction hardware must match this resilience.
1. Junction Box Types (Busbars vs. Terminal Blocks)
- Enclosed Terminal Blocks ($15 - $30): Best for firewall pass-throughs or interior cabin distribution. Look for bakelite or high-temp nylon housings with nickel-plated copper busbars. Avoid cheap plastic strips with zinc-plated steel screws, which will rust and seize.
- Marine-Grade Busbars ($35 - $65): The gold standard for under-hood and battery bay distribution. Brands like Blue Sea Systems utilize tin-plated CDA 110 copper busbars with 3/8" or 5/16" stainless steel studs. As noted in Blue Sea Systems engineering documentation, tin plating prevents galvanic corrosion when mating with copper ring terminals.
2. Terminals and Heat Shrink
- Tinned Copper Ring Terminals ($1.50 - $3.00 each): Never use Copper Clad Aluminum (CCA) or bare copper for exposed junction boxes. Tinned copper prevents oxidation. Ensure the terminal stud hole matches your junction box hardware exactly (e.g., a 5/16" hole for a 5/16" stud) to maximize surface contact area.
- Adhesive-Lined Heat Shrink ($15 - $25 per spool): Standard PVC heat shrink is unacceptable for 6 AWG high-current applications. You must use dual-wall polyolefin heat shrink with an inner layer of EVA (ethylene-vinyl acetate) hot melt adhesive. When heated, the adhesive melts and oozes out the ends, creating a 100% waterproof environmental seal.
Execution: How to Connect 6 Gauge Wire in Junction Box Setups
Follow this exact sequence to ensure compliance with IPC/WHMA-A-620 wiring standards for heavy-gauge automotive applications.
- Measure and Strip: Measure the wire length, adding 15% for service loops and vibration relief. Strip the 6 AWG wire insulation exactly to the depth of the terminal barrel. Crucial: Inspect the stripped strands. If even one copper strand is nicked or cut by the stripper, cut the wire back and start over. A nicked strand will snap under engine vibration, reducing the wire's ampacity.
- Prepare the Heat Shrink: Slide a piece of 3/8" or 1/2" adhesive-lined heat shrink onto the wire before crimping the terminal.
- The Crimp: Insert the stripped wire into the 6 AWG ring terminal. The wire strands must be flush with the end of the barrel, but not protruding. Using your ratcheting or hydraulic crimper, compress the barrel. A proper crimp will exhibit a slight "bellmouth" at the wire entry side, preventing the sharp edge of the terminal from shearing the copper strands during vibration.
- Seal the Connection: Slide the heat shrink over the crimp barrel so it covers the bare wire and overlaps the terminal's insulation grip. Apply heat evenly with a heat gun (not an open flame) until the adhesive seals out the sides.
- Mount and Torque: Place the ring terminal onto the junction box stud. Add a flat washer, then a lock washer (or use a flange nut). Torque to the manufacturer's specification (see table below).
Technical Specifications and Torque Requirements
Applying the correct torque to a junction box stud is critical. Under-torquing leaves microscopic air gaps that cause electrical arcing and extreme heat. Over-torquing stretches the stud, eventually causing it to snap or strip the threads out of the busbar. 6 AWG wire typically terminates on 1/4", 5/16", or 3/8" studs.
| Stud Size | Typical Application | Recommended Torque (Dry) | Recommended Torque (Anti-Seize) |
|---|---|---|---|
| 1/4" (6mm) | Interior Terminal Blocks, Relays | 75 in-lbs (6.25 ft-lbs) | 55 in-lbs (4.5 ft-lbs) |
| 5/16" (8mm) | Standard Busbars, Fuses | 120 in-lbs (10 ft-lbs) | 90 in-lbs (7.5 ft-lbs) |
| 3/8" (10mm) | Heavy Duty Busbars, Starters | 200 in-lbs (16.5 ft-lbs) | 150 in-lbs (12.5 ft-lbs) |
Common Failure Modes & Troubleshooting
Even with the right tools, environmental and mechanical factors can compromise a 6 AWG junction connection. Here is how to diagnose and prevent the most common failures:
- Thermal Runaway (Melting Terminals): Symptom: Discolored heat shrink or melted plastic junction housings. Cause: Undertorqued nuts or a crimp that was not fully ratcheted, causing high resistance. Fix: Cut the terminal off, inspect the busbar for pitting, and re-terminate using a hydraulic crimper and verified torque settings.
- Galvanic Corrosion (Green Crust): Symptom: Green/white powdery buildup around the junction box stud. Cause: Mating dissimilar metals (e.g., aluminum busbar with copper terminal) without isolation, or using non-marine-grade hardware in high-humidity environments. Fix: Clean with a wire brush and electrical contact cleaner. Replace with tin-plated copper busbars and apply a dielectric grease or battery terminal protector spray over the completed assembly.
- Vibration Fatigue (Snapped Strands): Symptom: Intermittent power loss to high-amp accessories like winches or air compressors. Cause: The wire was pulled entirely taut with no service loop, transferring engine/chassis vibration directly to the crimp barrel. Fix: Reroute the 6 AWG wire to include a slight "S" bend or service loop before it enters the junction box, and secure the wire with an adhesive-backed P-clip within 4 inches of the termination point to act as a strain relief.
By investing in the proper ratcheting or hydraulic tooling, utilizing adhesive-lined marine-grade materials, and adhering to strict torque specifications, your 6 AWG junction box connections will provide years of reliable, high-amperage service in the most demanding automotive environments.