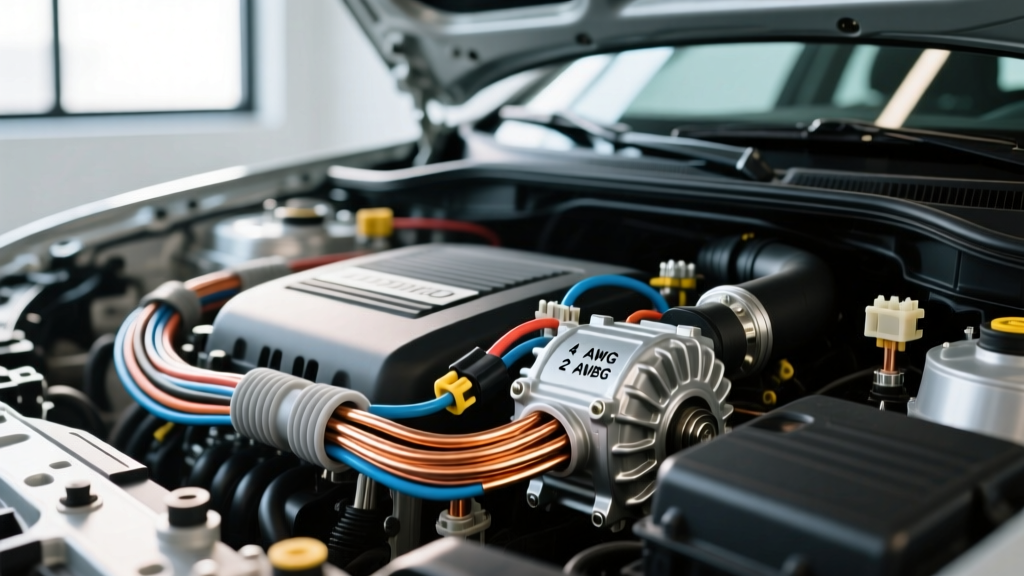
The 200-Amp Automotive Upgrade: Why Wire Gauge Matters
When you are tackling a major electrical overhaul—whether you are installing a high-output 200-amp alternator for a massive car audio competition system, wiring an EV conversion motor controller, or powering a bank of off-road LED light bars—the main power feed is the lifeline of your vehicle. Asking what gauge wire for 200 amp service is the most critical question you will face in this modification project. Undersizing your main battery and alternator cables doesn't just lead to dimming headlights or weak audio output; it creates a severe thermal hazard under the hood.
In a standard 12V/14.4V DC automotive system, pushing 200 amps generates nearly 2,880 watts of power. Copper wire has inherent resistance, and when high current flows through that resistance, it generates heat. Furthermore, engine bays are harsh environments where ambient temperatures routinely exceed 100°C (212°F). This heat drastically reduces the ampacity (current-carrying capacity) of your wiring. To ensure safety, efficiency, and maximum performance, you must select the correct American Wire Gauge (AWG) and the proper insulation type.
What Gauge Wire for 200 Amp Service? The Direct Answer
For a 200-amp automotive service upgrade, the absolute minimum wire size is 1/0 AWG (One-Aught) for runs under 5 feet. However, the highly recommended industry standard for engine-bay routing and high-thermal environments is 2/0 AWG (Two-Aught) fine-strand copper wire.
While 1/0 AWG can technically handle 200 amps in a vacuum, the SAE J1128 standard dictates that automotive primary wire must be derated for temperature. Standard PVC-insulated wire (like GXL) begins to soften and degrade at high under-hood temperatures. By stepping up to 2/0 AWG, you reduce the electrical resistance, which in turn reduces the heat generated by the wire itself, providing a crucial safety margin against insulation meltdown and voltage drop.
Calculating Voltage Drop for High-Current Alternator Feeds
Voltage drop is the silent killer of high-performance electrical systems. If your alternator is pushing 14.4V, but the wire resistance causes a 0.8V drop before the power reaches your distribution block or battery, your amplifiers and ECU are only seeing 13.6V. This forces the alternator to work harder, generating more heat and potentially triggering the ECU's low-voltage limp mode.
For a 200A service, you want to keep the voltage drop below 3% (approx. 0.43V on a 14.4V system). The formula to calculate voltage drop is: Voltage Drop = Current (Amps) x Resistance (Ohms).
Technical Specifications: 200A Wire Sizing Chart
The following reference chart calculates the maximum one-way run length for various AWG sizes to maintain a voltage drop of less than 0.3V (approx. 2% drop on a 14.4V charging system) at a continuous 200-amp draw. These values assume pure copper, fine-strand welding/battery cable at 20°C ambient temperature.
| Wire Gauge (AWG) | Stranding Type | Ohms per 1,000 ft (Copper) | Max Run Length (200A @ 0.3V Drop) | Recommendation for 200A Auto Service |
|---|---|---|---|---|
| 4 AWG | Coarse / Fine | 0.2485 Ω | 6.0 feet | Dangerous: Will overheat under hood. Do not use. |
| 2 AWG | Fine Strand | 0.1563 Ω | 9.6 feet | Marginal: Acceptable only for very short, cooled runs. |
| 1/0 AWG | Fine Strand | 0.0983 Ω | 15.2 feet | Minimum: Good for direct alternator-to-battery jumps. |
| 2/0 AWG | Fine Strand | 0.0779 Ω | 19.2 feet | Ideal: Best balance of flexibility, thermal safety, and drop. |
| 3/0 AWG | Fine Strand | 0.0618 Ω | 24.2 feet | Overkill: Great for EV battery packs or extreme car audio. |
| 4/0 AWG | Fine Strand | 0.0490 Ω | 30.6 feet | Specialty: Used for main EV traction feeds and 400A+ systems. |
Note: Always measure the actual physical route your wire will take, including bends around the firewall, strut towers, and engine mounts. Do not measure in a straight line.
Insulation and Hardware: Beyond the Copper
Knowing what gauge wire for 200 amp service is only half the battle. The insulation material and termination hardware are equally critical in an automotive modification project.
SAE J1128 SGX vs. GXL Insulation
For under-hood alternator upgrades, you must use wire that meets or exceeds the SAE J1128 specification. Specifically, look for SGX (Cross-Linked Polyethylene) insulation. SGX is rated for continuous operation at 125°C and can withstand brief spikes up to 150°C. It is highly resistant to battery acid, oil, and abrasion. Avoid standard THHN building wire or cheap PVC-jacketed 'trailer wire' from big-box stores; the PVC will melt against a hot intake manifold or exhaust header, causing a dead short and a potential engine fire.
Termination: Lugs and Crimping
A 2/0 AWG wire carrying 200 amps requires heavy-duty, tinned copper ring terminals. Depending on your alternator's output stud (usually 3/8' or 5/16') and your battery terminal type, select the correct lug size. Never use a hammer or pliers to crimp a 2/0 AWG lug. You must use a dedicated hex-die hydraulic crimper or a heavy-duty mechanical ratchet crimper. A proper hex crimp cold-welds the copper strands to the lug barrel, eliminating air pockets where corrosion can form and resistance can spike.
After crimping, seal the connection with adhesive-lined (dual-wall) heat shrink. When heated, the inner lining melts and flows into the wire strands, creating a waterproof, airtight seal that prevents 'green rot' (copper oxidation) from creeping under the insulation over time.
Fusing and Circuit Protection
Any wire leaving a power source must be protected. For a 200-amp alternator feeding a battery or a front-mounted distribution block, you must install a fuse within 18 inches of the battery's positive terminal. This protects the main cable in the event of a dead short (e.g., if the wire chafes against the chassis).
- ANL Fuses: Rated up to 300A, featuring a silver-plated copper element. Excellent for high-current audio and alternator feeds.
- Mega / AMG Fuses: Compact, high-amperage fuses commonly used in OEM and heavy-duty aftermarket applications.
For a 200A continuous service, size your fuse slightly above the maximum continuous draw to prevent nuisance blowing during transient spikes (like when an AC compressor clutch engages). A 225A or 250A ANL fuse is the correct specification. For detailed fuse time-current curves, refer to engineering data from manufacturers like Littelfuse.
The Forgotten Upgrade: The Voltage Sense Wire
Many enthusiasts spend hundreds of dollars on 2/0 AWG welding cable for the main power feed, only to leave the alternator's voltage sense wire connected to a factory harness that is suffering from a 1.5V drop. If the alternator 'thinks' the battery is at 14.4V because it is sensing voltage at a poor ground or a thin OEM wire, it will dial back its output, rendering your massive 200A upgrade useless.
The Fix: Run a dedicated 10 AWG or 8 AWG primary wire directly from the alternator's sense terminal to the positive terminal of the battery (or the main positive distribution bus). Fuse this sense wire with an inline 15A ATC fuse within 12 inches of the battery connection. This ensures the alternator's internal voltage regulator reads the exact state of the battery and adjusts the 200-amp output accordingly.
Real-World Failure Modes & Troubleshooting
Even with the correct gauge wire, high-current modifications can introduce new issues. Here is how to troubleshoot common 200A upgrade failure modes:
1. Alternator Whine in the Audio System
Cause: Ground loops or magnetic induction. Running your 2/0 AWG main power wire parallel to your RCA signal cables allows the high-current magnetic field to induce an AC ripple (alternator whine) into the audio signal.
Fix: Route main power wires down the driver's side rocker panel and all RCA/signal cables down the passenger side. If they must cross, ensure they cross at a strict 90-degree angle.
2. Headlights Dim at Idle
Cause: The alternator is capable of 200 amps, but only above 2,000 RPM due to pulley ratios. At idle, it may only be producing 90 amps.
Fix: Upgrade to a smaller alternator pulley (underdrive crank pulley or overdrive alternator pulley) to spin the alternator shaft faster at idle, bringing the 200A capacity down into the idle RPM range. Ensure your serpentine belt is a high-grip Kevlar-reinforced belt to prevent slipping.
3. Melted Alternator Output Stud
Cause: Improper crimping or a loose nut on the alternator's rear output stud. A loose connection creates a high-resistance point, generating intense localized heat.
Fix: Cut back the wire, strip it fresh, re-crimp a new tinned copper lug using a hex-die, and torque the alternator nut to the manufacturer's specification (typically 8-12 ft-lbs, depending on the stud size). Apply a dab of dielectric grease over the nut to prevent corrosion.
Conclusion
When determining what gauge wire for 200 amp service, never compromise on copper quality or cross-sectional area. By utilizing 2/0 AWG SGX fine-strand wire, executing flawless hex-die crimps, sealing with adhesive heat shrink, and upgrading your voltage sense circuit, you will build a robust, fire-safe electrical foundation capable of supporting the most demanding automotive modifications.