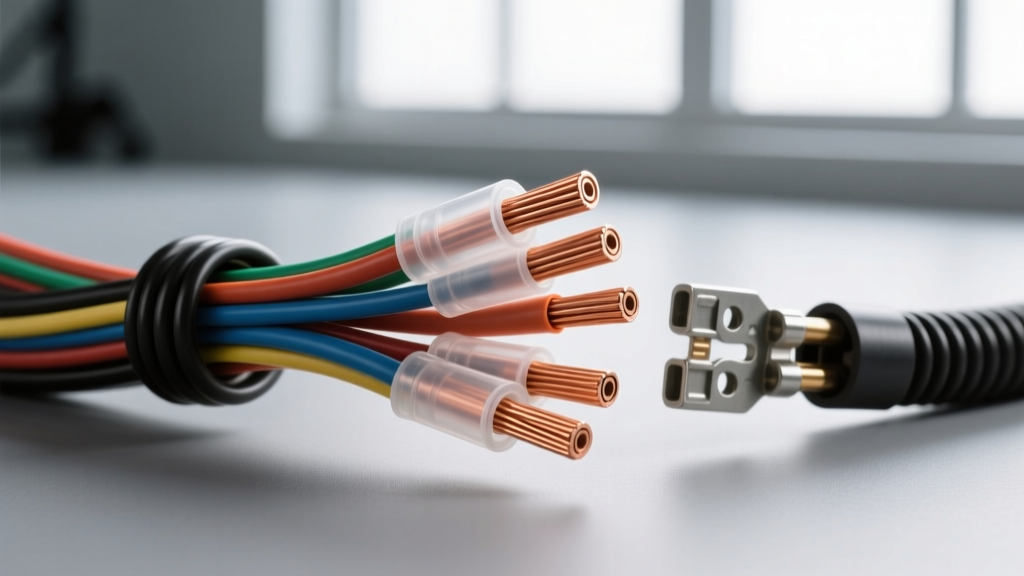
The Critical Role of Heat Shrink in 14 AWG Automotive Circuits
In automotive electrical systems, 14 AWG (American Wire Gauge) stranded copper is the undisputed workhorse for 15-amp to 20-amp circuits. You will find 14 AWG wire utilized in fuel pump feeds, horn relays, ECU main power supplies, and high-draw lighting circuits. Because these circuits are vital to vehicle operation and safety, the method used to insulate and protect splices is paramount. When technicians ask, 'what size heat shrink tubing for 14 gauge wire is correct?', the answer is not a single number. It depends entirely on the termination method, the insulation type, and the operating environment.
Selecting the wrong tubing size or type leads to catastrophic failure modes, including capillary moisture wicking, thermal insulation meltdown, and mechanical pull-out. This guide breaks down the exact specifications, common fatal mistakes, and real-world failure case studies to ensure your 14 AWG terminations meet rigorous automotive standards.
What Size Heat Shrink Tubing for 14 Gauge Wire? (The Exact Specs)
To determine the correct heat shrink size, you must first understand the physical dimensions of 14 AWG automotive wire. Bare 14 AWG stranded copper has a nominal diameter of 0.0641 inches (1.63 mm). However, automotive wire is governed by SAE J1128 standards, which dictate the insulation thickness for GXL, TXL, and SXL wire types.
- Bare 14 AWG Wire: 0.064' (1.63 mm) OD
- Insulated 14 AWG (TXL/GXL): 0.085' to 0.095' (2.15 - 2.40 mm) OD
- 14 AWG Crimped Butt Splice: 0.150' to 0.180' (3.8 - 4.5 mm) OD
- 14 AWG Solder Joint / Ring Terminal: 0.200'+ (5.0+ mm) OD
Based on these dimensions, here is the definitive sizing chart for 14 AWG applications:
| Application State | Wire/Splice OD | Required Tubing Expanded ID | Shrink Ratio | Tubing Type Required |
|---|---|---|---|---|
| Bare 14 AWG (Looming) | 0.064' (1.63 mm) | 3/32' (2.4 mm) | 2:1 | Standard Polyolefin |
| Insulated 14 AWG Wire | 0.090' (2.3 mm) | 1/8' (3.2 mm) | 2:1 or 3:1 | Dual-Wall Adhesive |
| Crimped Butt Splice (Blue Die) | 0.170' (4.3 mm) | 3/16' (4.8 mm) | 3:1 | Dual-Wall Adhesive |
| Solder Joint / Ring Terminal | 0.210' (5.3 mm) | 1/4' (6.4 mm) | 3:1 or 4:1 | Dual-Wall Adhesive |
5 Fatal Mistakes When Shrinking 14 AWG Wire
Even if you select the correct expanded inner diameter (ID), improper material selection and application techniques will compromise the circuit. According to the IPC/WHMA-A-620 wiring standard, the following mistakes are classified as critical defects in automotive harness manufacturing.
Mistake 1: Skipping Adhesive-Lined (Dual-Wall) Tubing
Standard single-wall polyolefin heat shrink is designed for electronic components and indoor wiring. It is entirely unsuitable for under-hood automotive environments. You must use SAE J2319 compliant dual-wall (adhesive-lined) heat shrink. The inner layer consists of a polyamide-based hot melt adhesive. When heated, this adhesive melts, flows into the crevices of the 14 AWG stranded copper, and cures into a waterproof, vibration-resistant seal.
Mistake 2: The Capillary Wicking Disaster
Stranded 14 AWG wire typically consists of 19 or 41 individual copper strands. These strands act like a bundle of microscopic straws. If you use single-wall tubing, or fail to ensure the adhesive fully encapsulates the wire jacket, moisture will enter the open end of the tubing. Through capillary action, this water will wick down the copper strands—sometimes traveling several feet through the harness. This results in severe green copper oxide corrosion at the destination connector, such as a Bosch ME7 ECU pin or a Delphi Weather-Pack terminal, leading to high-resistance voltage drops and intermittent component failure.
Mistake 3: The 'Step-Down' Shrink Failure (Wrong Ratio)
Heat shrink is defined by its shrink ratio (e.g., 2:1, 3:1, 4:1). A common mistake is using 2:1 tubing over a bulky solder joint on 14 AWG wire. If the solder joint is 5.0 mm, a 6.4 mm (1/4') 2:1 tube will shrink down to 3.2 mm. It will grip the solder joint tightly, but it will be completely loose around the 2.3 mm insulated 14 AWG wire, creating a 'loose collar' that allows dirt and water ingress. Always use 3:1 or 4:1 ratio tubing when transitioning from a large splice down to the smaller 14 AWG wire jacket.
Mistake 4: Thermal Destruction of TXL/GXL Insulation
Automotive TXL (Thin Cross-Linked) and GXL (General Cross-Linked) wires have very thin insulation walls (approx. 0.010' to 0.015'). Standard polyolefin shrinks at 120°C (248°F), but dual-wall adhesive requires higher temperatures to flow properly (approx. 135°C / 275°F). Using a butane torch or holding a heat gun too close will instantly melt the TXL insulation. The bare copper is then exposed inside the shrink tube, creating a dead short against the chassis. Always use a digital heat gun set to 250°C (482°F) and keep it in constant motion.
Mistake 5: Improper Crimp Die Selection Before Shrinking
Heat shrink cannot fix a bad mechanical crimp. When terminating 14 AWG wire to a butt splice or ring terminal, you must use the correct crimp die. For standard insulated terminals, the Blue die is designated for 16-14 AWG. Using the Red die (22-18 AWG) will crush the 14 AWG copper, cutting strands and increasing resistance. Using the Yellow die (12-10 AWG) will leave the wire loose, allowing it to pull out under vibration regardless of how much heat shrink you apply over it.
Real-World Failure Case Study: GM LS V8 Fuel Pump Relay
A classic example of 14 AWG heat shrink failure occurs in the 2003-2007 GM 5.3L Vortec (LS-based) trucks. The fuel pump relay feed circuit utilizes 14 AWG wire (typically Pink/White stripe) routed through the under-hood fuse block to the rear tank module.
When the factory harness chafes or breaks, field mechanics often splice in a new pigtail using a standard vinyl-insulated crimp and single-wall heat shrink. Because the single-wall shrink does not bond to the wire jacket, the extreme under-hood temperature cycles (from -20°F to 250°F+) cause the tubing to expand and contract independently of the wire. This breaks the moisture seal. Road salt and humidity wick into the 14 AWG strands, traveling back to the female terminal inside the Delphi GT150 connector (Pin B). The resulting corrosion increases circuit resistance, dropping the voltage at the fuel pump below the 10.5V threshold required for operation, resulting in a 'Crank, No Start' condition. Replacing the splice with a 3:1 adhesive-lined 3/16' heat shrink and a proper bare-metal crimp permanently resolves the issue.
Summary of Best Practices
To ensure safety and longevity when working with 14 AWG automotive wire:
- Always measure the outer diameter of your completed splice, not just the bare wire, before selecting tubing.
- Exclusively use dual-wall, adhesive-lined heat shrink for any circuit exposed to the elements or engine bay temperatures.
- Select a 3:1 or 4:1 shrink ratio for splices to ensure the tubing grips both the bulky connector and the thin 14 AWG wire jacket.
- Apply heat evenly from the center of the splice outward to push the adhesive out the ends, ensuring a complete environmental seal.