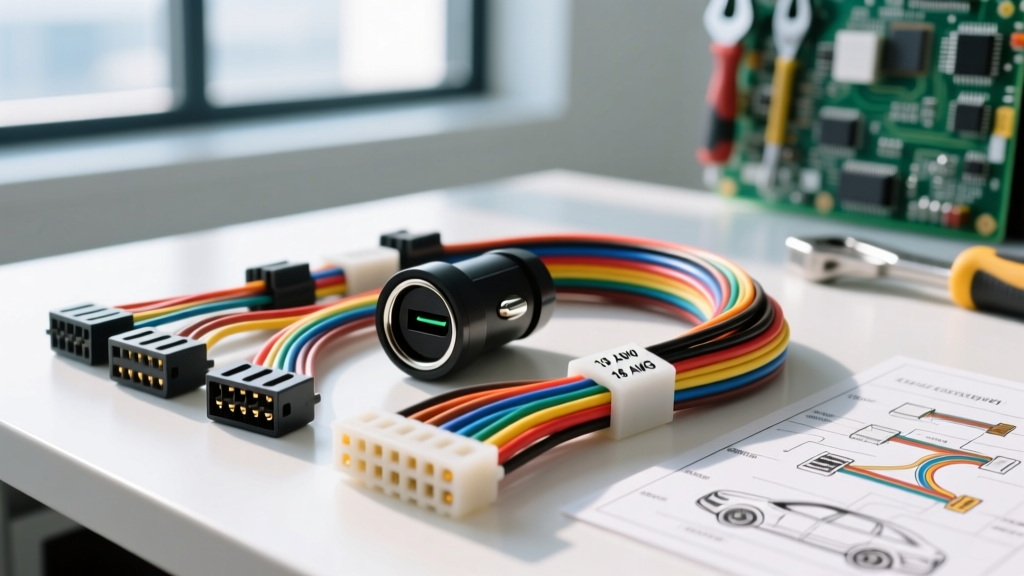
The Core Question: What Gauge Wire for 12V USB Port Installations?
When executing an aftermarket electrical upgrade, one of the most common questions we receive at the shop is: what gauge wire for 12V USB port installations is actually required? Whether you are adding a dual QC 3.0 charging hub to the dash of a classic Chevrolet truck, wiring a marine-grade USB receptacle to a center console, or upgrading a failing OEM port on a motorcycle, selecting the correct American Wire Gauge (AWG) is critical. Undersizing your wire leads to severe voltage drop, slow charging speeds, and in extreme cases, melted insulation or electrical fires.
Most aftermarket 12V USB step-down modules output between 2.1A and 4.8A total. However, the internal conversion from 12V DC to 5V DC generates heat and requires higher amperage on the 12V supply side. To ensure safety and account for voltage drop over the length of the wire run, you must size your wire based on the maximum potential draw and the distance from the power source, not just the baseline output rating.
Amperage, Run Length, and AWG Specification Chart
The following reference chart dictates the minimum wire gauge required based on the circuit's maximum amperage and the one-way distance from the fuse panel to the USB port. These specifications align with the SAE J1128 Standard for low-tension primary automotive cable, which accounts for the elevated ambient temperatures found under the dash and in engine bays.
| Circuit Amperage (Max) | USB Port Type | Max Run Length (One-Way) | Recommended AWG | Inline Fuse Size |
|---|---|---|---|---|
| 2.1A | Single Standard USB-A | Under 6 Feet | 18 AWG | 5A |
| 4.8A | Dual Standard USB-A | Under 10 Feet | 18 AWG | 7.5A |
| 6.0A | Dual QC 3.0 / PD Fast Charge | Under 15 Feet | 16 AWG | 10A |
| 10.0A+ | Multi-Port Hub (4+ Ports) | Over 15 Feet | 14 AWG | 15A |
Selecting the Right Automotive Wire Insulation
Knowing the AWG is only half the battle; the insulation jacket is equally important for modification projects. Do not use standard PVC-jacketed primary wire (often found in big-box hardware stores) for automotive upgrades. PVC becomes brittle over time due to engine bay heat cycles and UV exposure, and it melts easily if a short circuit occurs before the fuse blows.
Instead, source GXL (General Cross-Linked) or TXL (Thin-wall Cross-Linked) wire. These wires feature a cross-linked polyethylene (XLPE) insulation rated for continuous operation at 125°C (257°F). GXL wire has a thinner insulation wall than standard PVC, allowing you to route a 16 AWG GXL wire through tight dash firewalls and looms much easier than a bulky 16 AWG PVC wire, without sacrificing ampacity or thermal protection. For marine or exterior motorcycle applications, upgrade to SGX wire, which features an even thicker jacket for extreme abrasion and chemical resistance.
Calculating Voltage Drop in Long-Run Upgrades
If you are installing a USB port in the rear console of a full-size van, a long-bed pickup, or an RV, wire length becomes your primary enemy. A 12V USB step-down converter requires a minimum input voltage (usually around 10.5V to 11V) to maintain a stable 5V output. If your wire is too thin, resistance increases, causing voltage drop.
The formula for voltage drop is: Vdrop = I × (2 × L × R)
- I = Current in Amps (e.g., 6A for a fast charger)
- L = One-way length of the wire in feet
- R = Resistance per foot of the wire (18 AWG is ~0.00639 Ω/ft; 16 AWG is ~0.00402 Ω/ft)
Example: Running 18 AWG wire 15 feet to the rear of a Sprinter van for a 6A QC 3.0 port results in a voltage drop of roughly 1.15V. Your 12.6V battery will only deliver 11.45V to the USB module. While this will work, upgrading to 14 AWG wire drops the loss to under 0.5V, ensuring your fast-charging protocols (which require strict voltage handshakes) do not fail or default to slow-charging modes.
Step-by-Step Wiring & Pinout Configuration
Follow this professional-grade workflow to ensure your modification is safe, reliable, and reversible.
- Tap the Power Source Safely: Never use 'Scotch-Loks' or T-taps, which slice into wire insulation and invite galvanic corrosion. Instead, use a high-quality Littelfuse Add-A-Circuit (Fuse Tap) at the interior fuse panel. Tap into an ignition-switched accessory circuit (e.g., wipers, power windows, or the radio accessory fuse) to prevent parasitic battery drain when the vehicle is parked.
- Prepare the Wire: Cut your GXL wire to length, leaving 12 inches of slack. Strip exactly 1/4 inch of insulation using a precision wire stripper to avoid nicking the copper strands. Nicked strands create micro-fractures that increase resistance and snap under chassis vibration.
- Crimp the Terminals: At the fuse tap, use a fully insulated female quick-disconnect. At the USB port, use 1/4" vinyl-insulated female spade terminals. Use a ratcheting crimper (such as an IWISS or Hozan P-707) to ensure a gas-tight mechanical bond.
- Seal the Connections: Slide 3:1 dual-wall (adhesive-lined) heat shrink tubing over the crimps before attaching them to the terminals. Once crimped, apply heat until the adhesive bleeds out the ends, creating a waterproof, vibration-proof seal.
- Establish a True Chassis Ground: Do not simply screw the ground ring terminal into thin sheet metal under the dash. Locate a heavy structural bolt or a dedicated factory grounding bus bar. Remove the bolt, sand the contact area down to bare, shiny metal with 80-grit sandpaper, attach the ring terminal, and re-torque the bolt. Apply a dab of dielectric grease over the terminal to prevent oxidation.
Connector Selection for Harsh Environments
If your upgrade project involves a motorcycle, ATV, or boat, standard spade terminals will corrode within months due to moisture ingress. For these applications, wire the 12V feed to a Delphi Weather-Pack or Deutsch DT 2-pin connector. Use the proper pin extraction tools and seal plugs. The Weather-Pack system utilizes silicone ribbed seals that compress around the wire insulation, providing an IP67 waterproof rating that survives pressure washing and heavy rain.
Common Modification Failures & Troubleshooting
Even with the correct wire gauge, improper installation techniques can cause system failures. Use this diagnostic tree to troubleshoot common USB port upgrade issues:
- Symptom: The USB port powers on, but devices charge incredibly slowly or repeatedly disconnect and reconnect.
- Cause: Severe voltage drop on the 12V supply side, causing the internal step-down converter to reset or fail the QC 3.0 data-line handshake.
- Fix: Measure voltage at the back of the USB port while a device is plugged in. If it reads below 11.5V, upgrade the wire from 18 AWG to 14 AWG, or verify that your ground connection has less than 0.05 ohms of resistance to the battery negative terminal.
- Symptom: The vehicle battery is dead after sitting for three days.
- Cause: The USB port was wired to a constant 12V (BAT+) circuit instead of a switched accessory (ACC) circuit. Even when idle, the internal voltage regulator draws 5mA to 15mA of parasitic current.
- Fix: Move the Add-A-Circuit fuse tap to an ignition-switched slot in the fuse panel. Verify with a multimeter that the slot reads 0V when the key is removed.
- Symptom: The plastic housing of the 12V socket or USB module feels hot to the touch and smells like burning ozone.
- Cause: The step-down module is inefficient, or the inline fuse is rated too high (e.g., using a 20A fuse on 18 AWG wire). The wire will melt before the fuse blows.
- Fix: Never exceed the ampacity of your wire. If using 18 AWG, the absolute maximum fuse size is 10A, but 7.5A is preferred. Replace cheap, unbranded USB modules with name-brand units featuring built-in thermal shutdown and over-current protection.
Final Expert Recommendations
When planning your modification, always buy wire from dedicated automotive electrical suppliers rather than general hardware stores. Refer to Painless Performance Wiring Guides for excellent visual references on routing wires through factory rubber firewall grommets and securing looms with nylon cable ties away from exhaust headers and steering shafts. By pairing the correct 16 AWG GXL wire with a properly rated fuse and a pristine chassis ground, your 12V USB upgrade will provide flawless, fast-charging performance for the life of the vehicle.