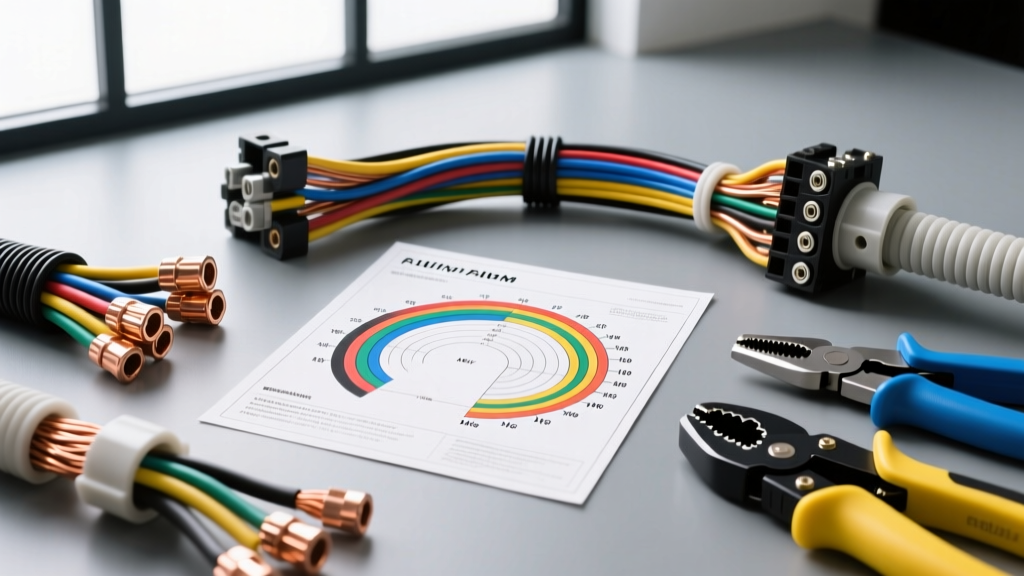
Budgeting for 12V Automotive Wiring: Beyond the Spool
When modifying or repairing a vehicle's electrical system, most DIYers and junior technicians immediately search for a 12v automotive wire gauge chart to determine the correct AWG (American Wire Gauge) size for their amperage draw. However, selecting the right wire diameter is only the first step in a successful project. The true bottleneck in automotive wiring projects is often the hidden ecosystem of tooling, terminals, heat shrink, and connector housings required to execute the job to factory standards. A $20 spool of wire can easily turn into a $150 project once you factor in ratcheting crimpers, open-barrel terminals, and dual-wall adhesive heat shrink.
Furthermore, the market is flooded with Copper Clad Aluminum (CCA) wire, which is significantly cheaper than Oxygen-Free Copper (OFC) but poses severe risks in high-vibration, high-temperature automotive environments. CCA wire has a higher resistance per foot and is notoriously brittle, leading to micro-fractures at the crimp joint that cause voltage drops and potential fire hazards. For any permanent automotive application, you must source pure copper wire that meets SAE J1128 standards for low-tension automotive cables, specifically TXL (thin-wall) or GXL (general-purpose) insulation types.
The Core 12v Automotive Wire Gauge Chart & Material Costs
The following chart outlines standard AWG sizes for 12-volt DC automotive applications. The amperage ratings are based on standard chassis wiring (short runs under 15 feet) with a conservative safety margin. The estimated costs reflect high-quality, pure copper TXL/GXL wire priced per 100-foot spool.
| AWG Size | Max Ampacity (Chassis) | Resistance per 1,000 ft | Avg. Cost (100ft Spool) | Primary Automotive Applications |
|---|---|---|---|---|
| 18 AWG | 6 - 8 Amps | 6.38 Ohms | $14.00 - $18.00 | ECU sensor signals, CAN-bus lines, low-draw LED indicators |
| 16 AWG | 10 - 12 Amps | 4.02 Ohms | $18.00 - $24.00 | Interior lighting, horn relays, wiper motor low-speed circuits |
| 14 AWG | 15 - 18 Amps | 2.52 Ohms | $25.00 - $32.00 | Fuel injectors, power windows, accessory 12V cigarette lighter ports |
| 12 AWG | 20 - 25 Amps | 1.58 Ohms | $35.00 - $45.00 | In-tank fuel pumps, radiator cooling fans, ABS module power feeds |
| 10 AWG | 30 - 40 Amps | 1.00 Ohms | $50.00 - $65.00 | Aftermarket amplifiers, air suspension compressors, winch controls |
| 8 AWG | 50 - 60 Amps | 0.62 Ohms | $75.00 - $95.00 | High-output alternator charging lines, EV battery management systems |
Tooling Requirements & Cost Matrix by AWG
You cannot reliably crimp a 12 AWG open-barrel terminal using the same tool designed for 18 AWG insulated ring terminals. Using improper tooling results in cold crimps, which increase resistance and generate heat under load. According to TE Connectivity's automotive termination specifications, proper crimping requires matching the tool's die cavity precisely to the terminal's wire barrel volume.
Here is the tooling investment required based on the wire gauges you plan to work with most frequently:
- 18 to 14 AWG (Insulated Terminals): For standard closed-barrel, vinyl or nylon-insulated ring and spade terminals, a basic ratcheting crimper like the Glarks SN-28B is required. Tool Cost: $25 - $35. You will also need a precision wire stripper that avoids nicking the copper strands, such as the Klein Tools 11055.
- 18 to 12 AWG (Open-Barrel / Weather-Pack / Metri-Pack): Modern OEM vehicles rarely use insulated closed-barrel terminals. They use open-barrel terminals housed in sealed connectors like the Delphi Weather-Pack or Metri-Pack 280 series. Crimping these requires a specialized open-barrel crimper (e.g., IWISS IWS-3220M) with adjustable dies to form the correct 'B' or 'M' shaped crimp profile. Tool Cost: $45 - $70.
- 10 to 8 AWG (Heavy Duty): For high-amperage circuits, you will be working with non-insulated heavy-duty ring terminals or Anderson Powerpole contacts. This requires a heavy-duty hex-crimper or a hammer-actuated crimp tool to achieve the necessary compression force. Tool Cost: $60 - $120.
Terminal Compatibility and OEM Color Codes
When integrating new wiring into an existing factory harness, matching the OEM wire color code is critical for future troubleshooting. For example, in classic and modern GM vehicles, the standard lighting circuit colors are strictly defined: Dark Green for the right-hand turn signal, Yellow for the left-hand turn signal, Brown for the taillight/parking lamps, and Black for the chassis ground. The ignition-switched 12V feed is universally Pink, while constant battery power is often Orange or Red.
When tapping into these circuits, you must match your terminal size to the connector housing cavity. If you are repairing a GM headlight harness using a Metri-Pack 280 series connector, you must use 280-series terminals. These terminals are rated for up to 20 amps and generally accept 14 to 18 AWG wire. Attempting to force a 12 AWG wire into a standard Metri-Pack 280 terminal will result in a stripped insulation crimp and a failed connection. If your circuit requires 12 AWG wire due to voltage drop over a long run, you must step up to a larger connector housing, such as the Metri-Pack 630 series or a Deutsch DT connector utilizing Size 12 contacts.
Real-World Project Cost Analysis
To understand the true financial scope of automotive wiring, let us analyze two common 12V modification scenarios.
Scenario A: Auxiliary LED Light Bar Relay Harness (30 Amp Draw)
Running a 50-inch LED light bar requires a dedicated 30-amp relay circuit. Because the run from the battery to the front grille and back to the cabin switch is roughly 20 feet, automotive electrical guidelines dictate using 10 AWG wire to prevent a voltage drop exceeding 3% (which would cause the light bar to flicker or underperform).
- Materials: 25 ft of 10 AWG TXL wire ($15), 30A Bosch-style relay with pigtail ($8), inline MAXI fuse holder ($6), Deutsch DT 2-pin connector kit for the light bar ($12).
- Consumables: Marine-grade dual-wall adhesive heat shrink and split loom tubing ($15).
- Total Project Cost (Excluding Tools): ~$56.00
Scenario B: Rewiring a Degraded Fuel Pump Harness (15 Amp Draw)
The factory 16 AWG fuel pump wire on many 1990s and 2000s trucks degrades due to heat and chemical exposure, causing a voltage drop at the pump and resulting in lean fuel trims. The fix requires upsizing to 14 AWG wire and replacing the pigtail connector.
- Materials: 10 ft of 14 AWG GXL wire ($4), OEM-style Metri-Pack 150 series 2-way connector kit with seals ($9), butt-splice seal connectors for the chassis side ($5).
- Consumables: Electrical tape and loom ($5).
- Total Project Cost (Excluding Tools): ~$23.00
SAE Standards and the Hidden Cost of Voltage Drop
The most expensive mistake in automotive wiring is underestimating voltage drop. A 12V system is nominally 12.6V at rest, but alternator output sits between 13.8V and 14.4V. If you use 16 AWG wire for a 12-amp cooling fan located 15 feet away from the power source, the resistance of the wire will cause a voltage drop of nearly 1.5 volts. The fan motor will only see 12.9V, reducing its efficiency, increasing its amp draw to compensate for the lower voltage, and ultimately burning out the fan motor prematurely.
Always use the 12v automotive wire gauge chart as a minimum baseline. If your wire run exceeds 10 feet, or if the circuit passes through high-heat zones (like routing near exhaust headers where ambient temperatures exceed 125°C), you must upsize the wire by at least one AWG step. Furthermore, ensure your heat shrink is rated for the environment; standard PVC heat shrink will melt near engine components. You must budget for cross-linked polyolefin dual-wall heat shrink, which contains an inner layer of EVA adhesive that melts and seals the crimp joint against moisture and corrosion, ensuring the longevity of your electrical investment.