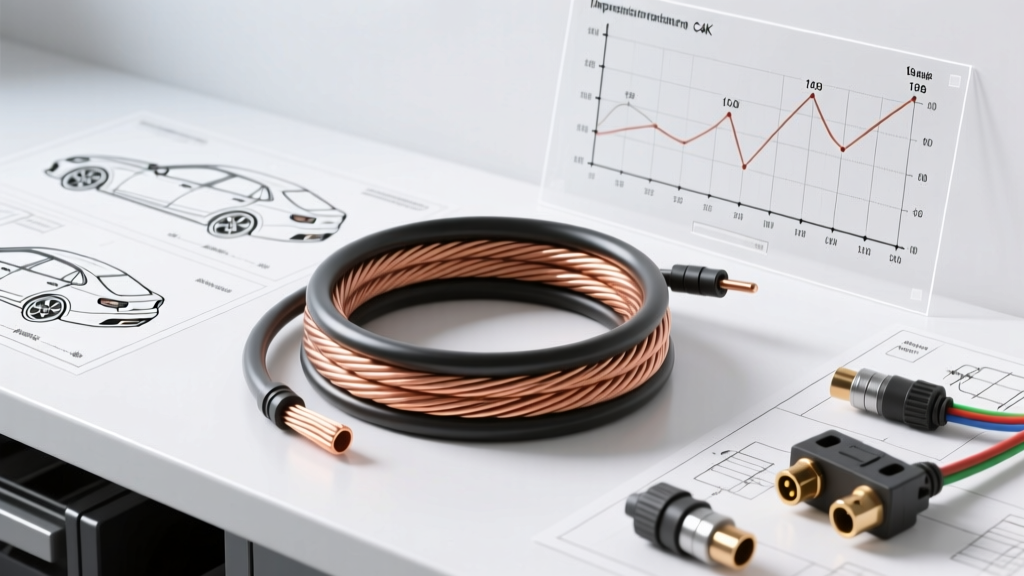
The Short Answer: Wattage Limits for 16 AWG in Car Audio
When planning a mobile audio upgrade, one of the most common questions enthusiasts ask is: how many watts can 16 gauge speaker wire handle? The short answer is that in a standard 12-volt automotive environment, high-quality 16 AWG OFC (Oxygen-Free Copper) speaker wire can safely handle up to 250 watts RMS per channel into a 4-ohm load, and up to 125 watts RMS into a 2-ohm load, assuming run lengths are kept under 15 feet. However, wattage is only half the story. To truly understand wire capacity, prevent signal degradation, and avoid overheating your voice coils, you must evaluate the relationship between current (amperage), speaker impedance (ohms), and the physical length of the wire run.
The Physics: Why Impedance (Ohms) Dictates Watt Capacity
Wire gauge does not limit wattage directly; it limits current (Amperes). Amplifiers output an alternating current (AC) audio signal to your speakers. The amount of current drawn from the amplifier depends on the impedance of the speaker's voice coil and the voltage output of the amp. According to the Consumer Technology Association (CTA) Mobile Electronics Standards, mobile audio wiring must be sized to handle peak current demands without introducing excessive resistance.
A standard 16 AWG copper wire has a maximum chassis-wiring ampacity of roughly 10 to 15 Amps. Using the power formula P = I² × R (Power = Current squared × Resistance/Impedance), we can calculate the theoretical wattage limits:
- At 4 Ohms: 10 Amps × 10 Amps × 4 Ohms = 400 Watts (Theoretical Maximum)
- At 2 Ohms: 10 Amps × 10 Amps × 2 Ohms = 200 Watts (Theoretical Maximum)
While 16 AWG wire will not melt or catch fire at these theoretical limits, pushing a continuous 400W RMS signal through a thin wire over a 15-foot distance will introduce unacceptable levels of resistance, ruining your audio quality long before the wire fails physically.
16 AWG Speaker Wire Capacity Chart
| Speaker Impedance | Max Safe Current (16 AWG OFC) | Theoretical Max Wattage | Recommended RMS Limit (Audio Quality) | Max Run Length (Round Trip) |
|---|---|---|---|---|
| 4 Ohms | 8 - 10 Amps | 320W - 400W | 200W - 250W RMS | 30 feet (15 ft per conductor) |
| 2 Ohms | 8 - 10 Amps | 128W - 200W | 100W - 125W RMS | 16 feet (8 ft per conductor) |
| 8 Ohms | 8 - 10 Amps | 640W - 800W | 250W+ RMS | 40 feet (20 ft per conductor) |
Run Length and the Damping Factor Degradation
In car audio, the distance from your amplifier (usually mounted in the trunk or under a seat) to your door speakers or rear deck can easily exceed 12 to 15 feet. According to Belden Wire & Cable AWG Specifications, 16 AWG copper wire possesses a resistance of approximately 4.016 ohms per 1,000 feet.
If you run 15 feet of wire to a door speaker and 15 feet back to the amp, your total round-trip wire length is 30 feet. This adds roughly 0.12 ohms of series resistance to your circuit. Why does this matter? Because of the Damping Factor.
The damping factor is the amplifier's ability to control the mechanical movement of the speaker cone, particularly after a bass note hits. A high damping factor prevents 'muddy' or 'boomy' bass. Audio engineers generally agree that wire resistance should not exceed 5% of the speaker's nominal impedance.
- For a 4-ohm speaker: 5% of 4 ohms is 0.20 ohms. Since our 30-foot 16 AWG run adds only 0.12 ohms, 16 AWG is perfectly adequate for 4-ohm loads up to 250W RMS.
- For a 2-ohm speaker: 5% of 2 ohms is 0.10 ohms. Our 30-foot run adds 0.12 ohms, which exceeds the 5% threshold. If you are running 2-ohm mid-bass drivers or subwoofers, 16 AWG will degrade your damping factor, resulting in sloppy bass response. You must step up to 14 or 12 AWG.
Upgrade Project Pitfalls: CCA vs. OFC Copper
Not all 16 gauge wire is created equal. When sourcing wire for your build, you will encounter two primary materials: OFC (Oxygen-Free Copper) and CCA (Copper-Clad Aluminum).
CCA wire features an aluminum core with a microscopic copper coating. Aluminum is a poorer conductor than copper, meaning CCA wire has roughly 30% to 40% higher resistance than pure OFC copper of the same gauge. If you use 16 AWG CCA wire, you are effectively getting the electrical performance of 18 AWG OFC wire. This drastically reduces your safe wattage threshold and increases the risk of voltage drop.
How to Identify Fake Gauge and CCA Wire
- The Scrape Test: Scrape the edge of the wire with a utility knife. If you see silver/white metal beneath the copper surface, it is CCA.
- The Weight Test: OFC copper is significantly heavier and denser than aluminum. A spool of CCA will feel suspiciously light.
- Strand Thickness: Budget wire often uses fewer, thicker strands to fake the outer diameter of the jacket while skimping on actual copper mass. Look for high-strand-count wire for maximum flexibility and conductivity.
Routing and Termination Best Practices
Knowing how many watts 16 gauge speaker wire can handle is useless if the installation introduces shorts, rattles, or poor connections. When upgrading from factory 18 or 20 AWG wiring to aftermarket 16 AWG, proper routing through the vehicle chassis is critical.
Navigating the Door Jamb Boot
The most challenging part of any speaker upgrade is passing the new 16 AWG wire from the A-pillar or B-pillar into the door shell. Factory rubber door boots are often tightly packed with window regulator wiring, lock actuators, and side-impact airbag harnesses.
- Disconnect the negative battery terminal before probing any factory door harnesses to prevent accidental airbag deployment or CAN-bus faults.
- Use a blunt-tipped fishing tool or a stiff piece of 14 AWG wire wrapped in electrical tape as a guide snake.
- Lubricate the rubber grommet with a silicone-based spray (never petroleum-based, which degrades rubber) to allow the 16 AWG wire to slide through without tearing the factory weather seal.
Eliminating Rattles with Tesa Tape
Factory wiring harnesses are wrapped in fleece or felt tape to prevent the wires from vibrating against the metal door skin. Bare 16 AWG speaker wire will create a maddening rattling noise over bumps. Wrap your entire 16 AWG run in Tesa 51036 PET fleece tape or corrugated split-loom tubing before securing it with nylon push-clips or zip-ties to existing factory wire paths.
OEM Integration: Bypassing Factory Harnesses
Many installers use plug-and-play harness adapters (like the Metra 72-4568 for Ford or Axxess LC-GMRC-04 for GM) to connect aftermarket amplifiers to factory speaker wires. This is a critical failure point for high-wattage builds.
Factory speaker wiring is typically 20 AWG or 22 AWG, designed only for the 15 to 25 watts RMS output by a stock head unit. If you push 150 watts RMS through a factory 20 AWG door harness, the wire will overheat, the insulation may melt, and the voltage drop will starve your speakers of power. If your amplifier outputs more than 75 watts RMS per channel, you must bypass the factory speaker wiring entirely and run a dedicated, continuous 16 AWG OFC line directly from the amplifier's speaker terminals to the aftermarket speaker's terminals.
Termination and Connector Best Practices
Never rely on the 'twist and tape' method for speaker wire terminations. The vibration of a moving vehicle and the constant thermal expansion/contraction from audio signals will cause twisted wires to fray, short against the door chassis, or arc.
- For Amplifier Terminals: Use closed-loop ring terminals or insulated spade connectors, crimped with a ratcheting crimper and sealed with adhesive-lined heat shrink.
- For Speaker Terminals: Most aftermarket 6.5-inch component and coaxial speakers use standard 0.205-inch (positive) and 0.110-inch (negative) push-tab terminals. Crimp insulated female quick-disconnect spades onto your 16 AWG wire. This allows for easy removal of door panels for future servicing without having to cut and re-crimp wires.
- For OEM Speaker Clips: If you are retaining factory speakers but adding a low-power 4-channel amp (under 75W RMS), use vehicle-specific pigtail adapters rather than splicing into the delicate factory harness.
For comprehensive installation tutorials and vehicle-specific wiring diagrams, the Crutchfield Car Audio Wiring Guide remains an invaluable resource for verifying factory wire color codes and pinouts before making any cuts.
Summary Checklist for Your Next Audio Build
To ensure your system performs flawlessly, verify these parameters before powering on your amplifier:
- Confirm your wire is 100% OFC Copper, not CCA.
- Ensure 16 AWG is only used for 4-ohm or 8-ohm loads under 250W RMS.
- Upgrade to 14 or 12 AWG if running 2-ohm loads or if run lengths exceed 15 feet.
- Bypass factory 20 AWG wiring if pushing more than 75W RMS per channel.
- Wrap all door runs in Tesa fleece tape to eliminate chassis rattles.
- Use adhesive-lined heat shrink and ratcheting crimpers for all terminations.
By respecting the physical limits of 16 AWG wire and prioritizing low-resistance connections, your upgrade project will deliver clean, dynamic, and reliable sound for years to come.