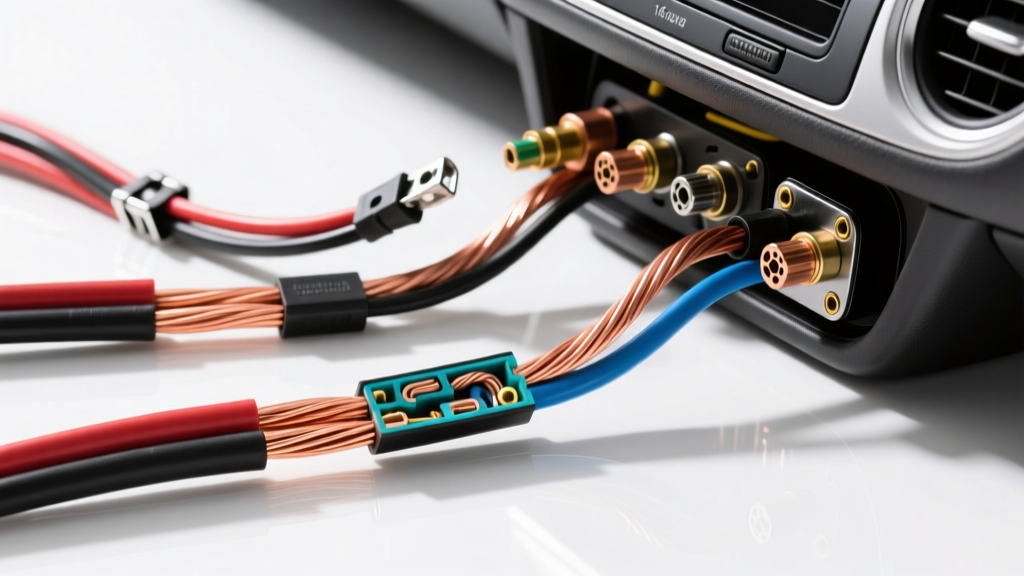
The Reality of 16 Gauge Speaker Wire in Car Audio
16 gauge speaker wire is arguably the most common conductor used in aftermarket automotive audio installations. Its flexibility, affordability, and current-carrying capacity make it the undisputed industry standard for routing full-range door speakers, dash pods, and rear deck locations. However, because it is so ubiquitous, many installers—both amateur and professional—develop a false sense of security regarding its capabilities. Treating 16 AWG as a universal solution for every audio application is a fast track to degraded sound quality, blown voice coils, and in extreme cases, electrical fires.
As an automotive electrical resource, we frequently diagnose systems where the root cause of poor performance traces directly back to the misapplication of 16 gauge speaker wire. This guide details the most critical installation mistakes, safety hazards, and technical limitations you must understand before pulling wire through your vehicle's chassis.
16 AWG Technical Specifications and Power Limits
Before addressing mistakes, we must establish the baseline electrical characteristics of 16 AWG wire. According to SAE J1128 standards for low-tension primary cable and standard copper conductivity metrics, a true 16 AWG Oxygen-Free Copper (OFC) conductor has a cross-sectional area of approximately 1.31 mm². In a standard 12V automotive environment, the limits are dictated by impedance and run length.
| Specification | OFC (Oxygen-Free Copper) | CCA (Copper Clad Aluminum) |
|---|---|---|
| Cross-Sectional Area | 1.31 mm² | 1.31 mm² (Effective ~0.90 mm²) |
| Resistance per 10 ft | 0.0401 Ohms | 0.0610 Ohms |
| Max Recommended RMS (4-Ohm) | 100W - 125W | 50W - 75W |
| Max Recommended RMS (2-Ohm) | 50W - 75W | Not Recommended |
As illustrated above, the material composition drastically alters the safe power handling of the wire. Pushing a 16 AWG run beyond these limits results in excessive voltage drop, which starves the amplifier of current and causes the speaker to compress dynamically, leading to severe clipping and eventual thermal failure of the speaker's voice coil.
Top 4 Installation Mistakes with 16 Gauge Speaker Wire
Mistake 1: Using 16 AWG for High-Current Subwoofers
The most frequent and potentially damaging mistake is attempting to use 16 gauge speaker wire for subwoofer runs. Subwoofers, particularly dual voice coil (DVC) 2-ohm models wired in parallel to present a 1-ohm or 2-ohm load to the amplifier, demand massive transient current. When an amplifier attempts to push 300W RMS into a 2-ohm load, the current draw at the speaker terminals can spike well beyond 15 amps. A 16 AWG wire will act as a resistor in this scenario, generating excessive heat, choking the amplifier's damping factor, and robbing your bass output of impact. For subwoofers, you must step up to 12 AWG or 10 AWG speaker wire to minimize resistance and maintain tight, accurate bass response.
Mistake 2: Falling for the CCA (Copper Clad Aluminum) Trap
Not all 16 gauge speaker wire is created equal. Many budget-friendly spools sold online are manufactured from Copper Clad Aluminum (CCA). CCA wire features an aluminum core with a microscopic copper coating. Because aluminum has roughly 61% of the conductivity of copper, a 16 AWG CCA wire performs electrically closer to a 19 AWG OFC wire. Installers who unknowingly use CCA for long runs (such as routing to the rear doors of a crew-cab pickup truck) will experience noticeable high-frequency roll-off and reduced overall volume. Always verify that your wire is certified OFC. A quick scratch test with a utility knife will reveal a silver core if the wire is CCA; true OFC will remain copper-colored throughout.
Mistake 3: Parallel Routing with RCA and Power Cables
Electromagnetic Interference (EMI) is the enemy of clean audio. A common mistake is running 16 gauge speaker wire in the same wire loom or door channel as the vehicle's main 4 AWG power cable or low-level RCA signal cables. The high-current alternating magnetic field generated by the power cable will induce a hum or alternator whine into the audio signal path. While speaker-level signals are less susceptible to EMI than low-voltage RCA pre-outs, running them parallel over long distances guarantees noise injection. The golden rule of automotive audio routing is to keep speaker wire and power cables on opposite sides of the vehicle. If they must cross, force them to intersect at a strict 90-degree angle to minimize inductive coupling.
Mistake 4: Improper Stripping and Termination
Leaving too much exposed copper at the termination point is a hallmark of amateur installations. When stripping 16 AWG wire for spade terminals or amplifier set-screws, you should only expose about 5/16 of an inch of conductor. Exposing an inch of bare wire and simply twisting it with electrical tape leaves stray strands vulnerable. In the high-vibration environment of a vehicle door panel, a single stray 16 AWG strand can easily break off, fall onto the metal chassis, and create a dead short against the vehicle's ground. This can instantly blow the amplifier's internal protection circuitry or fry the output channel.
Critical Safety Warnings and Fire Hazards
Chafing in Door Jambs and Firewalls
The transition point between the vehicle's A-pillar and the door hinge is a notorious failure zone. Every time the door opens and closes, the wire harness flexes. If 16 gauge speaker wire is routed through a door boot without proper protective split-loom tubing, the sharp metal edges of the door jamb will eventually slice through the PVC insulation. Once the bare copper contacts the grounded steel door frame, a short circuit occurs. Because speaker outputs are not typically protected by inline fuses at the amplifier, a dead short can cause the wire to heat up rapidly, melting the surrounding interior plastics and potentially igniting a fire. Always use flexible nylon braided sleeving or split loom, and secure the wire away from moving window regulators and latch mechanisms.
Amplifier Terminal Block Overheating
Another severe safety hazard occurs at the amplifier's speaker terminal block. Many installers strip the 16 AWG wire, twist it, and jam it directly into the set-screw terminal without using a ferrule or spade connector. Over time, the thermal expansion and contraction caused by the amplifier's heat cycles, combined with vehicle vibration, will cause the set-screw to loosen. A loose connection increases electrical resistance at the terminal point. This localized resistance generates intense heat, which can melt the amplifier's plastic terminal block, cause a short between adjacent channels, and destroy the amplifier's output stage.
OEM Harness Integration and EIA Color Codes
When integrating aftermarket 16 gauge speaker wire into a factory harness via an adapter (such as a Metra or Scosche pigtail), adhering to the Electronic Industries Alliance (EIA) standard color codes is critical for maintaining correct phase and stereo imaging. Reversing the polarity (swapping positive and negative) on even a single speaker will result in acoustic phase cancellation, completely destroying your soundstage and bass response.
| Speaker Location | Positive (+) Wire | Negative (-) Wire |
|---|---|---|
| Left Front | White | White w/ Black Stripe |
| Right Front | Gray | Gray w/ Black Stripe |
| Left Rear | Green | Green w/ Black Stripe |
| Right Rear | Purple | Purple w/ Black Stripe |
For splicing 16 AWG wire to factory harnesses, avoid cheap vinyl crimp caps or standard electrical tape. The adhesive inside automotive-grade heat shrink tubing creates a waterproof seal that prevents copper oxidation—a major cause of high-resistance connections in humid environments. Use a ratcheting crimping tool to ensure a gas-tight mechanical bond before applying heat.
Conclusion and Authoritative References
16 gauge speaker wire is an excellent, versatile choice for full-range automotive speakers, provided it is used within its electrical limits and installed with precision. By avoiding CCA wire, respecting current limits for low-impedance loads, routing away from EMI sources, and properly terminating your connections, you ensure a safe, reliable, and high-fidelity car audio system. For further reading on automotive wire standards and installation best practices, consult the Belden Wire Standards Resource Center and the Crutchfield Car Audio Wire Gauge Guide.