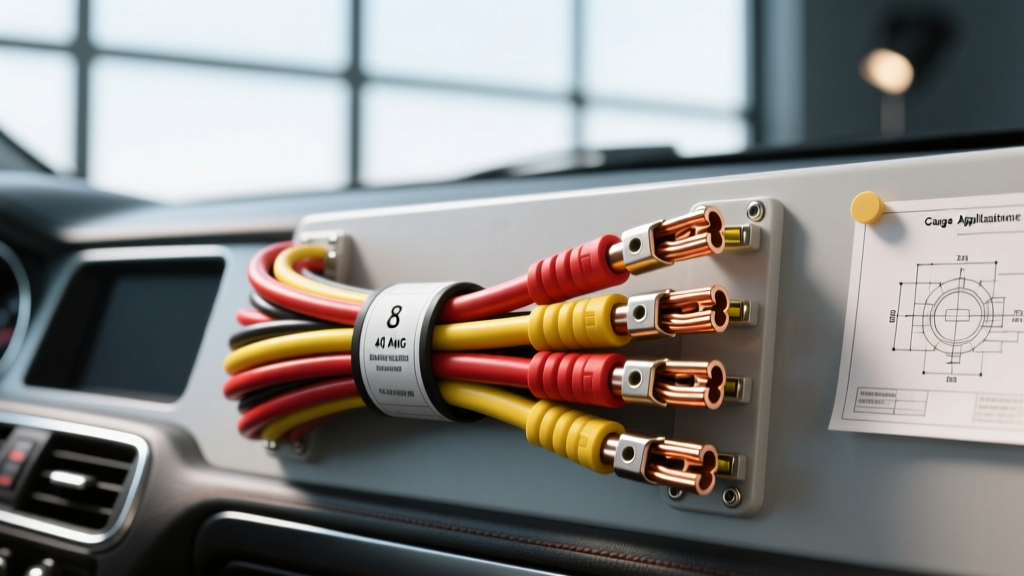
Introduction: The 40-Amp Sweet Spot in Automotive Wiring
Upgrading your vehicle's electrical system is one of the most rewarding modifications you can make, but it requires a solid understanding of electrical fundamentals. When you start adding high-draw accessories like onboard air compressors, heavy-duty off-road LED light bars, electric cooling fans, or small winch solenoids, you quickly enter the 40-amp territory. Pushing 40 amps through a 12-volt DC system generates significant heat and requires precise wire sizing to prevent voltage drop, melted insulation, or catastrophic electrical fires.
For beginners, the array of wire charts and conflicting forum advice can be overwhelming. This guide strips away the complex engineering jargon and provides a clear, actionable roadmap for selecting the correct 40 amp wire gauge, routing it safely, and terminating the connections like a professional automotive electrician.
The Short Answer: What is the Correct 40 Amp Wire Gauge?
For a standard 12-volt automotive circuit drawing a continuous 40 amps, the correct wire size is 8 AWG (American Wire Gauge).
However, simply buying '8 gauge wire' is not enough. You must select the correct type of wire. For automotive applications, you should always use stranded copper wire that meets the SAE J1128 standard. Specifically, look for GXL or TXL primary wire. These wires feature cross-linked polyethylene (XLPE) insulation, which is highly resistant to heat (rated up to 125°C), chemicals, and abrasion. Avoid using standard PVC-insulated THHN wire from a hardware store, as it lacks the flexibility and heat resistance required for the harsh environment of an engine bay or chassis.
Understanding SAE vs. AWG Sizing
Beginners often confuse AWG (American Wire Gauge) with SAE (Society of Automotive Engineers) gauge sizes. While they are very similar, SAE wire has a slightly smaller copper cross-sectional area than AWG wire. An 8 AWG wire has a copper area of roughly 8.37 mm², while an 8 SAE wire has about 7.75 mm². Because automotive electrical systems are sensitive to voltage drop, using true 8 AWG stranded copper wire provides a crucial safety margin for 40-amp loads, ensuring the wire stays cool even during extended use.
Step-by-Step: Calculating Voltage Drop for 40A Loads
Wire gauge is not just about preventing the wire from melting; it is about delivering adequate voltage to your accessory. Voltage drop occurs when electrical resistance in the wire converts voltage into wasted heat. If your off-road lights require 12.5V to operate at full brightness, but your wire is too thin or too long, they might only receive 10.5V, resulting in dim output and shortened bulb life.
According to the Del City Wire Size Chart and standard automotive electrical practices, you should aim for a voltage drop of no more than 3% (roughly 0.36V on a 12V system) for critical accessories.
Voltage Drop Reference Table: 8 AWG Wire at 40 Amps
| Total Circuit Length (Positive + Negative) | Estimated Voltage Drop | Drop Percentage | Recommendation |
|---|---|---|---|
| 5 Feet | 0.12V | 1.0% | Excellent (8 AWG) |
| 10 Feet | 0.25V | 2.1% | Good (8 AWG) |
| 15 Feet | 0.38V | 3.2% | Acceptable (8 AWG) |
| 20 Feet | 0.50V | 4.2% | Upgrade to 6 AWG |
Note: Total circuit length includes the distance from the battery to the load AND the return path to the ground. If your compressor is 8 feet from the battery, the total circuit length is 16 feet.
Essential Components for a Safe 40-Amp Circuit
Choosing the right 40 amp wire gauge is only half the battle. A safe circuit requires properly rated protection and switching components.
- Fusing: Always install a fuse within 18 inches of the battery positive terminal. For a 40-amp continuous load, use a 50-Amp ANL fuse or a 40-Amp Maxi fuse. This accounts for the initial inrush current (which can spike higher than 40A for a split second when motors start) while still protecting the 8 AWG wire from a dead short.
- Relays: Never run 40 amps through a dashboard switch. Use a heavy-duty 40A or 50A SPST (Single Pole Single Throw) automotive relay. This allows a low-amperage switch to control the high-amperage load safely.
- Terminals: Use adhesive-lined, heat-shrink ring terminals. For 8 AWG wire connecting to a battery terminal, you will typically need a 3/8-inch or 5/16-inch stud size terminal. For relay connections, use 1/4-inch spade terminals.
- Wire Colors: Follow standard automotive color codes: Red for constant 12V+ battery power, Black for chassis ground, and Yellow or Blue for the switched load wire running to the accessory.
Wiring a 40-Amp Relay: Pinout Guide
When wiring your 8 AWG wire to a standard ISO mini-relay or heavy-duty maxi-relay, you must understand the pin configuration. Here is the standard 4-pin relay layout used in almost all modern vehicles:
| Relay Pin | Function | Wire Gauge Required | Connection Point |
|---|---|---|---|
| Pin 30 | Constant 12V+ Input | 8 AWG (Red) | Battery Positive (via Fuse) |
| Pin 87 | Switched 12V+ Output | 8 AWG (Yellow/Blue) | Accessory Positive Terminal |
| Pin 85 | Relay Coil Ground | 16 AWG (Black) | Chassis Ground or Battery Negative |
| Pin 86 | Relay Coil Trigger (Switched) | 16 AWG (Red/White) | Dashboard Switch / Ignition Source |
Common Beginner Mistakes to Avoid
1. Using Solid Core Wire
Solid core wire (like Romex used in house wiring) is strictly prohibited in vehicles. The constant vibration of a vehicle's chassis will cause solid copper to work-harden, snap, and create a short circuit. Always use fine-stranded automotive primary wire.
2. Solder-Only Connections
While soldering is great for electronics, it is a poor choice for heavy-gauge automotive battery cables and 8 AWG power wires. Solder is brittle and can crack under engine vibration. Furthermore, the heat from soldering can wick up under the wire insulation, melting it from the inside out. Always use a high-quality ratcheting crimping tool for 8 AWG terminals, followed by adhesive-lined heat shrink to seal out moisture and prevent corrosion.
3. Ignoring the Ground Path
A 40-amp circuit requires an exceptional ground. Do not simply screw an 8 AWG black wire into a painted sheet metal bolt hole. You must sand the paint away to bare metal, apply a dielectric grease after tightening, and ensure the ground bolt is torqued to the manufacturer's specification. A poor ground will cause the same symptoms as an undersized positive wire, including melted connectors and failing accessories.
Troubleshooting a 40-Amp Circuit
If your accessory is underperforming, perform a voltage drop test using a digital multimeter. Set your multimeter to DC Volts. Place the red probe on the battery positive terminal and the black probe on the accessory's positive input terminal while the accessory is running under load. If the meter reads more than 0.5V, you have excessive resistance in your positive 8 AWG wire, a corroded fuse holder, or a failing relay. Repeat the test on the ground side (black probe on battery negative, red probe on accessory chassis) to isolate the fault.
Conclusion
Selecting the correct 40 amp wire gauge is foundational to building a reliable and safe vehicle electrical system. By sticking to 8 AWG SAE GXL stranded copper, properly calculating your voltage drop based on total circuit length, and utilizing heavy-duty relays and fuses, you ensure your high-draw accessories perform flawlessly. Whether you are wiring a Jeep Wrangler for an onboard air compressor or outfitting a Ford Super Duty with auxiliary lighting, respecting the physics of electrical current will keep your rig running safely on and off the trail.