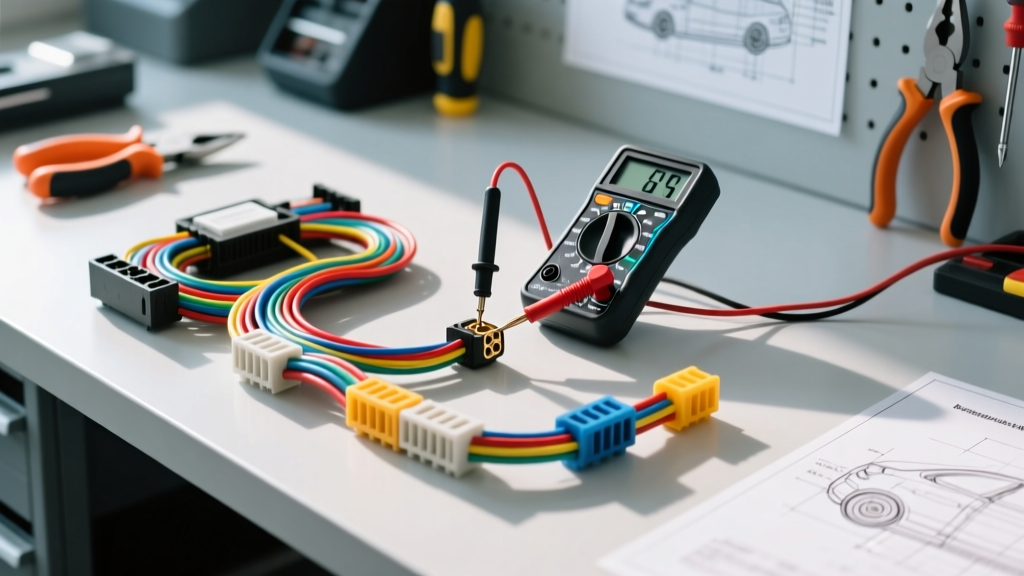
Demystifying the Auto Electrical Diagnosis and Repair Cost
When faced with a dead battery, a flickering dashboard, or a no-start condition, the auto electrical diagnosis and repair cost can feel like an intimidating black box. Dealerships and independent repair shops typically charge between $120 and $180 per hour for diagnostic time. Because electrical faults rarely present with obvious mechanical symptoms, a simple frayed 18 AWG sensor wire can result in hours of billed labor. However, by mastering beginner-friendly automotive electrical fundamentals, you can isolate the root cause, purchase the exact wire gauge or connector needed, and drastically reduce your out-of-pocket expenses.
This guide bridges the gap between professional diagnostic strategies and DIY repairs, helping you understand what shops charge for, how to perform your own baseline tests, and when a repair requires specialized intervention.
The Diagnostic Phase: Shop Labor vs. DIY Tool Investment
The bulk of any electrical repair invoice is tied to the diagnostic phase. Technicians use advanced oscilloscopes and breakout boxes to monitor Controller Area Network (CAN bus) signals and actuator waveforms. According to AAA's automotive repair cost data, the average diagnostic fee ranges from $100 to $200 before any wrench is turned. As a beginner, you can bypass the initial diagnostic fee by investing in foundational testing equipment.
| Diagnostic Method | Professional Shop Cost | DIY Tool Investment | Beginner Application |
|---|---|---|---|
| Parasitic Draw Testing | $150 - $250 (1.5 hrs labor) | $50 (Digital Multimeter) | Inline amperage testing and fuse voltage drop mapping. |
| Circuit Voltage Drop | $120 - $180 (1 hr labor) | $30 (Basic DMM) | Identifying high-resistance grounds and corroded power feeds. |
| Sensor Waveform Analysis | $200+ (Scope required) | $400+ (Entry-level PicoScope) | Viewing CAN bus, crankshaft, and O2 sensor square/sine waves. |
For beginners, a high-quality Digital Multimeter (DMM) with a 10A fused port and millivolt resolution is the most critical tool. Resources like the Pico Technology automotive training library emphasize that understanding basic voltage drop and current flow is more valuable than owning expensive scan tools when tracking down wiring faults.
Common Electrical Faults and Beginner Troubleshooting
To accurately estimate your repair cost, you must first identify the category of the electrical fault. Here are the three most common issues and how to approach them from a DIY perspective.
1. Parasitic Battery Drains and Module Sleep Failures
Modern vehicles feature dozens of microprocessors. When you turn off the ignition, these modules must enter a 'sleep' state. The industry standard for acceptable sleep current is typically under 50mA (0.05A) after 20 minutes of key-off time. If a faulty glovebox switch or a shorted CAN bus wire keeps the Body Control Module (BCM) awake, the draw may spike to 1.5A, killing the battery overnight.
The DIY Fix: Instead of pulling fuses—which wakes the modules back up and resets the sleep timer—use your DMM to measure the voltage drop across the micro-fuses in the interior fuse box. A standard 10A mini-fuse will show a millivolt drop proportional to the current flowing through it. By referencing a fuse voltage drop chart, you can pinpoint the exact sleeping module without paying a shop for hours of manual fuse-pulling labor.
2. Voltage Drop on High-Amperage Grounds
Starter motors and alternators require massive current, often exceeding 150 amps. This current travels through heavy 4 AWG or 2 AWG cables. A common failure mode is corrosion at the chassis ground point, creating resistance. According to Ohm's Law, resistance under high load causes a voltage drop.
The DIY Fix: Set your DMM to DC Volts. Place the red lead on the alternator casing or starter mounting bolt, and the black lead on the negative battery post. Crank the engine or apply a load. A healthy ground circuit should show less than 0.1V drop. If you see 0.5V or higher, the ground strap is compromised. Replacing a $15 braided 4 AWG ground strap and cleaning the chassis mounting point with a wire brush can solve a 'no-crank' condition that a shop might misdiagnose as a failed $300 starter motor.
3. Sensor Wiring and Connector Degradation
Oxygen sensors, MAF sensors, and camshaft position sensors operate in harsh under-hood environments. The wires used for these signals are typically 18 AWG TXL (cross-linked polyethylene) wire, designed to withstand high heat and chemical exposure. Over time, the insulation becomes brittle, or the connector terminals oxidize, causing intermittent signal dropouts.
Understanding Wiring Materials and Connector Costs
A major factor in the auto electrical diagnosis and repair cost is the price of OEM wiring harnesses. Dealerships often refuse to sell individual connector pigtails, forcing you to buy an entire sub-harness for $300+. As a DIYer, you can source the exact terminals and seals for a fraction of the cost.
According to Delphi Technologies connector specifications, there are two primary connector families you will encounter in basic troubleshooting:
- Delphi Weather Pack: Recognizable by their large, rectangular black housings and round sealing plugs. These are typically used for lighting, horns, and basic 12V accessories. They accommodate 16 to 12 AWG wire and use closed-barrel crimps.
- Deutsch DT Series: Common in heavy-duty, off-road, and modern engine bay applications. They feature solid cylindrical pins, secondary locking wedges, and use open-barrel crimps. They are highly resistant to moisture and vibration.
| Component | Dealership / OEM Cost | DIY Aftermarket Cost | Required Tooling |
|---|---|---|---|
| O2 Sensor Pigtail Harness | $85.00 - $150.00 | $8.00 (Connector + Terminals) | Heat shrink, solder seal, or basic crimper. |
| Headlight Connector (Weather Pack) | $45.00 - $75.00 | $4.50 (Housing, Seals, Terminals) | Closed-barrel terminal crimping tool. |
| Engine Bay Injector Clip | $60.00+ | $6.00 (Replacement Pigtail) | Wire strippers, heat shrink tubing. |
The Golden Rule of Automotive Crimping
Beginners often attempt to solder automotive connections. While soldering is acceptable for interior, low-vibration repairs, it is heavily discouraged for under-hood wiring. Solder creates a rigid point in the wire that is prone to fatigue cracking under engine vibration. Furthermore, solder flux can wick into the wire strands via capillary action, causing hidden corrosion. Investing in a $40 ratcheting open-barrel crimper for Deutsch-style terminals ensures a gas-tight, cold-weld connection that meets OEM durability standards.
When to Pay a Professional vs. DIY
While understanding the fundamentals of auto electrical diagnosis and repair cost can save you hundreds of dollars, it is vital to recognize the limits of beginner troubleshooting. You should confidently DIY the following:
- Replacing corroded battery terminals and 4 AWG ground straps.
- Repairing broken 14 AWG to 18 AWG wires for exterior lighting and basic sensors.
- Performing parasitic draw tests to identify a faulty aftermarket accessory (like a dashcam or alarm system).
However, you should defer to a professional technician if the fault involves:
- High-Voltage (HV) Systems: Hybrid and EV orange cables carry lethal DC voltage (often 400V to 800V). Never probe or repair HV cabling without specialized CAT III/IV insulated tools and OEM safety certification.
- SRS / Airbag Circuits: Airbag wiring is typically wrapped in yellow conduit. Accidentally piercing an SRS wire or applying voltage from a DMM can trigger the squib, causing the airbag to deploy and resulting in severe injury and thousands of dollars in damage.
- Internal Module Failures: If your voltage drop tests and CAN bus continuity checks confirm the wiring harness is perfect, but the PCM or BCM is still not commanding a relay, the module itself may require proprietary J2534 flashing and programming that only a shop can provide.
Summary: Taking Control of Your Repair Invoice
The auto electrical diagnosis and repair cost is largely driven by the time it takes to locate an invisible fault. By equipping yourself with a digital multimeter, learning to perform voltage drop tests on high-amperage grounds, and understanding how to properly crimp Weather Pack and Deutsch connectors, you transition from a passive consumer to an informed diagnostician. Even if you ultimately take the vehicle to a shop, being able to tell the service advisor, 'I have verified the 4 AWG ground has less than a 0.1V drop, and the parasitic draw is isolated to fuse 24 via the voltage drop method,' will instantly eliminate hours of unnecessary diagnostic labor from your final bill.