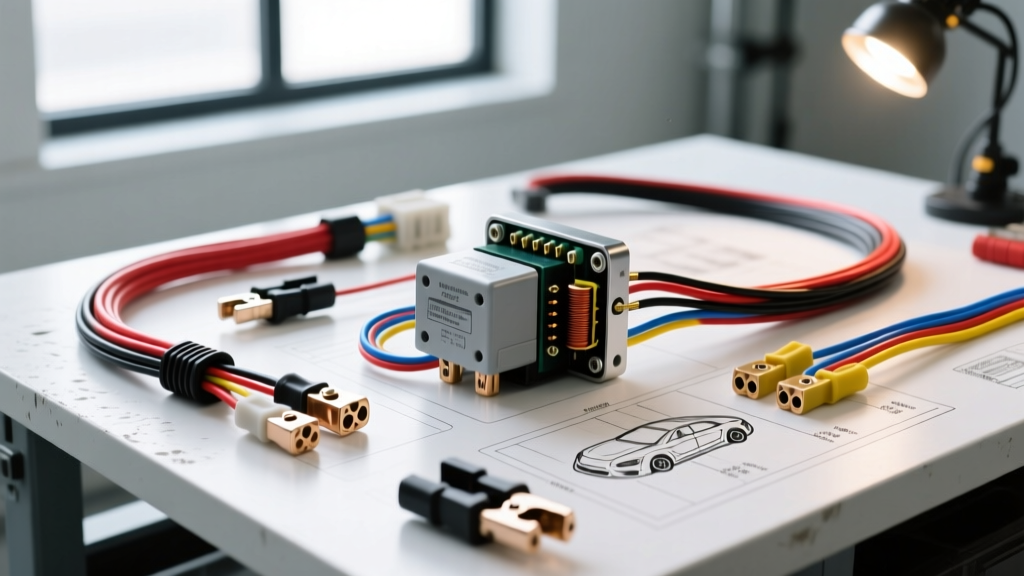
The Core Function: What Does a Car Relay Do?
When upgrading automotive lighting systems—whether installing a 50-inch LED light bar, upgrading to high-wattage H4 halogen headlights, or adding OEM-style fog lights—the factory wiring is rarely sufficient to handle the increased current draw. This brings up a fundamental question for any automotive electrician or serious DIYer: what does a car relay do? In an automotive electrical system, a relay is an electrically operated electromagnetic switch. It allows a low-current control circuit (typically 1 to 3 amps) to safely trigger and manage a high-current load circuit (up to 40 amps or more).
According to AutoShop101 Electrical Fundamentals, the primary purpose of the relay is to isolate the high-current draw of the lighting load from the delicate, low-current OEM headlight switch or Body Control Module (BCM). Without a relay, running 10 amps directly through a factory dashboard switch designed for 2 amps will rapidly melt the switch housing, cause voltage drops, and dim your headlights.
Inside the ISO Mini (Bosch-Style) 4-Pin Relay
The most common relay used in aftermarket lighting is the ISO Mini 4-pin relay, often referred to as a Bosch-style relay. Understanding its pinout is critical for proper wiring and tool selection:
- Pin 30 (Common / Power In): Connected directly to the battery positive terminal via an inline fuse. Requires heavy-gauge wire (10 AWG or 12 AWG).
- Pin 87 (Normally Open / Power Out): Routes the high-current power to the lighting load. Only connects to Pin 30 when the coil is energized.
- Pin 86 (Coil Positive / Trigger): Receives the low-current 12V signal from the OEM headlight switch or factory fog light trigger wire.
- Pin 85 (Coil Negative / Ground): Completes the control circuit by grounding to the chassis.
Cost Analysis: OEM vs. Aftermarket vs. DIY Relay Harnesses
Understanding what a car relay do is only the first step; executing the upgrade requires budgeting for the correct components. Below is a cost and component analysis for a standard dual-headlight relay upgrade (e.g., upgrading a Jeep Wrangler JK or Toyota Tacoma with an H4 relay harness).
| Component / Route | OEM Dealer Harness | Aftermarket Kit (e.g., Painless) | DIY Custom Build (TE Connectivity) |
|---|---|---|---|
| Relay Unit (30A/40A) | $35.00 - $65.00 | Included | $4.50 (Bosch / Tyco) |
| Wire (SAE J1128 GXL) | N/A (Dealer replaces entire harness) | Included (Usually 14 AWG) | $18.00 (12 AWG & 18 AWG bulk) |
| Connectors & Terminals | $25.00 | Included (Pre-crimped) | $12.50 (Weather-Pack 150 Series) |
| Fuses & Holders | N/A | $10.00 (Inline ATC) | $6.00 (Marine ANL / MIDI) |
| Total Estimated Cost | $150.00+ (Labor extra) | $45.00 - $65.00 | $41.00 |
While aftermarket kits offer convenience, they often use cheap PVC-insulated wire and non-ratcheting crimps. Building a DIY harness using SAE International Wiring Standards compliant GXL (cross-linked polyethylene) wire ensures the insulation can withstand 125°C under-hood temperatures, providing superior longevity for a lower overall cost.
Mandatory Tool Requirements for Relay Wiring
The reliability of your relay circuit is entirely dependent on your crimp quality. A poor crimp introduces resistance, which generates heat and causes voltage drop. To build a professional-grade relay harness, the following specialized tools are required:
1. Ratcheting Terminal Crimper (IWISS SN-48B or Equivalent)
Standard pliers are unacceptable for automotive relay terminals. You must use a ratcheting crimper specifically calibrated for Delphi Weather-Pack or Metri-Pack 280 terminals. The ratcheting mechanism ensures the terminal is compressed to the exact factory specification, creating a gas-tight seal between the copper wire strands and the terminal barrel. Expect to invest $35 to $50 in a quality tool.
2. Precision Wire Strippers (AWG 22-10)
Automotive GXL wire has a thinner, harder insulation jacket compared to standard hardware store THHN wire. Use a high-quality automatic wire stripper (like the Klein Tools 11063W) to strip the wire without nicking the copper strands. Nicked strands reduce the wire's ampacity and create failure points under engine vibration.
3. Dual-Wall Adhesive Heat Shrink & Heat Gun
Standard electrical tape will melt under hood temperatures and wick moisture via capillary action. You must use 3:1 ratio dual-wall adhesive heat shrink. When heated, the inner wall melts and flows into the wire strands, creating a waterproof environmental seal. A variable-temperature heat gun set to roughly 250°F (120°C) is required to shrink the tubing evenly without scorching it.
Wire Gauge Selection and Voltage Drop Calculations
When determining what wire gauge to use for your relay's high-current side (Pins 30 and 87), you must calculate voltage drop. According to Bosch Mobility Solutions, exceeding the relay's rated capacity or using undersized wire will cause the internal contactor to pit and weld shut over time.
Consider a 160W LED light bar drawing roughly 12 amps at 13.8V (engine running). If the total wire length (positive and negative combined) is 20 feet:
- Using 14 AWG Wire: Resistance is ~2.525 ohms per 1000 ft. For 20 ft, resistance is 0.0505 ohms. Voltage Drop = 12A × 0.0505Ω = 0.606V. (Acceptable).
- Using 10 AWG Wire: Resistance is ~0.998 ohms per 1000 ft. For 20 ft, resistance is 0.0199 ohms. Voltage Drop = 12A × 0.0199Ω = 0.238V. (Optimal for high-draw off-road lighting).
For the low-current trigger side (Pins 85 and 86), 18 AWG wire is perfectly adequate, as the coil typically draws less than 150 milliamps.
Hidden Costs: The CAN-Bus Flyback Diode Requirement
If you are wiring a relay into a modern vehicle (2010+) where the trigger signal comes directly from a Body Control Module (BCM) or a Totally Integrated Power Module (TIPM) rather than a mechanical dash switch, you must factor in the cost and installation of a flyback diode. When the relay coil de-energizes, the collapsing magnetic field generates a high-voltage reverse spike (flyback voltage) that can instantly destroy the delicate transistors inside the BCM.
The Fix: Solder a 1N4001 or 1N4004 rectifier diode across Pins 85 and 86. The silver stripe on the diode must face Pin 86 (the 12V trigger side). The cost of the diode is less than $0.10, but it prevents a $1,200+ module replacement. This is a critical hidden requirement that generic "what does a car relay do" tutorials frequently omit.
Troubleshooting Common Relay Wiring Failures
Even with the right tools and budget, relay circuits can fail. Use a Digital Multimeter (DMM) to diagnose these common issues:
- Relay Clicks but Lights Do Not Turn On: The coil is energizing (Pins 85/86 are good), but the high-current circuit is failing. Check the inline fuse on Pin 30 and test for voltage drop across the relay's internal contactor (between Pin 30 and 87) while under load. A voltage drop greater than 0.2V indicates pitted internal contacts.
- Relay Chatters or Buzzes: This indicates a poor ground on Pin 85 or a voltage drop on the trigger wire feeding Pin 86. Ensure your trigger wire is spliced cleanly and that Pin 85 is grounded to bare, unpainted chassis metal using a star washer and ring terminal.
- Headlights Stay On After Ignition is Off: The relay contacts have welded together due to arcing, usually caused by switching a highly inductive load without a snubber circuit, or using a relay rated below the actual amperage draw of the lights. Replace the relay and verify the load amperage.
Final Verdict on Cost and Tooling
Understanding what a car relay do empowers you to bypass factory electrical bottlenecks safely. While a pre-made aftermarket harness costs around $50, investing $85 in a ratcheting crimper, proper wire strippers, and raw SAE GXL wire allows you to build custom, waterproof, dealership-quality lighting harnesses for a fraction of the cost per vehicle. Always prioritize gas-tight crimps, high-temperature insulation, and flyback protection to ensure your lighting system performs flawlessly in the harshest environments.