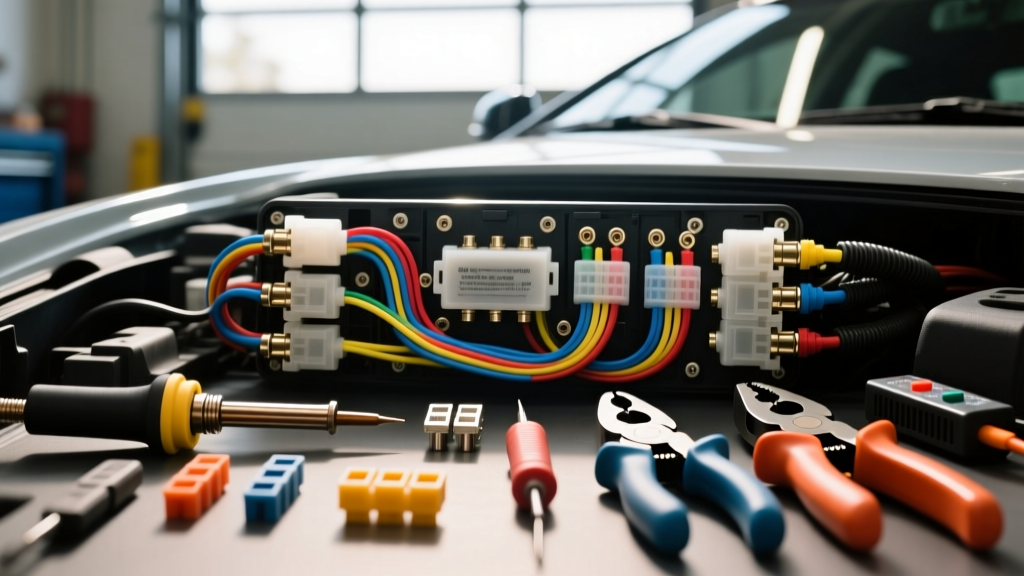
The Economics of Car Radio Wire Connectors
When installing an aftermarket head unit or repairing a factory stereo harness, the quality of your car radio wire connectors dictates the long-term reliability of the entire audio system. Many DIY installers default to the cheapest connection methods available, ignoring the severe hidden costs of voltage drop, alternator whine, and CAN-bus communication errors. As an automotive electrical specialist, I evaluate wiring repairs not just by the upfront price of the connector, but by the tooling required, the labor time, and the failure rate over a 5-to-10-year vehicle lifespan.
This analysis breaks down the true cost of car radio wire connectors, comparing connection methods, required tooling investments, and circuit-specific requirements based on SAE J1128 automotive wiring standards.
Connection Methods: Cost vs. Reliability Matrix
Choosing the right connector involves balancing material costs against labor and reliability. Below is a comparative matrix of the most common methods used for car radio wire connectors.
| Connection Method | Material Cost (Per Joint) | Tool Investment | Reliability Rating | Best Use Case |
|---|---|---|---|---|
| T-Taps / Scotchloks | $0.15 - $0.25 | $10 (Pliers) | Very Poor | Never recommended for automotive use |
| Standard Butt Crimps | $0.10 - $0.20 | $25 - $45 (Ratcheting Crimper) | Good | Non-critical speaker wire extensions |
| Solder & Adhesive Heat Shrink | $0.30 - $0.50 | $40 - $80 (Iron + Torch) | Excellent | High-current power/ground, CAN-bus |
| OEM-Style Harness Adapters | $15.00 - $45.00 (Kit) | $25 (Crimper) | OEM Equivalent | Plug-and-play head unit installations |
| Posi-Tap / Posi-Lock | $1.50 - $2.50 | $0 (Hand-tightened) | Very Good | Low-current signal tapping (Illumination) |
The Problem with T-Taps and Scotchloks
T-taps work by forcing a sharp metal blade through the wire insulation to make contact with the copper strands. In 18 to 22 AWG stranded automotive wire, this blade inevitably severs 20% to 30% of the copper strands. Furthermore, the puncture hole in the insulation allows moisture ingress, leading to galvanic corrosion and green crust on the copper within months. According to Crutchfield's installation guidelines, avoiding these connectors is the single most important step in preventing intermittent radio reboots and speaker static.
Tool Requirements and Capital Investment
Properly terminating car radio wire connectors requires specific tooling. Using the wrong crimper deforms the terminal, leading to a high-resistance joint that can melt the plastic housing under load.
Wire Strippers and Crimpers
- Entry-Level ($20 - $35): Tools like the IWISS SN-28B or SN-48B ratcheting crimpers are excellent for standard open-barrel and insulated butt connectors. They provide a consistent crimp force but may struggle with ultra-small 22 AWG terminals.
- Professional ($80 - $150): The Knipex 48 11 16 or TE Connectivity CERTI-CRIMP II ratcheting tools ensure that the terminal is fully compressed to the exact manufacturer specification. These are mandatory if you are repairing OEM harnesses using Delphi Weather-Pack or TE Superseal 1.5 terminals.
- Wire Strippers ($25 - $50): Automatic wire strippers (like the KnowEasy or Knipex MultiStrip 10) are essential for cleanly stripping 14 to 22 AWG wire without nicking the copper strands, which compromises the tensile strength of the wire.
Pin Extraction and Terminal Tools
When repairing a factory radio harness, you often need to remove a damaged pin from a plastic connector housing. OEM car radio wire connectors utilize locking tangs that require specific extraction tools.
- Delphi / GM Harnesses: Require a flat-blade 1.5mm or 2.8mm terminal removal tool.
- Ford / Molex MX150: Require a specialized cylindrical pin extraction tool to depress the primary and secondary locks.
- Investment: A comprehensive 12-piece automotive pin removal kit costs between $15 and $30, a mandatory expense for anyone doing harness-level radio repairs rather than just cutting and splicing.
Circuit-Specific Wire Gauges and Connector Selection
Car radios utilize multiple circuits with vastly different current draws and signal sensitivities. Selecting the correct car radio wire connector requires matching the connector's internal barrel diameter to the specific AWG of the circuit. The following table outlines standard aftermarket and OEM radio wiring specifications.
| Wire Color (Standard) | Circuit Function | Typical AWG | Current Draw | Recommended Connector Type |
|---|---|---|---|---|
| Yellow | 12V Constant (Memory) | 14 - 16 AWG | 5A - 15A | 16-14 AWG Butt Crimp or Solder/Heat Shrink |
| Red | 12V Switched (Ignition) | 16 - 18 AWG | 2A - 10A | 16-14 AWG Butt Crimp or Harness Adapter |
| Black | Chassis Ground | 14 - 16 AWG | 10A - 20A | Ring Terminal (10-8 AWG stud) or Solder |
| Orange / Brown | Illumination / Dimmer | 18 - 22 AWG | < 1A | Posi-Tap or 22-18 AWG Vinyl Crimp |
| Blue / White | Amplifier Turn-On | 18 AWG | < 2A | 18-14 AWG Butt Crimp |
| Twisted Pair (Green/Purple) | CAN-Bus / Data | 20 - 22 AWG | mA range | Solder & Shielded Heat Shrink ONLY |
The Hidden Costs of Poor Splicing Techniques
While cutting factory wires and using cheap butt crimps saves $20 on a harness adapter upfront, the hidden costs of improper car radio wire connectors can be severe.
1. Alternator Whine and Ground Loops
If the ground wire (Black, 14-16 AWG) is spliced into a factory ground using a high-resistance T-tap or a poorly crimped butt connector, the radio will seek a ground path through the RCA audio cables. This creates a ground loop, resulting in a high-pitched alternator whine that increases with engine RPM. The 'fix' often involves buying $40 ground loop isolators, which degrade audio quality, when the real solution was a $0.50 solder joint or a proper ring terminal bolted to bare chassis metal.
2. CAN-Bus Communication Failures
Modern vehicles (2010 and newer) use Class 2 GMLAN or high-speed CAN-bus networks to communicate between the radio, steering wheel controls, and body control modules. These data wires are twisted pairs designed to maintain a strict 120-ohm impedance. Puncturing these wires with T-taps alters the capacitance and impedance of the line, causing bus errors, battery drain, and erratic dashboard warnings. For data lines, soldering with dual-wall adhesive heat shrink is the only acceptable repair method that maintains signal integrity, as noted in SAE automotive wiring standards.
3. Melted Connector Housings
The 12V Constant (Yellow) wire carries the bulk of the amplifier's current draw. If a standard insulated butt crimp is used and the internal brass sleeve is not fully compressed, the joint develops micro-arcing and high resistance. Under a 10A load, this joint will generate enough heat to melt the vinyl insulation and the plastic radio housing, creating a severe fire hazard.
Expert Verdict: Harness Adapters vs. Direct Splicing
For 95% of aftermarket head unit installations, purchasing a vehicle-specific plug-and-play harness adapter (from brands like Metra, Axxess, or PAC) is the most cost-effective and reliable method. While the adapter costs $15 to $45, it completely eliminates the need to cut factory car radio wire connectors. You can crimp or solder your new radio's pigtail to the adapter on a workbench, ensuring perfect, strain-relieved joints before ever reaching into the dark dashboard cavity.
If you are forced to repair a damaged factory harness, invest in a ratcheting crimper, a pin extraction kit, and OEM-style replacement terminals (such as Molex or TE Connectivity open-barrel terminals). Never compromise on the 12V power, ground, or CAN-bus circuits; these demand soldered, adhesive-lined heat shrink connections to ensure a watertight, vibration-proof seal that will outlast the vehicle itself.