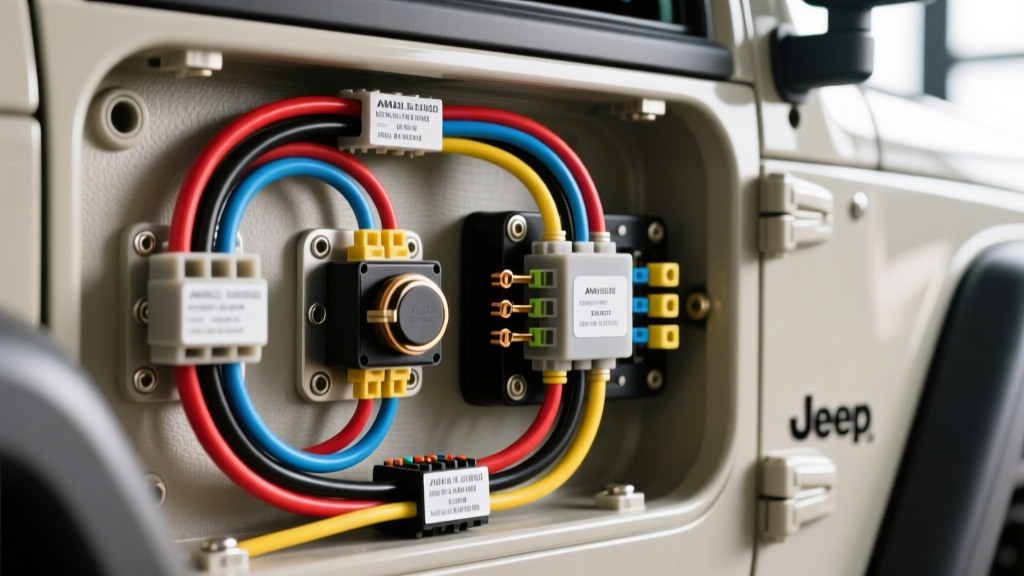
Jeep TJ Rocker Switch Integration: Cost and Tooling Breakdown
The 1997-2006 Jeep Wrangler TJ remains one of the most heavily modified off-road vehicles in history. A staple of any TJ build is the integration of auxiliary switches for light bars, lockers, compressors, and winches. While the factory dashboard provides auxiliary blank bezels, executing a reliable, fire-safe installation requires a precise understanding of automotive electrical costs and specialized tooling. This guide provides a comprehensive cost analysis and tool requirement breakdown for installing a Jeep TJ rocker switch system using industry-standard Carling Contura V-Series components and Bosch-style relays.
The Bill of Materials: Exact Cost Breakdown Per Circuit
When budgeting for a custom switch panel, many enthusiasts underestimate the cost of high-grade wiring and weather-sealed terminals. Below is the realistic bill of materials (BOM) for a single, properly fused, relay-driven auxiliary circuit in a Jeep TJ.
| Component | Specification / Part Type | Est. Cost (USD) |
|---|---|---|
| Switch | Carling Contura V-Series DPST (20A) | $9.50 |
| Bezel | OEM-style TJ Auxiliary Blank Bezel | $7.00 |
| Relay | ISO Mini 5-Pin 12V 40A (Bosch Style) | $5.50 |
| Relay Socket | 5-Pin Weather-Pack Pigtail (16 AWG) | $4.25 |
| Primary Load Wire | 12 AWG GXL (SAE J1128), 15 ft | $8.50 |
| Trigger/LED Wire | 18 AWG TXL, 10 ft | $3.00 |
| Terminals | 0.250" Female Disconnects & Ring Terminals | $4.00 |
| Fusing | ATC Blade Fuse & Inline Holder | $3.50 |
| Protection | Dual-Wall Adhesive Heat Shrink & Split Loom | $6.00 |
| Total Per Circuit | Complete DIY Hardware Cost | $51.25 |
Shop Labor vs. DIY Cost Analysis
Professional off-road shops typically charge between $125 and $175 per hour for custom 12V DC wiring. A standard auxiliary light installation involving routing wire through the TJ firewall, crimping relay sockets, and mounting the switch takes approximately 1.5 hours. This pushes the shop labor cost to roughly $225 per circuit, excluding parts. By sourcing your own Carling Contura switches and executing the work yourself, you save upwards of $170 per circuit while ensuring the wire routing meets your exact standards for engine bay heat management.
Mandatory Tooling for Reliable 12V DC Connections
The leading cause of automotive electrical fires and voltage drop in Jeep TJ builds is improper terminal crimping. Relying on cheap, stamped-metal pliers will yield cold joints that vibrate loose on corrugated washboard roads. To build a reliable rocker switch harness, the following tools are mandatory.
1. Ratcheting Terminal Crimpers
You must use a ratcheting crimper calibrated for the specific terminal type. For the 0.250" female quick-disconnect terminals used on the back of the Contura rocker switch, use a ratcheting crimper designed for insulated or non-insulated open-barrel terminals (depending on your chosen terminal style). The ratcheting mechanism ensures the terminal is compressed to the exact factory specification around the copper strands, preventing the wire from pulling out under the hood's constant vibration.
2. Precision Wire Strippers (AWG 10-22)
Automotive GXL and TXL wire features thin-wall insulation. Standard household wire strippers will often nick the copper strands of 18 AWG or 12 AWG wire, reducing the current-carrying capacity and creating a localized hot spot. Invest in automatic wire strippers calibrated specifically for thin-wall automotive primary wire.
3. Adhesive-Lined Heat Shrink and Heat Gun
Standard PVC electrical tape will unravel in the high-heat environment of a Jeep TJ engine bay (easily exceeding 180°F near the 4.0L inline-six exhaust manifold). You must use dual-wall, adhesive-lined polyolefin heat shrink. When heated with a dedicated heat gun, the inner adhesive melts and seals the terminal barrel, completely blocking moisture and preventing galvanic corrosion—a critical step for the exposed grounding points on the TJ chassis.
Jeep TJ Specific Wiring Architecture and Pinouts
The Carling Contura V-Series switch is a Double Pole Single Throw (DPST) device with independent internal LEDs. Understanding the pin configuration is vital to prevent shorting the dash illumination circuit to the main accessory trigger.
Contura V-Series DPST Pin Configuration
- Pin 2: +12V Input (Main Circuit from Fused Ignition Source)
- Pin 3: Output to Relay Pin 86 (Trigger Circuit)
- Pin 7: Ground for Upper LED (Activates when switch is ON)
- Pin 8: +12V Dash Illumination (Ties into TJ headlight switch circuit for Lower LED)
- Pin 1: Ground for Lower LED (Optional; used for independent dimming control)
ISO Mini 5-Pin Relay Mapping
To protect the internal contacts of the rocker switch, the switch must only carry the low-amperage trigger current (under 1A) to the relay. The heavy load is handled by the relay's internal coil.
- Pin 30: +12V Battery Direct (Must be fused within 18 inches of the battery via the TJ PDC)
- Pin 87: Output to Load (Light bar, compressor, etc.)
- Pin 85: Chassis Ground
- Pin 86: Trigger from Rocker Switch Pin 3
- Pin 87a: Normally Closed (Not used; trim wire and seal with heat shrink)
For comprehensive wire gauge standards and insulation temperature ratings, always refer to the SAE J1128 Low Tension Primary Cable specifications to ensure your GXL wire can handle the engine bay ambient temperatures.
TJ Power Distribution Center (PDC) Integration
The 1997-2006 Jeep Wrangler TJ features a Power Distribution Center (PDC) located in the engine bay, directly behind the battery. This is the cleanest and safest location to tap power for auxiliary relays. Do not splice directly into the factory alternator output wire or the main starter cable.
Tapping Ignition-Switched Power
If your rocker switch requires an ignition-switched +12V source (so your light bars cannot be accidentally left on and drain the battery), you can tap into the cabin's Junction Block using an Add-A-Circuit fuse tap. The Cigar Lighter / Accessory Delay fuse slot is a common tap point for 18 AWG trigger wires. Alternatively, for high-draw accessories like an ARB Twin Compressor, route a dedicated 10 AWG wire from an empty accessory slot in the engine bay PDC, utilizing a Bosch-style PDC fuse tap adapter.
Grounding Protocols: G104 and G200
The Jeep TJ utilizes several factory grounding blocks. For cabin-side switch LED grounds, tap into the G200 ground block located behind the passenger-side kick panel. For engine bay relay grounds, use the G104 location on the firewall or the dedicated ground studs near the PDC. Critical Step: You must use a wire brush or sandpaper to remove the factory powder coat and paint down to bare metal before securing the ring terminal. Apply a dab of dielectric grease over the secured terminal to prevent rust.
Common TJ Rocker Switch Failure Modes & Prevention
| Symptom | Root Cause | Technical Fix |
|---|---|---|
| Switch melts or smells like burning plastic | Relay bypass; switch is carrying full load amperage (e.g., 15A for a 50" LED bar). | Install a 40A ISO relay. The switch must only trigger Pin 86 (under 1A). |
| Upper LED fails to illuminate when ON | Missing or poor ground on Pin 7. | Verify continuity from Pin 7 to chassis ground using a multimeter. |
| Lower LED stays ON when headlights are OFF | Pin 8 wired to constant +12V instead of headlight illumination circuit. | Tap Pin 8 into the TJ headlight switch output (typically the Tan/White wire at the harness). |
| Accessory clicks rapidly or voltage drops | Undersized primary load wire (using 18 AWG for a high-draw load). | Upgrade Pin 30 to Pin 87 wiring to 12 AWG or 10 AWG per Haynes TJ wiring diagrams. |
Final Assembly and Loom Routing
Once the terminals are crimped and the heat shrink is sealed, bundle the wires using nylon split loom tubing. Secure the loom to the TJ's factory wiring harness using UV-resistant zip ties, ensuring the aftermarket wires do not rest against the 4.0L exhaust manifold or the steering shaft U-joints. By investing the $51 per circuit in high-grade materials and utilizing ratcheting crimpers, your Jeep TJ rocker switch installation will rival factory OEM standards, providing years of reliable, spark-free operation on the trail.