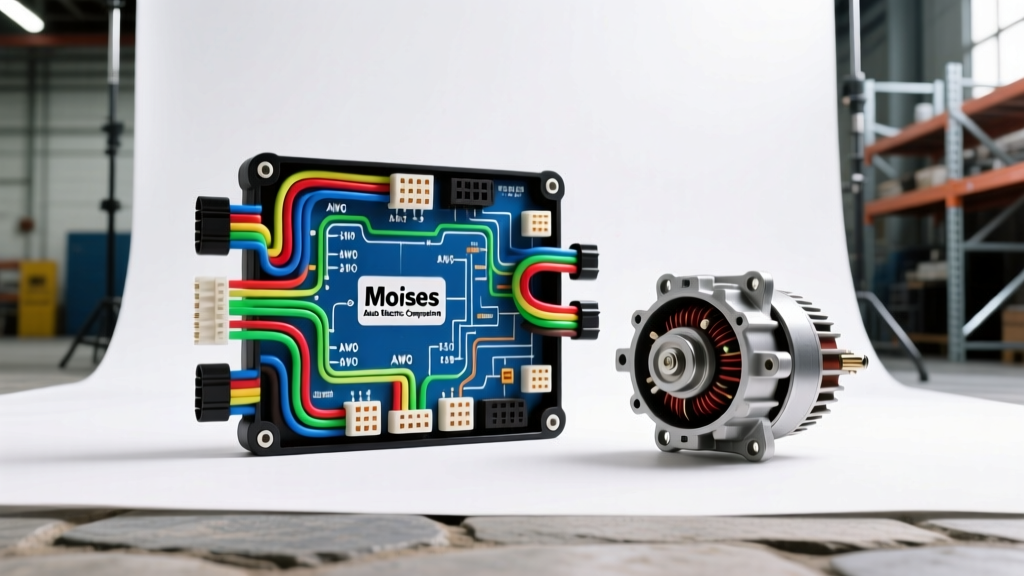
Introduction to Moises Auto Electric Corporation Components
When upgrading a vehicle's electrical architecture for high-draw accessories like electric AC compressors, winches, or advanced off-road lighting, selecting the right power generation and distribution components is critical. Moises Auto Electric Corporation has established a strong reputation in the aftermarket and heavy-duty sectors for producing robust alternators, custom stator windings, and application-specific wiring harnesses. Unlike generic white-box replacements, Moises Auto Electric Corporation designs its electrical components to meet stringent thermal and amperage thresholds, making them a preferred choice for custom builds and severe-duty applications.
This guide provides a comprehensive product comparison and selection framework for Moises Auto Electric Corporation alternators and wiring harnesses. We will break down stator specifications, wire insulation types, connector pinouts, and integration protocols to ensure your high-amp upgrade is safe, efficient, and compliant with automotive electrical standards.
Alternator Series Comparison: OEM-Spec vs. Pro-Series High-Output
The core of any vehicle electrical upgrade is the alternator. Moises Auto Electric Corporation primarily offers two distinct tiers of alternators: the OEM-Spec Replacement line and the Pro-Series High-Output line. Selecting between them depends entirely on your vehicle's continuous amperage draw and your willingness to upgrade the supporting charge wire infrastructure.
| Specification | MAEC OEM-Spec (105A) | MAEC Pro-Series (220A) |
|---|---|---|
| Peak Output | 105 Amps @ 2500 RPM | 220 Amps @ 1800 RPM |
| Stator Winding | Standard 14 AWG Copper | Heavy-Duty 12 AWG Enameled Copper |
| Diode Bridge | 6-Diode Standard | 12-Diode Hairpin (High-Temp) |
| Recommended Pulley | Standard 6PK (6-Rib) | Overdrive 8PK (8-Rib) to prevent slip |
| Charge Wire Requirement | 6 AWG TXL | 1/0 AWG XLPE or Fine-Strand Welding Cable |
| Main Fuse Sizing | 150A ANL Fuse | 250A Mega Fuse (Class T preferred) |
For standard restorations or vehicles with minimal auxiliary loads, the OEM-Spec line provides reliable, factory-matching performance. However, if you are installing an electric water pump, a 1500W inverter, or an aftermarket electric AC compressor, the Pro-Series 220A unit is mandatory. The Pro-Series utilizes a 12-diode hairpin rectifier assembly, which significantly reduces ripple voltage and thermal degradation under continuous high-load conditions, aligning with the durability testing parameters outlined in SAE J1171 for marine and heavy-duty environments.
Wiring Harness Selection: Insulation Types and AWG Standards
A common failure point in high-amp automotive systems is the degradation of wire insulation due to engine bay heat. When ordering a custom wiring harness from Moises Auto Electric Corporation, you must specify the insulation type based on your routing constraints and thermal exposure.
TXL vs. GXL vs. SXL Cross-Linked Insulation
- TXL (Thin-Wall Cross-Linked): Features a 0.41mm wall thickness. Ideal for routing through tight firewall grommets and dense harness wraps. Rated up to 125°C. Best for sensor wiring and 18-14 AWG circuits.
- GXL (General Cross-Linked): The industry standard with a 0.58mm wall thickness. Rated to 125°C. Moises uses GXL for standard 12 AWG to 8 AWG accessory feeds.
- SXL (Special Cross-Linked): Features a thick 0.79mm wall. Rated to 150°C. Mandatory for the main B+ charge wire if it must be routed within 2 inches of exhaust manifolds or turbocharger downpipes.
According to SAE J1128 standards for low-tension primary cables, utilizing cross-linked polyethylene (XLPE) insulation prevents the melting and short-circuiting commonly seen with cheap PVC-insulated wires when exposed to under-hood temperatures exceeding 105°C.
Regulator Pinout and Connector Integration
The Moises Pro-Series alternators utilize an internal Integrated Circuit (IC) voltage regulator controlled via a 4-pin Metri-Pack 280 series connector. Properly wiring this pigtail is crucial for accurate voltage sensing and dashboard warning light functionality.
| Pin | Designation | Wire Color | AWG | Function & Routing |
|---|---|---|---|---|
| Pin A (L) | Lamp | Brown/White Stripe | 18 AWG | Connects to the dashboard charge indicator lamp. Provides initial field excitation on key-on. |
| Pin B (S) | Sense | Red | 14 AWG | Must be routed directly to the battery positive terminal or main distribution block. Do NOT connect to the alternator B+ post. |
| Pin C (I) | Ignition | Pink | 18 AWG | Connects to a switched 12V ignition source. Wakes the regulator. |
| Pin D (F) | Field/ECM | White | 18 AWG | Optional PWM input for ECM-controlled charging systems or external field override. |
Expert Tip: Never splice the Pin B (Sense) wire into the main charge cable at the alternator. If the charge cable experiences a voltage drop due to heat or length, the regulator will overcompensate, pushing system voltage above 15.0V and boiling the battery electrolyte. Always run a dedicated, fused 14 AWG sense wire directly to the battery.
Installation Guide: Upgrading to the 220-Amp Pro-Series
Installing a high-output alternator requires more than just bolting it to the bracket. The entire charge circuit must be upgraded to handle the increased current without creating a fire hazard.
- Remove the OEM B+ Cable: Factory charge wires are typically 8 AWG or 6 AWG, which will melt under a 220A load. Remove the factory wire entirely.
- Fabricate the 1/0 AWG Charge Cable: Measure the distance from the alternator B+ terminal to the battery positive post. Use 1/0 AWG fine-strand welding cable. Cut to length, leaving 6 inches of slack.
- Terminate and Seal: Strip 5/8 inch of insulation. Crimp a 3/8-inch ring terminal using a hydraulic hex-indent crimper. Slide an adhesive-lined dual-wall heat shrink tube over the crimp and apply heat until the adhesive bleeds out, ensuring a moisture-proof seal.
- Install the Mega Fuse: Install a 250A Mega Fuse holder on the positive cable within 18 inches of the battery positive terminal. This protects the cable in the event of a dead short to ground.
- Torque Specifications: Secure the ring terminal to the Moises alternator M10 x 1.5 B+ stud. Torque the nut to exactly 12 Nm (106 in-lbs). Overtightening will strip the aluminum housing threads; undertightening will cause arcing and terminal melting.
- Mounting Bolt Torque: Secure the alternator to the engine bracket using Grade 8 hardware. Torque the M10 mounting bolts to 45 Nm (33 ft-lbs) to ensure proper grounding through the alternator case.
Troubleshooting and Voltage Drop Testing
After installation, you must verify the integrity of the Moises Auto Electric Corporation wiring harness using a voltage drop test. A multimeter reading of 14.2V at the alternator does not guarantee the battery is receiving adequate current if the wiring is undersized or poorly crimped.
The 0.1V Rule
Set your digital multimeter to DC Volts. Place the red probe on the alternator B+ terminal and the black probe on the battery positive post while the engine is running at 2000 RPM with the headlights and blower motor on high. The reading should be no more than 0.1V. If you read 0.3V or higher, your crimp is faulty, or the 1/0 AWG cable is too long, indicating excessive resistance.
Repeat this test on the ground side: place the red probe on the battery negative post and the black probe on the alternator rear housing. Again, the maximum allowable drop is 0.1V. If the ground drop is high, install a dedicated 1/0 AWG ground strap directly from the alternator case to the engine block or chassis ground point.
For further diagnostic procedures and circuit protection guidelines, refer to the Delphi Auto Parts Technical Documentation regarding high-amperage charging system validation. By strictly adhering to these AWG requirements, pinout configurations, and torque specifications, your Moises Auto Electric Corporation upgrade will deliver years of reliable, high-current performance.