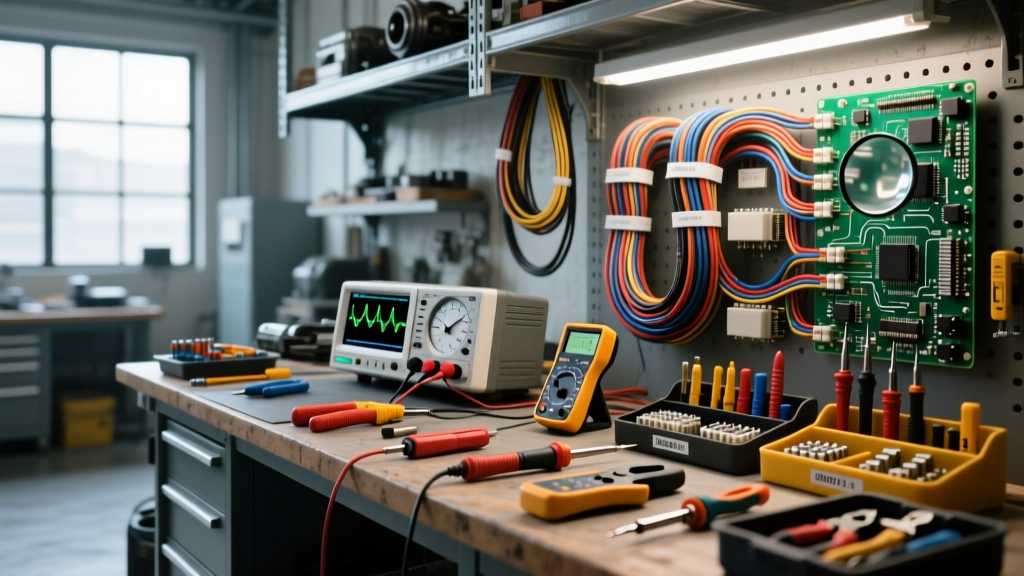
The Gold Standard: Replicating the Marv's Auto Electric Setup
In the automotive repair community, the phrase "Marv's Auto Electric" has become synonymous with the quintessential, old-school master electrical shop. These legendary establishments are known for solving parasitic draws that baffle dealerships, fabricating bulletproof custom harnesses, and diagnosing CAN bus faults without throwing parts at the vehicle. For modern technicians and serious DIYers, replicating a Marv's Auto Electric level of diagnostic and fabrication capability requires a strategic investment in precision tooling and aerospace-grade wiring supplies. This cost and tool requirements analysis breaks down exactly what it takes to build a professional-grade auto electrical workspace, from SAE-compliant wiring to high-bandwidth oscilloscopes.
Phase 1: The Diagnostic Arsenal (Cost: $1,800 - $3,500)
You cannot fix what you cannot accurately measure. The foundation of any top-tier auto electric shop is a diagnostic suite that goes beyond basic continuity testing. Modern vehicle architecture relies on high-speed multiplexed networks (CAN, LIN, FlexRay) and pulse-width modulation (PWM) signals that standard multimeters simply cannot read.
1. Automotive Digital Multimeter (DMM)
A professional DMM must feature a minimum 10-megohm input impedance to prevent back-feeding sensitive electronic control modules (ECMs). The industry standard is the Fluke 88V Automotive Multimeter (Approx. $550). It includes built-in RPM inductive pickups, duty cycle measurement for PWM fuel injectors, and a millisecond pulse-width setting critical for diagnosing idle air control valves and variable valve timing solenoids.
2. 4-Channel Automotive Oscilloscope
While a DMM provides an average voltage over time, an oscilloscope captures transient voltage spikes and network communication drops. The PicoScope 4425A (Approx. $1,200) is the benchmark for automotive diagnostics. With a 20 MHz bandwidth and 400V max input, it allows technicians to decode CAN High/CAN Low differential signals, capture crankshaft position sensor waveforms, and perform relative compression tests via the starter motor current ramp. Paired with a 60A AC/DC current clamp, it is indispensable for non-intrusive parasitic draw testing without waking up dormant vehicle modules.
3. Thermal Imaging Camera
Electrical resistance generates heat. A FLIR ONE Pro or similar thermal imager (Approx. $400) allows technicians to instantly locate high-resistance connections, failing alternator diode rectifiers, and shorted coil packs under the hood without stripping back wire insulation.
Phase 2: Wiring, Terminals, and Crimping Standards (Cost: $600 - $1,200)
The hallmark of a Marv's Auto Electric repair is a harness that looks and performs like OEM. This means abandoning hardware store spool wire and solder-only joints in favor of MIL-spec and SAE-compliant materials.
SAE J1128 Primary Cable: GXL and TXL
Professional shops use cross-linked polyethylene (XLPE) insulated wire, specifically GXL (General Cross-Linked) or TXL (Thin-wall Cross-Linked). According to SAE J1128 standards, GXL wire features a 125°C temperature rating and a thin wall that allows for tighter harness bundling while resisting abrasion and automotive fluids far better than standard PVC wire.
| AWG Size | Cross-Section (mm²) | Max Continuous Ampacity (GXL) | Common Application |
|---|---|---|---|
| 18 AWG | 0.80 | 15A | Sensor signals, 5V references, CAN bus |
| 14 AWG | 2.00 | 25A | Headlight circuits, fuel pump relays |
| 10 AWG | 5.00 | 45A | Alternator sense wires, main ECU power |
| 8 AWG | 8.00 | 65A | High-amperage cooling fans, starter feeds |
Precision Crimping and Terminals
Soldering is generally avoided in modern automotive harness fabrication because solder wicks under the insulation, creating a rigid point that fractures under engine bay vibration. Instead, professional shops use gas-tight, cold-weld crimps. Essential tooling includes the Delphi Weather-Pack Crimper and Deutsch DT Series Crimper (Approx. $250 combined). These tools ensure the terminal wire grip achieves the proper tensile pull-strength rating required for high-vibration environments.
Phase 3: Real-World Application - Ford 3G Alternator Sense Circuit
To understand the value of this tooling, consider a common failure mode: the Ford 3G alternator overcharging or undercharging due to a degraded voltage sense circuit. A parts-swapper might replace the alternator and battery. A Marv's Auto Electric technician will perform a voltage drop test and repair the harness.
Diagnostic Procedure and Pinout Analysis
The Ford 3G alternator utilizes a specific 3-pin oval connector. The pinout and factory wire colors are as follows:
- Pin 1 (I - Ignition): Light Green with Red stripe (LG/RD). Provides initial excitation voltage from the ignition switch and illuminates the dash battery light.
- Pin 2 (S - Stator): Yellow with White stripe (YE/WH). Internal feedback loop from the alternator stator to the internal voltage regulator.
- Pin 3 (A - Battery Sense): Black with Orange stripe (BK/OR). This is the critical voltage sense wire. It must read exact battery voltage to regulate output properly.
Executing the Voltage Drop Test
Using the Fluke 88V, the technician connects the positive probe to the alternator B+ output stud and the negative probe to the battery positive terminal. With the engine running at 2,000 RPM and a load applied (headlights and HVAC blower on high), the meter should read less than 0.5V total drop. Next, the technician back-probes Pin 3 (BK/OR) at the alternator connector and measures voltage relative to the battery positive terminal. If the voltage drop on the sense wire exceeds 0.1V, the regulator is receiving false data, causing it to overcompensate and push 15+ volts through the system, boiling the battery and frying the ECM.
The Professional Repair
Instead of wrapping the wire in electrical tape, the tech cuts out the corroded section. They strip 5/16-inch of insulation from a new piece of 10 AWG GXL Black wire, crimps a Delphi Packard terminal using the precision ratcheting crimper, and seals the splice using dual-wall, adhesive-lined polyolefin heat shrink. The heat shrink melts the inner adhesive layer, creating a waterproof, strain-relieved seal that exceeds OEM specifications.
Phase 4: Total Cost Breakdown and ROI Analysis
Building a Marv's Auto Electric level workspace is a significant upfront investment, but the return on investment (ROI) is realized through accurate first-time fixes and the ability to charge premium diagnostic rates.
| Category | Essential Tools & Supplies | Estimated Cost |
|---|---|---|
| Diagnostics | Fluke 88V, PicoScope 4425A, Current Clamps | $2,150 |
| Thermal & Inspection | FLIR Thermal Camera, Borescope, Back-probe kit | $650 |
| Crimping & Terminals | Delphi, Deutsch, Molex Crimpers & Assortments | $450 |
| Wire & Insulation | SAE J1128 GXL Spools, Adhesive Heat Shrink | $350 |
| Soldering (Auxiliary) | Hakko FX-888D Station, Rosin-Core Flux | $120 |
| Total Investment | Complete Pro-Level Auto Electric Setup | $3,720 |
Conclusion: The Value of Precision
The legacy of Marv's Auto Electric is not just about fixing cars; it is about mastering the flow of electrons in increasingly complex vehicular networks. By investing in high-impedance DMMs, 4-channel oscilloscopes, and SAE-compliant GXL wiring, technicians elevate their capabilities from guesswork to empirical science. Whether you are diagnosing a parasitic draw on a modern CAN-bus vehicle or rebuilding a classic muscle car harness, the tools and methodologies outlined above ensure your repairs will withstand the harsh realities of the automotive environment.