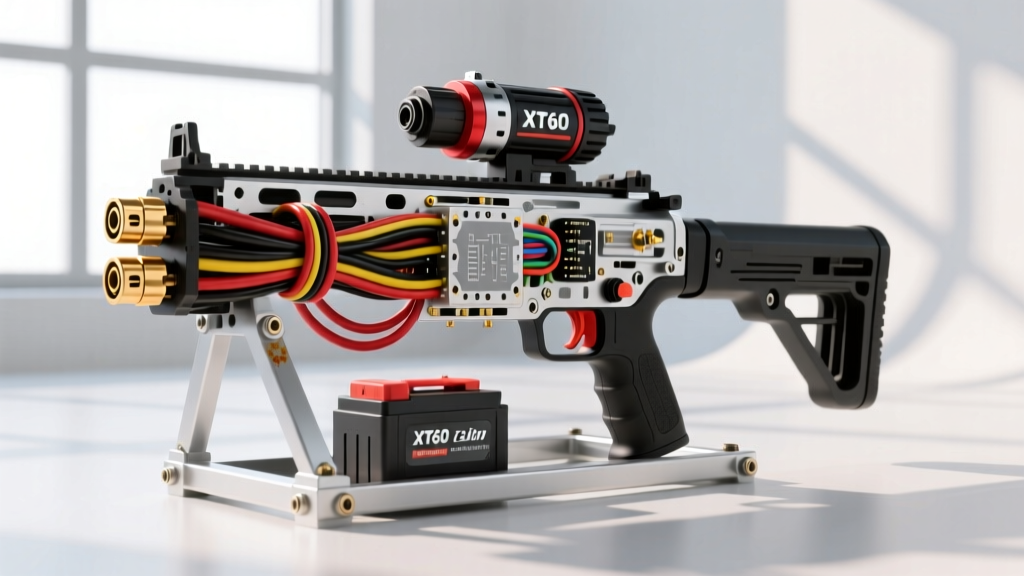
Introduction: Automotive Electrical Principles in Airsoft Architecture
While most automotive electricians spend their days diagnosing CAN bus networks, alternator output, and starter relay circuits, the fundamental laws of electricity remain identical across all platforms. When upgrading the internal harness of a full auto electric bb gun (commonly known in the industry as an AEG, or Automatic Electric Gun), you are essentially working on a micro-scale, high-discharge DC electrical system. Much like upgrading a starter circuit on a high-compression V8 engine to prevent voltage sag, optimizing an AEG requires a deep understanding of amperage limits, wire gauge (AWG) resistance, and solid-state switching.
This selection guide bridges the gap between automotive electrical standards and high-performance airsoft upgrades. We will compare battery discharge rates, evaluate motor current draw, and provide a comprehensive wiring harness upgrade guide utilizing SAE J1128 low-tension primary cable principles to ensure your system operates with maximum efficiency and zero thermal throttling.
The Electrical Architecture: Starter Circuit vs. AEG Circuit
In an automotive application, turning the ignition key engages a low-amperage control circuit that triggers a heavy-duty starter solenoid, which then routes high amperage directly from the battery to the starter motor. This prevents the high current from melting the delicate ignition switch contacts.
Stock full auto electric bb guns typically lack this relay-based architecture. The mechanical trigger switches route the entire motor startup current (often 25 to 40 amps) directly through thin, fragile copper contacts. This results in severe contact arcing, carbon buildup, and increased electrical resistance over time. The ultimate product comparison for reliability is the installation of a MOSFET (Metal-Oxide-Semiconductor Field-Effect Transistor), which acts as a solid-state relay, mirroring the function of an automotive headlight or horn relay harness.
Battery Selection: LiPo vs. NiMH Discharge Rates
Selecting the correct power source is the most critical decision in your build. We must look at the battery's 'C-Rating' (Discharge Rate), which is conceptually similar to a car battery's Cold Cranking Amps (CCA) rating—it dictates how much burst current the battery can safely deliver without experiencing dangerous voltage sag.
| Battery Type | Nominal Voltage | Typical Capacity | Discharge Rating (C) | Max Burst Amperage | Internal Resistance |
|---|---|---|---|---|---|
| 9.6V NiMH (Stock) | 9.6V | 1600mAh | 10C - 15C | 16A - 24A | High (Voltage Sag Prone) |
| 7.4V LiPo (Standard) | 7.4V | 1300mAh | 20C | 26A | Medium |
| 11.1V LiPo (High-Perf) | 11.1V | 1300mAh | 35C - 50C | 45A - 65A | Ultra-Low (Optimal for AEGs) |
For a high-performance full auto electric bb gun equipped with an upgraded high-torque neodymium motor, an 11.1V LiPo with a minimum 35C rating is mandatory. According to Horizon Hobby's LiPo Safety Guidelines, pushing a battery beyond its continuous C-rating causes the internal electrolyte to boil, leading to cell puffing and potential thermal runaway. Always calculate your motor's peak stall current and ensure your battery's burst rating exceeds it by at least 20%.
Wire Gauge (AWG) and Internal Harness Upgrades
Most factory AEG wiring utilizes 24 AWG or 22 AWG copper wire with low-strand counts. When subjected to 35A startup spikes, this thin wire acts as a resistor, converting valuable electrical energy into waste heat and robbing the motor of torque. Upgrading to high-strand count silicone wire drastically reduces resistance.
AWG Selection Chart for AEG Harnesses
| Wire Gauge (AWG) | Strand Count | Max Continuous Amps | Burst Amps (10 sec) | Application in AEG |
|---|---|---|---|---|
| 24 AWG (Stock) | 11 | 3.5A | 10A | Signal wires, MOSFET triggers |
| 18 AWG | 60 | 16A | 25A | Standard AEG main harness (Low FPS) |
| 16 AWG (Recommended) | 105 | 25A | 40A | High-performance main harness (11.1V LiPo) |
| 14 AWG | 168 | 35A | 55A | Heavy-duty builds, external battery boxes |
When selecting wire, look for tinned copper with a silicone insulation jacket. Silicone can withstand soldering temperatures up to 300°C without melting back up the wire shaft, a crucial safety factor when working in the tight confines of an AEG gearbox shell. This aligns with high-temperature automotive engine bay wiring standards.
Connector Comparison: Deans (T-Plug) vs. XT60
Connector contact resistance is a hidden killer of electrical efficiency. A poor connection will generate heat and restrict current flow.
- Deans (T-Plug): Historically popular in airsoft, but the flat surface-mount solder tabs are difficult to work with, and the connection relies on friction fit, which can loosen over time, increasing milliohm resistance.
- XT60: The superior choice for modern builds. Features bullet-style connectors housed in a high-temp nylon shell. They accept up to 14 AWG wire easily and maintain a contact resistance of less than 0.5 milliohms, ensuring maximum current transfer to the motor.
Step-by-Step: Installing a MOSFET and 16 AWG Harness
Upgrading to a programmable MOSFET (such as those detailed in the GATE Electronics MOSFET Manuals) protects your mechanical trigger contacts and enables features like active braking (which stops the motor instantly to prevent gear over-rotation and double-feeds).
- Disassembly & Teardown: Open the gearbox shell and remove the stock 24 AWG wiring and mechanical trigger switch. Clean the trigger contacts with isopropyl alcohol to remove any existing carbon tracking.
- Signal Wire Preparation: Cut the provided 24 AWG signal wires (usually white and blue) from the MOSFET. Strip 3mm of insulation and tin the tips with 63/37 rosin-core solder.
- Trigger Contact Soldering: Solder the signal wires directly to the mechanical trigger contacts. Keep your soldering iron at 320°C and use a wet sponge to clean the tip frequently to ensure a bright, shiny solder joint. A cold joint here will cause the full auto electric bb gun to misfire.
- Main Harness Routing: Route the new 16 AWG red (positive) and black (negative) silicone wires through the gearbox shell's wire channels. Ensure no wires will be pinched by the gear sector teeth.
- XT60 & Motor Terminal Soldering: Pre-tin the heavy gauge tabs on the XT60 connector and the motor terminals. Apply a small amount of flux, mate the 16 AWG wire to the tab, and apply heat until the solder flows smoothly into the wire strands. Cover immediately with 3:1 adhesive-lined marine heat shrink to prevent short circuits against the metal gearbox.
- MOSFET Integration: Connect the MOSFET's heavy-gauge input and output wires in series between the battery terminal and the motor positive terminal. Secure the MOSFET control board to the outside of the gearbox using high-strength double-sided automotive mounting tape.
Troubleshooting Decision Tree: Voltage Sag & Motor Bogging
If your full auto electric bb gun exhibits slow cycle rates or a sluggish trigger response despite using an 11.1V LiPo, follow this diagnostic tree:
- Symptom: Motor bogs down on the first shot, then speeds up.
Cause: Battery C-rating is too low, or battery is degraded (high internal resistance).
Fix: Load-test the LiPo with a digital battery analyzer. Replace if internal resistance exceeds 15 milliohms per cell. - Symptom: Trigger response is inconsistent, occasional dead pedals.
Cause: Carbon buildup on mechanical trigger contacts or a failing microswitch.
Fix: Install an optically triggered MOSFET (Optosensor) that completely removes the mechanical switch from the high-current circuit, relying instead on a light beam to trigger the solid-state relay. - Symptom: XT60 connector is hot to the touch after a magazine dump.
Cause: Poor solder joint inside the connector housing or oxidized bullet connectors.
Fix: Desolder the connector, inspect for cold joints, and re-solder using fresh 63/37 flux-core solder. Apply dielectric grease to the bullet connectors to prevent oxidation.
Conclusion
Treating the electrical system of a full auto electric bb gun with the same rigor as an automotive performance build yields massive dividends in reliability and trigger response. By upgrading to 16 AWG silicone wire, utilizing low-resistance XT60 connectors, and implementing a solid-state MOSFET relay, you eliminate the bottlenecks that plague stock platforms. Always respect the amperage limits of your components, adhere to proper soldering protocols, and ensure your battery's discharge capabilities match your motor's demands.