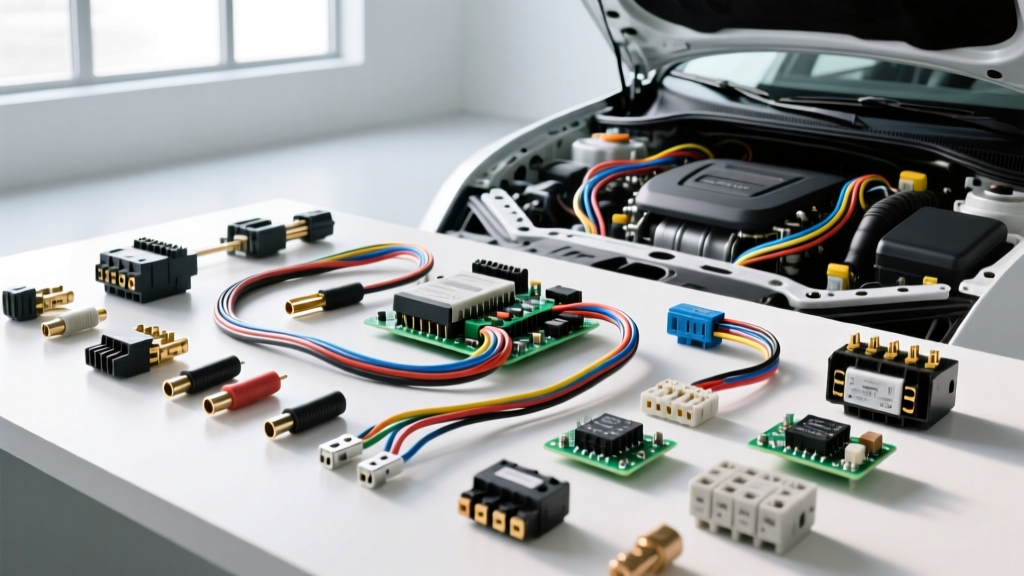
The Economics of Modern Vehicle Electrical Diagnostics
Modern vehicles are essentially rolling data centers. The shift from simple 12V DC point-to-point circuits to multiplexed CAN, LIN, and FlexRay networks means electrical faults are rarely as simple as a blown fuse or a corroded battery terminal. For enthusiasts and daily drivers alike, deciding between grabbing a wiring diagram and a multimeter versus seeking professional help is a complex equation. When benchmarking the economics of professional auto electric repair, Westerville, OH serves as an excellent microcosm for suburban midwestern shop rates, diagnostic fees, and specialized tooling requirements. This guide breaks down the true cost of electrical diagnostics, the required tooling, and the technical thresholds where DIY efforts must yield to professional oscilloscope-level analysis.
Regional Cost Benchmark: Westerville, OH Auto Electric Rates
Westerville and the greater Columbus area feature a dense mix of independent Euro-specialists, heavy-duty diesel shops, and general repair facilities. Labor rates for specialized electrical diagnostics in this region typically hover between $145 and $165 per hour. Unlike mechanical repairs where parts markup offsets labor, electrical diagnostics rely almost entirely on technician expertise and time.
- Standard Diagnostic Fee: 1.0 to 1.5 hours ($145 - $247) to trace a basic fault like a failed window regulator LIN-bus signal or a blown HVAC blower motor fuse.
- Parasitic Draw Diagnosis: 1.5 to 3.0 hours ($217 - $495). Modern modules can take up to 45 minutes to enter 'sleep mode'. Technicians must use inductive amp-clamps and thermal imaging to isolate the faulty node without waking the vehicle's network.
- Intermittent CAN-Bus Faults: 3.0+ hours ($435+). Requires breakout boxes, oscilloscopes, and systematic node-isolation procedures.
Tool Investment Analysis: DIY vs. Professional Grade
To safely and accurately diagnose automotive electrical systems, a basic $20 digital multimeter (DMM) is insufficient. Below is a breakdown of the tooling required to transition from a parts-swapper to a competent DIY electrical diagnostician, compared to the investment made by professional auto electric shops.
| Diagnostic Tool Category | Entry-Level DIY Cost | Professional Shop Investment | Application & Technical Requirement |
|---|---|---|---|
| Digital Multimeter (DMM) | $45 (Basic True-RMS) | $450 (Fluke 88V Automotive) | Voltage drop testing, resistance mapping, duty cycle measurement. Must handle high-voltage transients. |
| Circuit Load Tester | $60 (Incandescent Test Light) | $600 (Power Probe IV) | Applying power/ground to actuators. Pro tools feature built-in short-circuit protection and PWM signal generation. |
| Oscilloscope | $150 (USB 2-Channel) | $2,500+ (PicoScope 4425A) | Viewing high-speed CAN-bus square waves, crankshaft/camshaft sensor correlation, and injector dwell times. |
| Scan Tool / Network Access | $100 (Basic OBD2 Dongle) | $4,000+ (OEM J2534 Pass-Thru) | Bi-directional controls, module coding, and viewing proprietary network hex-data streams. |
Verdict: A competent DIYer can assemble a highly capable electrical diagnostic kit for roughly $800. However, if your vehicle requires OEM-level module programming or high-speed network decoding, the ROI heavily favors paying a Westerville, OH specialist for a few hours of labor rather than purchasing a J2534 pass-thru device and annual software subscriptions.
Technical Deep Dive: High-Current vs. Network Diagnostics
Understanding the physical architecture of your vehicle's electrical system dictates whether you should attempt the repair yourself. We categorize automotive wiring into two distinct domains: High-Current Power Distribution and Low-Current Multiplex Networks.
Scenario A: High-Current Charging & Cranking Systems
High-current circuits operate on simple Ohm's Law principles but demand strict adherence to wire gauge and torque specifications. A common failure point is the alternator B+ terminal or the starter solenoid feed.
- Wire Gauge: Factory battery-to-starter cables typically range from 4 AWG to 1/0 AWG stranded copper. When fabricating custom replacement cables, always use pure copper welding cable (SAE J1128 compliant) rather than copper-clad aluminum (CCA), which suffers from higher resistance and voltage drop under heavy cranking loads.
- Terminal Crimping: High-current lugs must be compressed using a closed-end hex-crimp die or an electromagnetic crimping tool. Soldering 1/0 AWG battery lugs is a severe safety hazard; the solder can melt under high-resistance heat, causing the cable to detach and short against the chassis.
- Torque Specs: The alternator B+ terminal (typically an 8mm or 10mm stud) requires precise torque—usually between 89 and 115 in-lbs depending on the manufacturer. Under-torquing leads to micro-arcing and alternator fires; over-torquing strips the soft copper nut or cracks the internal rectifier diode plate.
DIY Viability: High. With a proper cable crimping tool, adhesive-lined heat shrink, and a torque wrench, a DIYer can safely rebuild high-current charging circuits and save hundreds in shop labor.
Scenario B: Low-Current Multiplex Networks (CAN-Bus)
Modern vehicles use Controller Area Network (CAN) buses to allow modules to communicate over a shared twisted-pair wire. Diagnosing a CAN-bus fault requires understanding differential signaling.
- Pinout & Architecture: At the OBD-II Data Link Connector (DLC), Pin 6 is CAN-High and Pin 14 is CAN-Low. These wires are typically 20 AWG to 22 AWG and are twisted together to cancel out electromagnetic interference (EMI).
- Terminating Resistors: The network requires exactly two 120-ohm terminating resistors located at the furthest ends of the bus. With the battery disconnected, a multimeter placed across DLC Pins 6 and 14 should read exactly 60 ohms (120Ω in parallel). A reading of 120 ohms indicates one missing resistor or an open circuit; a reading near 0 ohms indicates a short to ground or a shorted module.
- Signal Voltages: A multimeter will show CAN-H resting around 2.6V and CAN-L around 2.4V. However, to truly diagnose signal degradation, ringing, or EMI corruption, a professional uses an oscilloscope. As detailed in Pico Technology Automotive Oscilloscope Diagnostics, a scope will reveal CAN-H peaking at 3.5V and CAN-L dropping to 1.5V simultaneously, creating a 2.0V differential square wave.
DIY Viability: Low to Moderate. While a DIYer can check terminating resistors and look for chafed twisted pairs, diagnosing a module that is corrupting the network with 'noise' requires an oscilloscope and advanced network topology maps.
Wire Repair Standards: Why Solder is Obsolete
When performing any auto electric repair, the method of joining wires is critical. Many DIYers default to soldering and electrical tape. This violates modern automotive engineering standards. According to the IPC/WHMA-A-620 Wiring Harness Standards and OEM repair guidelines, soldering stranded automotive wire is prohibited for harness repairs.
Solder wicks up into the stranded wire via capillary action, creating a rigid, inflexible section. In the high-vibration environment of an engine bay, this rigid flex-point acts as a stress riser, inevitably leading to copper fatigue and wire breakage. Furthermore, the acidic flux in standard rosin-core solder promotes long-term galvanic corrosion inside the insulation.
The Correct Repair Method: Open-Barrel Crimping
Professional auto electricians use open-barrel U-crimp connectors paired with adhesive-lined polyolefin heat shrink. 1. Strip the wire using precision strippers to avoid nicking the copper strands (compliant with SAE J1128 Low Tension Primary Cable Standard). 2. Place the wire into the open-barrel terminal and use a ratcheting crimp tool to fold the metal wings tightly around the wire core, creating a cold-weld gas-tight seal. 3. Apply dual-wall, adhesive-lined heat shrink. As the polyolefin shrinks, the inner meltable adhesive flows into the wire strands, creating a waterproof seal that prevents oxygen and moisture from causing copper oxide buildup.
Conclusion: Calculating Your Diagnostic ROI
Deciding between DIY and professional auto electric repair in regions like Westerville, OH ultimately comes down to the complexity of the fault and your willingness to invest in proper tooling. If your issue involves high-current 12V systems, battery cable fabrication, or basic relay logic, investing $150 in a quality DMM, crimp tools, and wiring diagrams will yield an immediate return on investment. However, if your vehicle is throwing ghost codes, experiencing limp-mode due to CAN-bus dropouts, or suffering from intermittent parasitic draws that require sleep-mode monitoring, the $300+ diagnostic fee at a specialized auto electrical shop is a bargain compared to the cost of randomly replacing $800 control modules based on internet forum guesses.