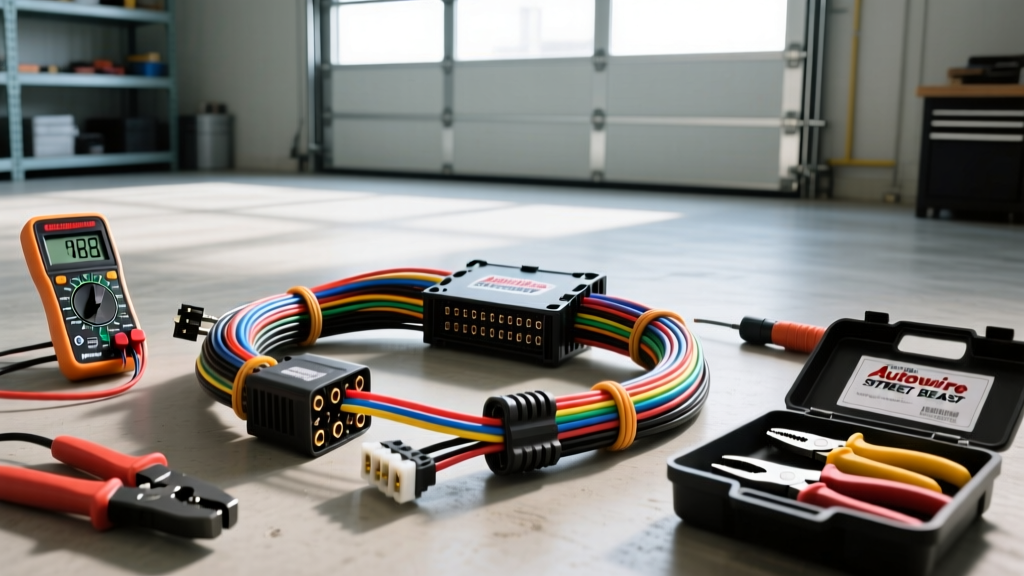
The True Cost of a Street Beast Wiring Harness Installation
When building a 1950s-1970s street rod, muscle car, or custom truck, the American Autowire Street Beast wiring harness is widely considered the gold standard for universal 21-circuit applications. Designed for vehicles running basic accessories, carbureted or simple TBI fuel systems, and standard lighting, the Street Beast provides a clean, fused, and reliable electrical foundation. However, many first-time builders make the critical mistake of budgeting only for the base kit price, only to find themselves stalled by missing hardware, inadequate tooling, and necessary circuit upgrades.
As automotive electrical specialists, we frequently see project budgets blown by 30% to 50% due to overlooked harness consumables and improper crimping tools. This comprehensive cost and tool requirements analysis will break down the real-world expenses of a professional-grade Street Beast installation and detail the exact specifications required to execute it safely.
Base Kit vs. Reality: Budgeting for Hidden Expenses
The base Street Beast kit (typically retailing between $450 and $550) includes the main fuse block, pre-terminated bulkhead connectors, and roughly 150 feet of color-coded, cross-linked polyethylene (XLPE) primary wire. However, a turnkey installation requires several supplemental components that are rarely included in universal kits due to the vast differences in vehicle configurations.
| Component / Consumable | Estimated Cost | Purpose & Technical Justification |
|---|---|---|
| Base Street Beast Kit | $475.00 | 21-circuit fuse block, main feeds, and raw wire. |
| GM Steering Column Connector | $35.00 | Required for Ididit/Flaming River columns (1969-1994 GM 12-pin standard). |
| Headlight Pigtails & Sockets | $45.00 | Upgraded ceramic H4 or sealed beam pigtails with 10 AWG feeds. |
| Tesa 51036 PET Fleece Tape | $25.00 | High-temp harness wrapping; prevents chafing and interior squeaks. |
| Adhesive-Lined Heat Shrink | $30.00 | Dual-wall 3M/Delphi shrink for waterproofing engine bay splices. |
| 8 AWG Alternator Charge Wire | $25.00 | Crucial upgrade for 100A+ 1-wire alternators (base kit uses 10 AWG). |
| Assorted Packard 56 Terminals | $40.00 | Extra male/female terminals for custom routing and mistakes. |
| Total Realistic Budget | $675.00 | Represents a ~42% increase over the base kit MSRP. |
Essential Tooling: Beyond the Basic Crimper
The most common failure point in any aftermarket harness installation is a poor terminal crimp. A high-resistance crimp generates heat, leading to voltage drop, melted connectors, and eventually, electrical fires. The Street Beast harness relies heavily on the Delphi (Packard) 56 series open-barrel terminals. You cannot use a standard closed-barrel crimper from a local hardware store for these connections.
The Open-Barrel Crimper Requirement
Open-barrel terminals feature two sets of wings: the inner conductor crimp and the outer insulation crimp. According to guidelines outlined by MAD Electrical, an improper crush will either cut the copper strands (reducing AWG capacity) or fail to grip the wire insulation, allowing the terminal to pull out under vibration. You must invest in a dedicated open-barrel crimp tool (such as the Kent Automotive or equivalent Delphi-specific crimper) featuring dual dies that simultaneously fold the conductor wings into an 'M' or 'B' shape while wrapping the insulation wings around the wire jacket.
Harness Wrapping and Insulation Materials
Avoid standard vinyl electrical tape for bundling your harness. Vinyl tape uses a rubber-based adhesive that degrades at temperatures above 80°C, turning into a sticky, corrosive mess inside your engine bay or under your dashboard. Instead, use Tesa 51036 PET fleece tape. This polyester fleece tape withstands continuous temperatures up to 125°C, provides excellent abrasion resistance against sharp sheet metal, and eliminates the plastic rattling sound associated with hard plastic loom tubing. For engine bay splices, always use adhesive-lined (dual-wall) heat shrink. When heated, the inner lining melts and seals the connection against moisture and electrolysis, a requirement for any wiring exposed to the elements.
Technical Specifications: AWG, Fuses, and Color Codes
The Street Beast harness adheres to standard GM color-coding and SAE J1128 specifications for low-tension primary automotive cable. Understanding the factory color codes and AWG requirements is vital for troubleshooting and extending circuits to aftermarket accessories like electric fans or fuel pumps.
| Circuit Function | Standard Fuse Rating | Wire Gauge (AWG) | Standard Autowire Color Code |
|---|---|---|---|
| Headlights (Main Feed) | 20A (Circuit Breaker) | 10 AWG | Red |
| Headlights (Low Beam) | 15A | 12 AWG | Tan |
| Headlights (High Beam) | 15A | 12 AWG | Light Green |
| Left Front Turn Signal | 10A | 14 AWG | Yellow |
| Right Front Turn Signal | 10A | 14 AWG | Dark Green |
| Tail / Parking Lights | 15A | 12 AWG | Brown |
| Stop / Brake Lights | 15A | 12 AWG | White |
| Wipers / Washer | 20A | 12 AWG | Gray |
| Ignition (Run/Start) | 10A | 12 AWG | Pink / Purple |
| Electric Choke / EFI | 10A | 14 AWG | Orange (Switched 12V) |
Note: Always verify your specific kit's legend, as American Autowire occasionally updates spool colors based on supply chain availability, though the GM-standard colors listed above remain the baseline for 95% of their production runs.
Step-by-Step: Crimping the Packard 56 Terminal
To ensure optimal conductivity and mechanical retention, follow this precise crimping sequence for the Packard 56 terminals included in your Street Beast kit:
- Strip the Wire: Use precision wire strippers to remove exactly 5/16" (8mm) of insulation. Do not nick the copper strands; even a single severed strand reduces the current-carrying capacity and creates a localized hot spot.
- Position the Terminal: Place the terminal into the correct cavity of your open-barrel crimper. The conductor wings (smaller inner wings) should sit in the narrower die, while the insulation wings (larger outer wings) sit in the wider die.
- The Crimp: Squeeze the crimper handles until the dies bottom out completely. The conductor wings should fold inward, biting into the copper strands without cutting them, forming a distinct 'M' or 'B' cross-section.
- Inspect the Bellmouth: Look at the conductor crimp from the side. You must see a tiny gap (the 'bellmouth') between the insulation jacket and the start of the conductor crimp. This ensures no insulation is trapped inside the electrical connection, which would cause high resistance.
- Pull Test: Give the wire a firm tug. A properly crimped 14 AWG Packard 56 terminal should withstand over 30 lbs of pull force before the wire breaks.
Testing and Validation Before Final Routing
Before wrapping your harness in Tesa fleece tape and zip-tying it permanently to the chassis, you must validate every circuit. According to American Autowire's official tech tips, the most common cause of post-installation failure is a pin pushed back out of the bulkhead connector during routing.
Use a Digital Multimeter (DMM) set to the continuity/ohms setting. Ground your black probe to a known clean chassis ground. With the fuse block powered via a temporary 12V bench supply (do not use the vehicle's battery until the main solenoid is wired), use the red probe to back-probe each terminal. Verify that the ignition switch properly energizes the Pink (Run) and Purple (Start) wires, and that the turn signal flasher sends a pulsed 12V signal to the Yellow and Dark Green front feeds. Only after every circuit passes a voltage-drop and continuity test should you proceed to final harness wrapping and loom installation.
The Alternator Upgrade Imperative
Finally, address your charging system. The Street Beast kit includes a 10 AWG alternator charge wire. While sufficient for a stock 40A-60A generator or early alternator, modern 1-wire alternators (like the Powermaster 100A or 140A units commonly used in LS swaps) will melt a 10 AWG wire under heavy load. You must upgrade the main alternator output wire to 8 AWG or 6 AWG XLPE wire and install an inline ANL or Mega-Fuse (rated at 125% of the alternator's max output) within 7 inches of the starter solenoid or battery positive terminal. This single upgrade prevents catastrophic electrical fires and ensures your headlights don't dim at idle.